
The Annual Meeting and Professional Improvement Conference of the National Association of County Extension Agents is that one time of year where extension agriculture professionals gather to share ideas, give talks, network, and let their hair down. The name of the organization is a bit outmoded: many states no longer call their extension personnel agents, but rather educators, experts, professionals, area specialists, and the like. Most aspects of agriculture are included: from the traditional cows and plows of animal science and agronomy to horticulture and sustainable agriculture (I’m the outgoing national chair of that committee).… Continue reading this article “GPs at the Tradeshow: Looking for snake oil and finding…..the dirt on tillage”
Author: John Porter
John Porter is a horticulturalist located in Omaha, NE. He is a former extension educator with UNL Extension and county agent with WVU extension. In addition to using his horticulture and extension skills in his home garden, he is a sometimes garden writer and lecturer, a trial judge for All-America Selections, and mentor for local school horticulture and agriculture programs.
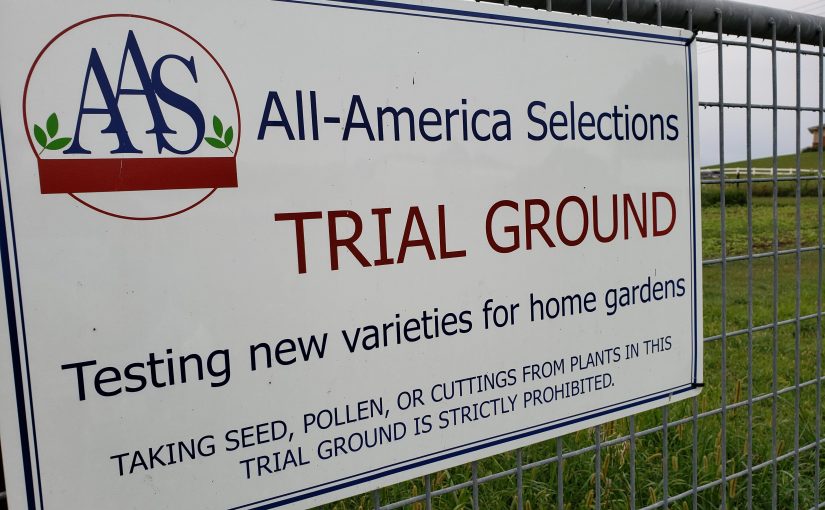
Testing, testing, 1-2-3: Trialing new plants for the home garden
How do you know that plants will do well in your garden? Do you research the types of plants for your region, study different cultivars, and select only things that have been proven to do well for your conditions? Or do you buy what catches your eye at the garden center, plant it, and then see what happens? I used to joke that my home garden was a horticulture experiment station, since I’d try all kinds of random plants or techniques and see what works for me. … Continue reading this article “Testing, testing, 1-2-3: Trialing new plants for the home garden”
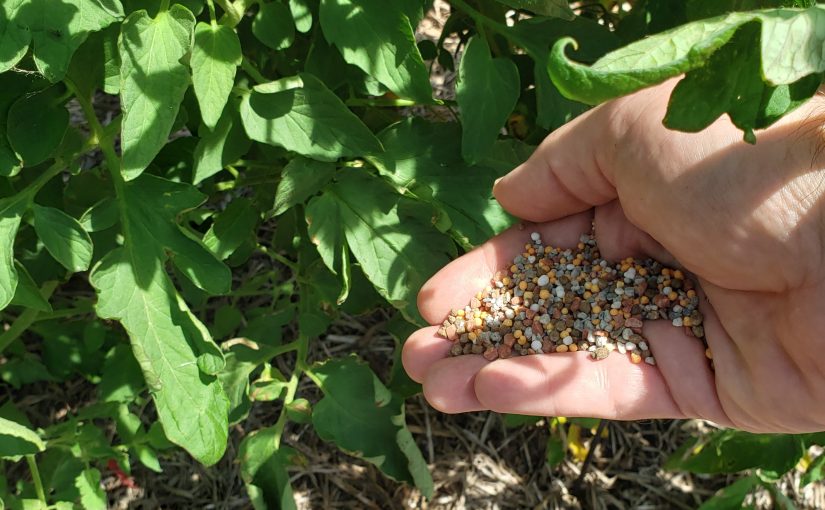
To Fertilize, or Not to Fertilize, that is the question
You see a bright shiny package at the garden center saying that it can help you have the most bountiful garden ever, the greenest lawn in the neighborhood, your plants will have miraculous growth, or it will supply every element on earth to make sure that your plants are living their best life. It’s got what plants crave….It’s got electrolytes! You reach out to grab that package and ……. Woah! Pump the brakes! Do you know if your plants even need to be fertilized? … Continue reading this article “To Fertilize, or Not to Fertilize, that is the question”
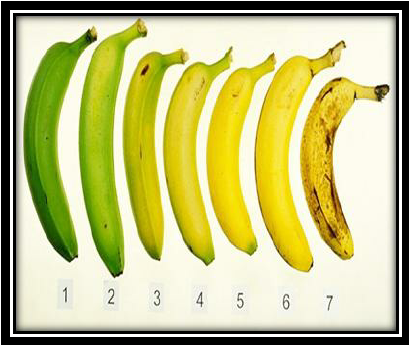
Ripe for the picking: Which fruits keep ripening after harvest?
“Will my peppers continue to ripen? How about my eggplants?” It is common knowledge to most gardeners (and home cooks) that tomatoes will ripen on the kitchen counter, as will bananas and several other fruits. You know that one day your bananas look perfectly ripe and the next they’re a brown mush But does this work for all fruits? We often get questions about whether specific fruits will continue to ripen after picking. And the answer is…..… Continue reading this article “Ripe for the picking: Which fruits keep ripening after harvest?”
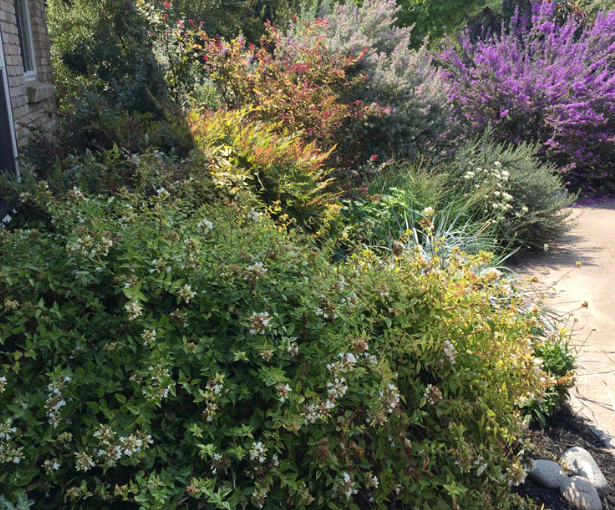
Plant Control to Major Tom(ato): The Art of Spacing Out Your Plants
“Why don’t you just plant it up against the house,” piped my mother-in-law. She was talking about a run-of-the-mill “old fashioned lilac” that we had received in the mail for our donation to Arbor Day. While I don’t necessarily think of the organized tn as a source of high-quality or novel plants, I felt beholden to make a donation since it was founded and is still located in Nebraska (and we have visited the Arbor Lodge, home to founder J.… Continue reading this article “Plant Control to Major Tom(ato): The Art of Spacing Out Your Plants”

The Scoop on Poop: Manure in the Vegetable Garden (and potential food safety risks)
“Can I use manure to fertilize my garden?” That’s a common question we get in Extension and on the Garden Professors page. The answer is absolutely, but there’s a “but” that should follow that answer that not everyone shares. And that is…but for fruits and vegetable gardens the manure you apply could be a potential source of human pathogens that could make you or your family sick. There are procedures and waiting periods you should follow to reduce the potential risk to human health from pathogens in manure and other animal products.”… Continue reading this article “The Scoop on Poop: Manure in the Vegetable Garden (and potential food safety risks)”
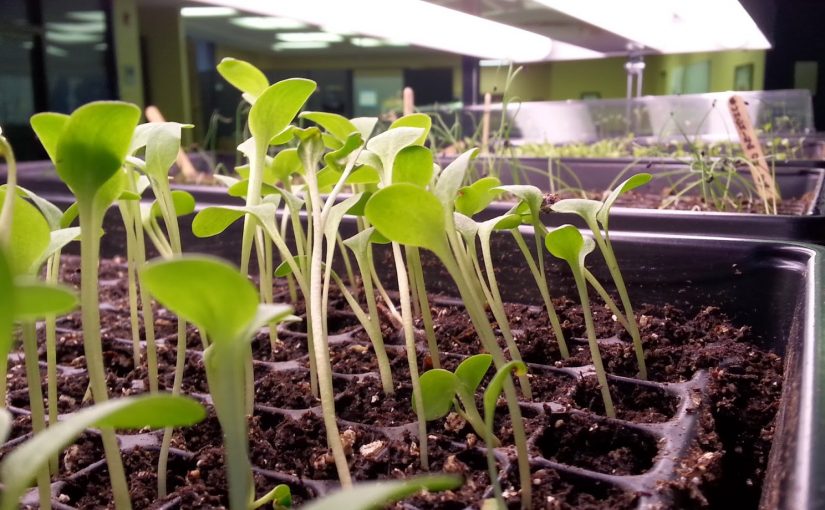
Supplemental Lights for Home Seed Starting and Indoor Growing: Some Considerations
Whether you’ve already got seedlings growing away or getting ready to start your annual indoor seed starting, one of the important factors in seed starting is light. (Last month I covered heat, which you can see here). Questions like “Do I need to use supplemental light or can I use a window?” and “What kind of light do I need to use?” are ones we often get from gardeners – new and seasoned alike. So I thought I’d take a little time to talk about light – the factors that are important for plant growth some ways that you can make sure you’re providing the right kinds and amounts of light to your new seedlings. … Continue reading this article “Supplemental Lights for Home Seed Starting and Indoor Growing: Some Considerations”
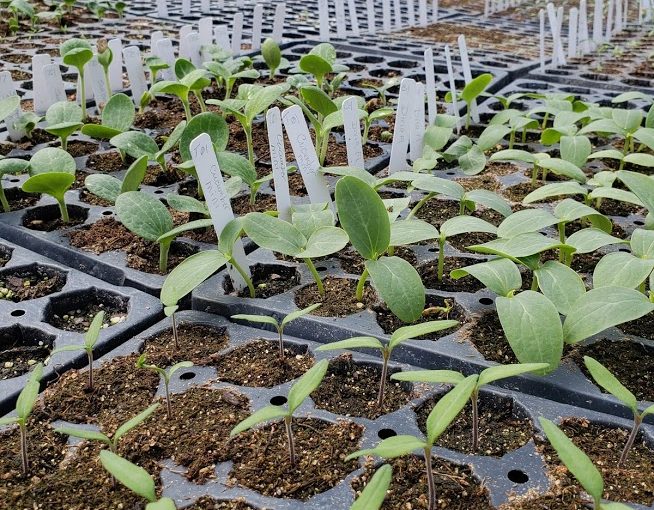
Feel the Heat: Temperature and Germination
In most parts of the country it is time to dust off the seed starting trays, pick out your favorite seeds, and get a little plant propagation going on. There’s definitely a lot of science (and perhaps a bit of art) to successful seed starting. While the process starts (and relies on) the imbibition of water, one of the biggest factors that affects the success, efficiency, and speed of seed germination and propagation is temperature. … Continue reading this article “Feel the Heat: Temperature and Germination”
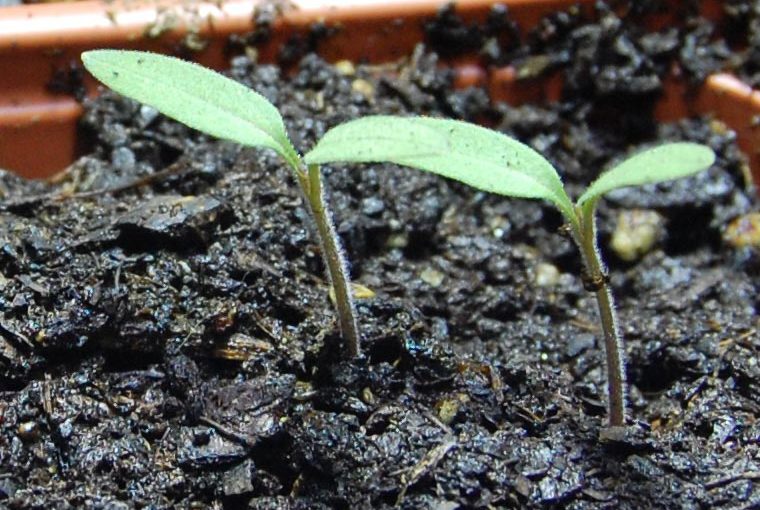
Compost in Seed Starting Mix: Recipe for Success….or Failure?
A recent question posted to the Garden Professors blog Facebook group (a place where you can join and join in conversation of garden science) asked about the potential for compost added to seed starting media to cause failure in germination. It is a good question, and one that seems to have several different camps – from garden hero author folks swearing by it in their (non-peer reviewed) books, to fact sheets saying it isn’t a good idea.… Continue reading this article “Compost in Seed Starting Mix: Recipe for Success….or Failure?”

The Myth, the Legend, the Parasite: Romance, Lore, and Science beneath the Mistletoe
As we hurdle ever closer to the holidays and the end of the year, there’s lots of plants we could talk about – amaryllis, poinsettias (and the abuse thereof with glitter and paint), whether or not your cactus celebrates Thanksgiving, Christmas, Easter or is agnostic, and on and on. Each of these plants have an interesting history and connection to the holidays, but today we’re going to be a little more naughty…but nice. We’re going to talk about mistletoe.… Continue reading this article “The Myth, the Legend, the Parasite: Romance, Lore, and Science beneath the Mistletoe”