In many publications and garden resources you see the suggestion to remove flower buds to improve establishment of new fruit and vegetable plants. This advice is shared for both woody and perennial plants like fruit trees and strawberries and for annuals like tomatoes and peppers. And whenever you see someone stating this as gospel, you see someone else stating that it is false or only anecdotal. So the question is – does research support the advice to remove early plant blossoms to improve vegetative plant growth and establishment?… Continue reading this article “This bud (removal) is for you: Does early flower removal aid plant establishment in fruiting plants like tomatoes?”
Category: Vegetables
Trials and Triumphs: All-America Selections Judging and 2024 Winners
I’ve written before about my time as a trial judge for the All-America Selections program, which I did during my seven years with Nebraska Extension. I happened upon the opportunity to be a judge by accident, but really came to relish my time and the work that the organization does.
You see, All-America Selections started in 1932 as a way to actually certify the claims that newly-introduced plants were actually better than ones already available. Previously it was sort of the wild-west of claims made by everyone who had a garden catalog or wrote a garden publication.… Continue reading this article “Trials and Triumphs: All-America Selections Judging and 2024 Winners”
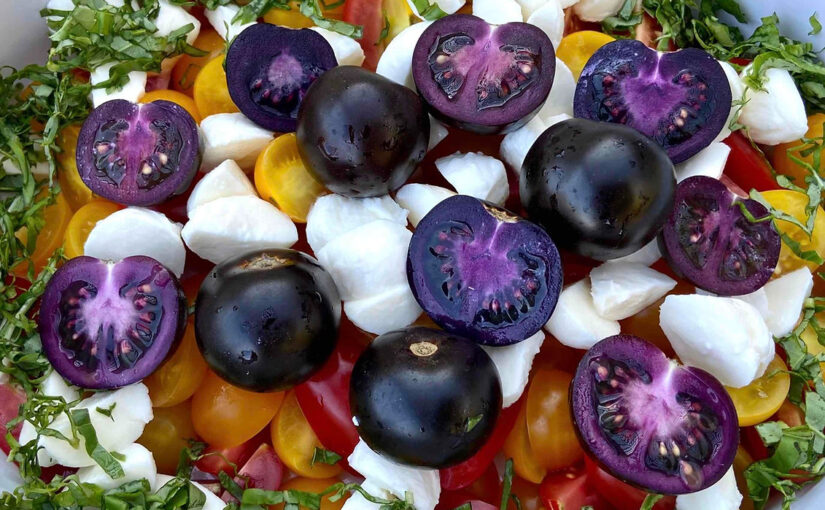
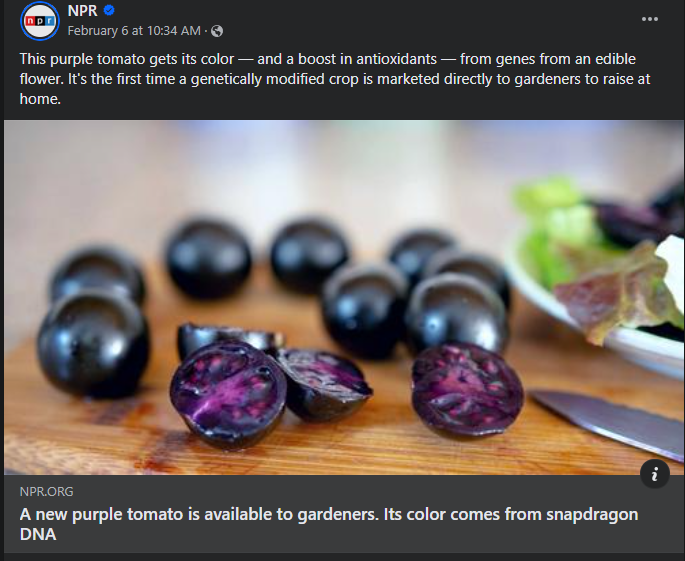
Unpacking a Peck of Purple Genetically Engineered Tomatoes
Excitement spread across social media recently with the announcement that a genetically engineered tomato, creatively named “The Purple Tomato” is now available for home gardeners. Gardeners, plant scientists, and others rejoiced at the news that a purple tomato engineered with genes from a snapdragon to boost the plant pigment anthocyanin is now available for home gardeners to purchase. But why were people so excited? And what does this mean?
The Purple Tomato: What is it and why is it exciting and important?… Continue reading this article “Unpacking a Peck of Purple Genetically Engineered Tomatoes”
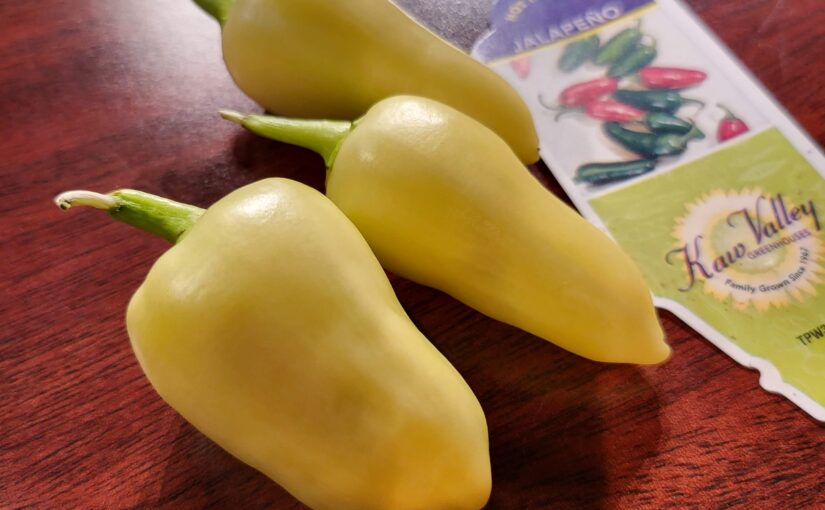
¡Escandalo! Seedy mixup results in #Jalapeñogate drama across the US
There’s a scandal simmering all across the United States that brings to mind a switched at birth storyline on a steamy soap opera or telenovela. This scandal, though, isn’t about babies, its about….peppers! Jalapeño peppers, to be exact.
The issue, dubbed #Jalapeñogate online, has many home gardeners scratching their heads as to the identity or the issue with the peppers that they planted. You see, instead of those glossy dark green peppers that many are used to putting in their salsas and other favorite spicy dishes, the plants are producing bright yellow peppers. … Continue reading this article “¡Escandalo! Seedy mixup results in #Jalapeñogate drama across the US”
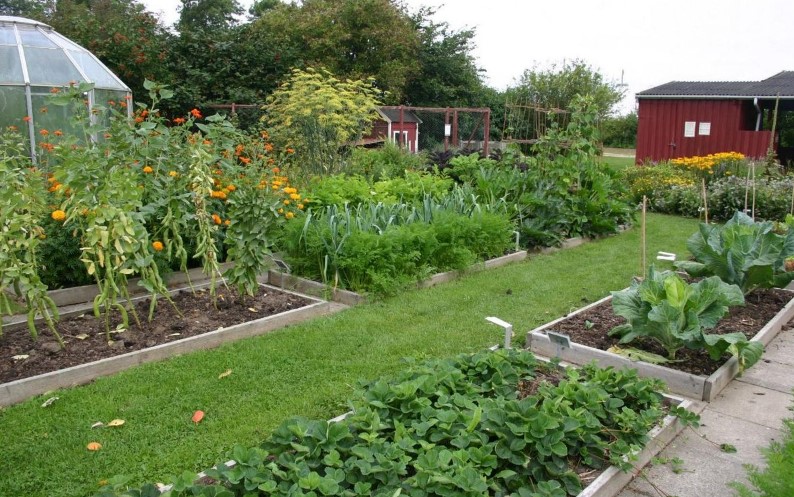
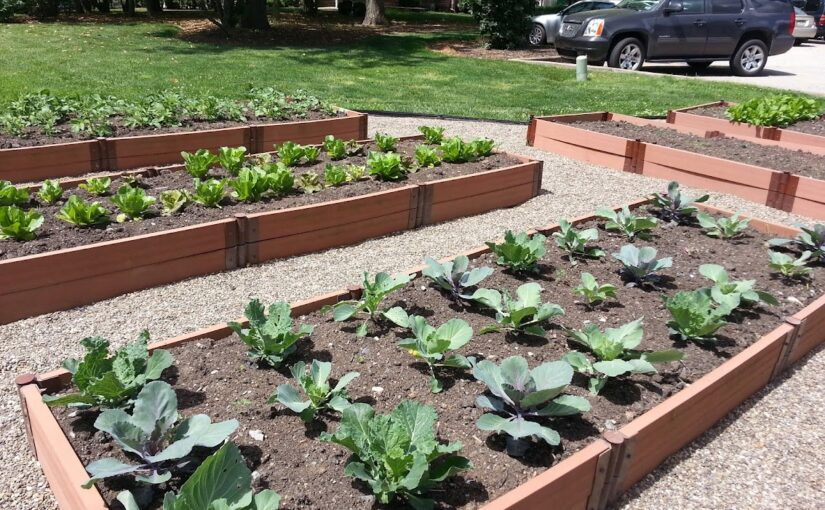
Crop rotation makes the garden go ’round
You might have heard of the concept of crop rotation, or even have had someone tell you that you should be practicing it in your home garden. But does this practice developed for use on large-scale farm fields work for small-scale home gardening or backyard farming? And if so how do you even do it? Let’s take a quick look at the practice and learn how you might implement it in your own garden, no matter the size, if it is practical to do so. … Continue reading this article “Crop rotation makes the garden go ’round”
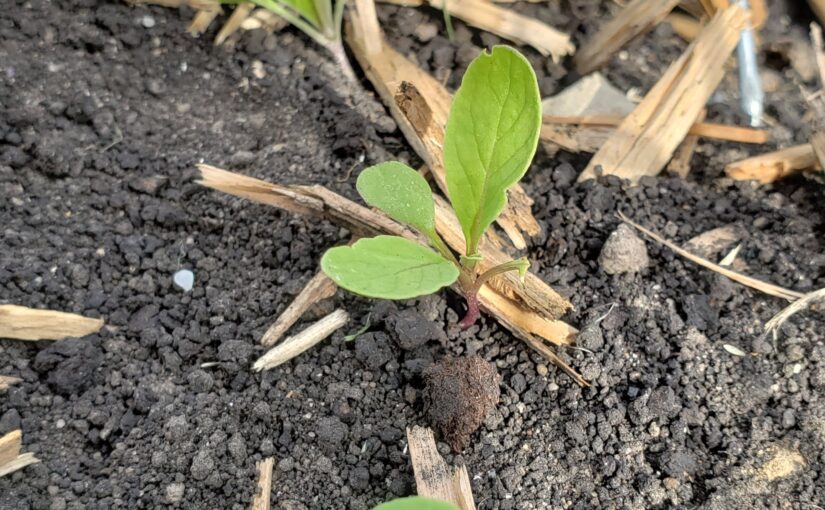
You gotta know what to sow and what to plant: Veggies and Herbs
As a continuance of my Kenny Roger’s themed article last month on sowing and planting at appropriate soil temperatures, I thought this month I’d approach “Know when to sow ‘em, know when to plant ‘em” in a different way. When it comes growing vegetables and herbs, many new (and even experienced) gardeners are confused as to which plants you should directly sow into the garden and which ones you must transplant.
Of course, some of these recommendations might change based on where you are and your local climate. … Continue reading this article “You gotta know what to sow and what to plant: Veggies and Herbs”
Don’t be a garden gambler: You’ve got to know when to sow ’em, know when to plant ’em
For many gardeners around the US (and the northern hemisphere) the weather is warming up for spring planting season and many are itching to get out in the garden. But when is the right time to plant those veggies and flowers and not gamble on their success? Just like Kenny Roger’s character in The Gambler, knowing when to do something is important (this is where I’ll end the cheesy comparison – you’ve just got to come up with a catchy title sometimes).… Continue reading this article “Don’t be a garden gambler: You’ve got to know when to sow ’em, know when to plant ’em”
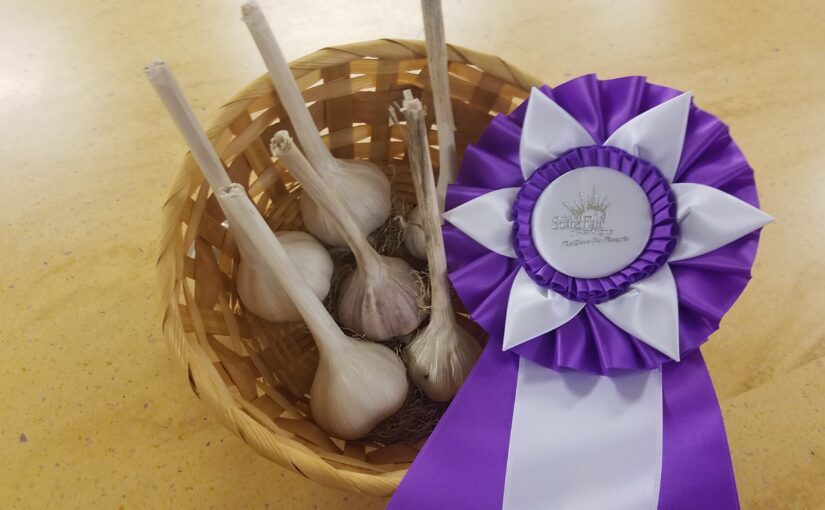
Fair Judgement: garden lessons from a fair (and crop trial) judge
I love a fair! Which is a good thing since I find myself at a lot of them as an extension professional. It seems like fairs attract extension folks like honey attracts flies. We’re always involved in the 4-H activities – the livestock, project displays, and contests. Sometimes we pop up other places as well. The one thing that I get asked to do multiple times each summer is act as a judge for horticultural entries. … Continue reading this article “Fair Judgement: garden lessons from a fair (and crop trial) judge”
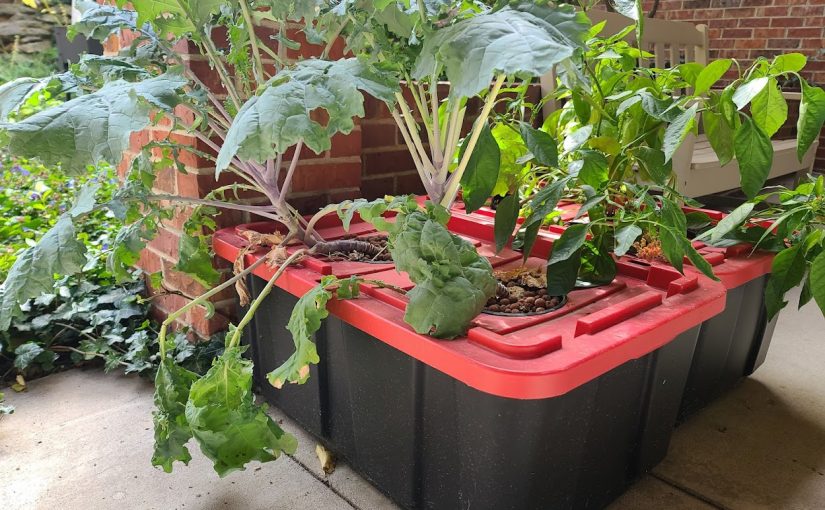
A Super Simple Salad in Stor(age): A DIY Home Hydroponics Example
Say the word “hydroponics” or the even more mysterious sounding “controlled environment agriculture” and the image that most people conjure in their minds is of large greenhouses or artificially lit rooms filled with complex hoses and tubes using all manner of technological gizmos to pump water and nutrients to plants. True, modern ag technology does allow for some pretty amazing and technical production of food but hydroponics can be super simple and so easy that just about any home gardener can do it. … Continue reading this article “A Super Simple Salad in Stor(age): A DIY Home Hydroponics Example”
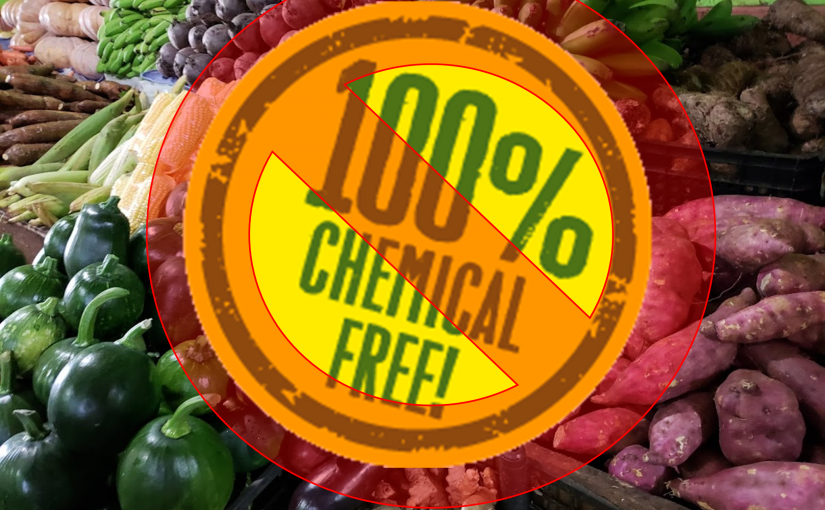
Everything is chemicals: the myth and fear of “chemical-free” gardening
“Chemical-free” – a term I’ve seen several times attributed to many products, especially food and produce at farmers markets and even in gardening circles these days. This term is often misused to describe plants grown without the use of any pesticide, either conventional or organic. I have my thoughts that I’ll share later on that subject but first let’s talk about this “chemical-free” that gardeners, farmers, and others use and why its not only a myth, but a dangerous one at that.… Continue reading this article “Everything is chemicals: the myth and fear of “chemical-free” gardening”