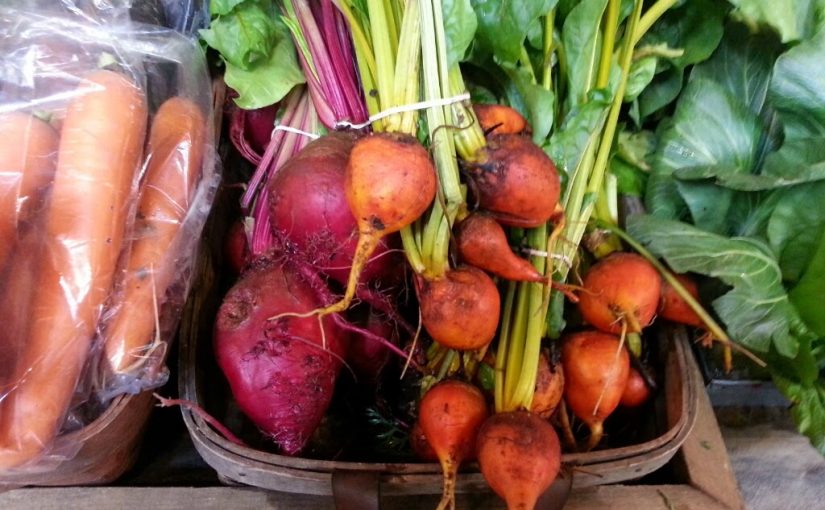
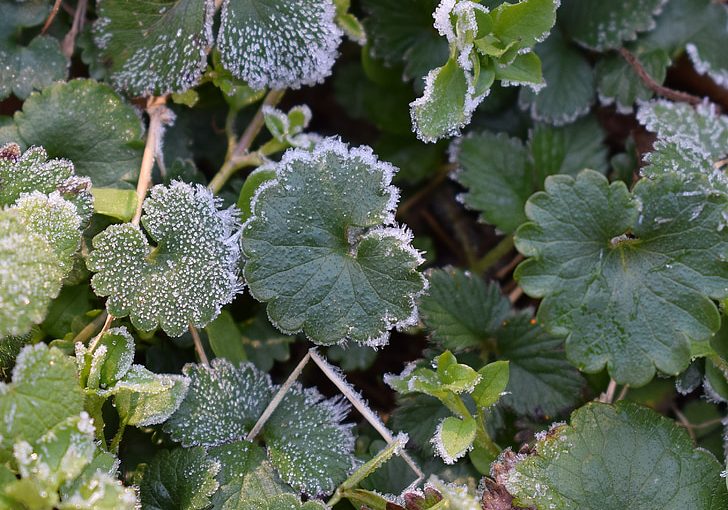
While most of the country is in the middle of a heat wave and the mercury is creeping past 100F on many thermometers, lets do a little exercise to help you feel cool as a cucumber (though not straight out of the garden, those cucumbers would likely be hot). I want you to think about a crisp September morning. You’re out walking through your vegetable garden and you stop to appreciate a big, emerald green head of broccoli. … Continue reading this article “Falling forward: Time to plan and plant the fall veggie garden”
Author: John Porter
John Porter is a horticulturalist located in Omaha, NE. He is a former extension educator with UNL Extension and county agent with WVU extension. In addition to using his horticulture and extension skills in his home garden, he is a sometimes garden writer and lecturer, a trial judge for All-America Selections, and mentor for local school horticulture and agriculture programs.
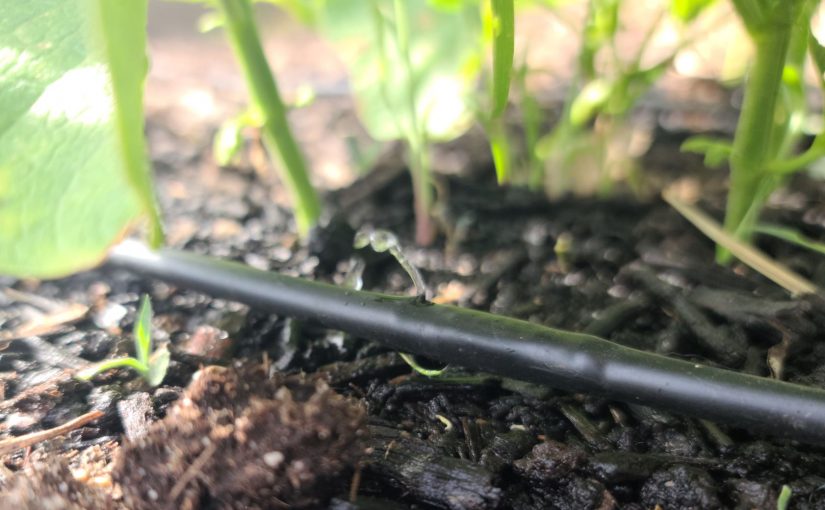
Water Wise Gardening: Conserving and Irrigating Responsibly
While we can’t ever control or even predict the weather, in most places it is important to have a plan on how to deliver water to our home gardens during the hot, dry months of the summer. Aside from reducing water need through some good management practices, delivering water in an efficient and sustainable way is important when planning and planting our home gardens.
When there is scarcity, it is necessary to conserve. Several years I got to see scarcity in person on a sustainable agriculture tour of New Mexico. … Continue reading this article “Water Wise Gardening: Conserving and Irrigating Responsibly”
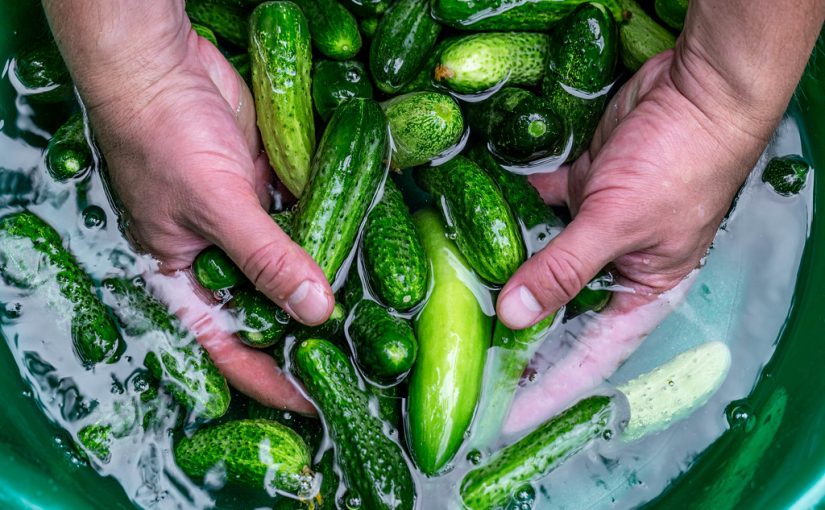
Viral Vegetables? Growing (and Buying) Produce in the age of COVID-19 (and reducing fear with facts)
Now that much of the world’s attention is focused on limiting the spread of pathogens, well one pathogen, it seems like a good time to talk about some of the questions or concerns we’ve seen regarding vegetable gardens, community gardens, and farmers markets. It’s a good time to talk about some of the practices that we should be doing to prevent other human pathogens from handling produce, like E. coli and Salmonella, and how those might fit into preventing the spread of COVID-19. … Continue reading this article “Viral Vegetables? Growing (and Buying) Produce in the age of COVID-19 (and reducing fear with facts)”
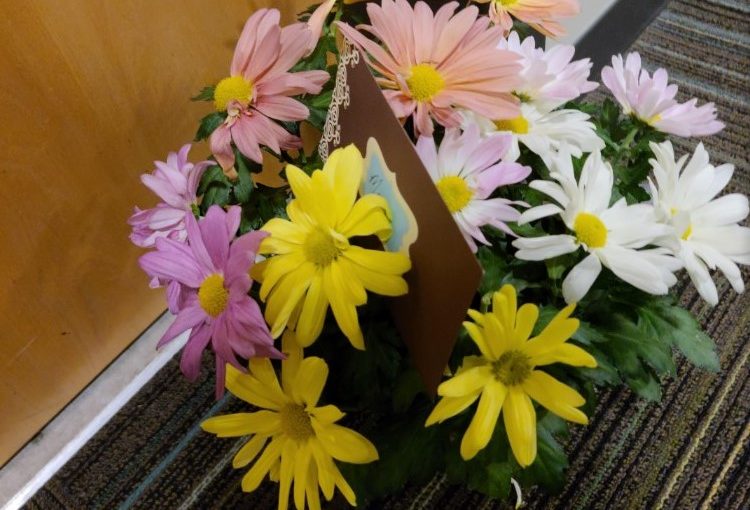
Flowers for Barbara: Cultivating Hope in a Pandemic
Ever since humans started gardening and farming, the practice has had central importance in our lives. As we processed out of the agrarian age, some of us humans may have lost the connection to the importance of growing plants to our everyday lives. We rely on the growing of plants to feed us, to produce medicine, clothing, and shelter. We use plants to provide beauty in our landscapes and our homes. And perhaps one of the positives of the current pandemic is that many people are turning to plants as a way to assuage their fears.… Continue reading this article “Flowers for Barbara: Cultivating Hope in a Pandemic”
Planting Prognostication: Understanding last frost and planting dates
Except for areas of the US that are more tropical like southern Florida or Hawai’i, most gardener’s planting schedules are set around winter weather and the possibility of frost or freeze. And even for gardeners in those more tropical areas, planting sometimes needs to be planned to schedule around the extreme heat of summer. Understanding these planting times can really lead to success or failure, especially for vegetable gardens, tender annuals, tropicals, and non-dormant perennials. There are a few tools that help us understand weather patterns and predict critical temperatures for planting, namely the USDA Hardiness Zone map and the Average Last Frost/Freeze dates. … Continue reading this article “Planting Prognostication: Understanding last frost and planting dates”
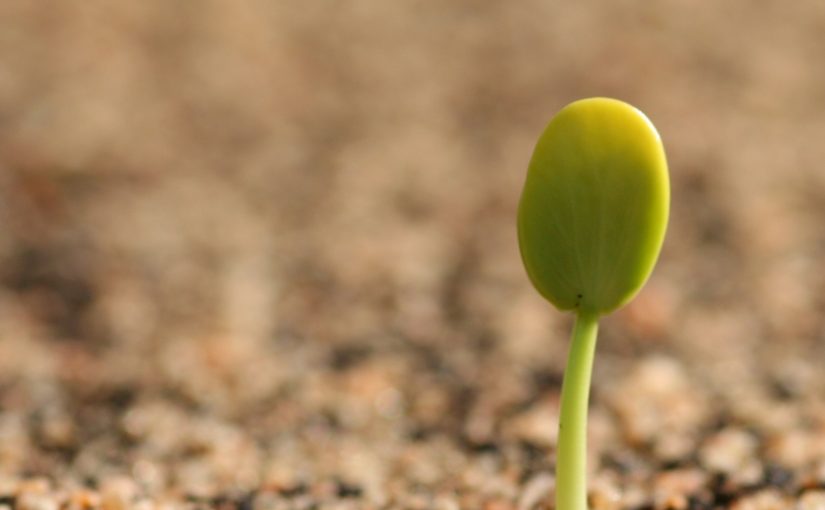
When Good Seeds Go Bad: How long can you store seeds?
Many gardeners, myself included, have that stash of old seed packets or saved seeds from garden seasons past, just waiting for the right time to be planted. They may be shoved in a drawer, a box, or in the fridge/freezer. Maybe you’re pulling some out of storage to start this spring – will they even germinate? Are those seeds good indefinitely? Do they ever expire? The answer to that really depends on what plant it is and how they are stored.… Continue reading this article “When Good Seeds Go Bad: How long can you store seeds?”
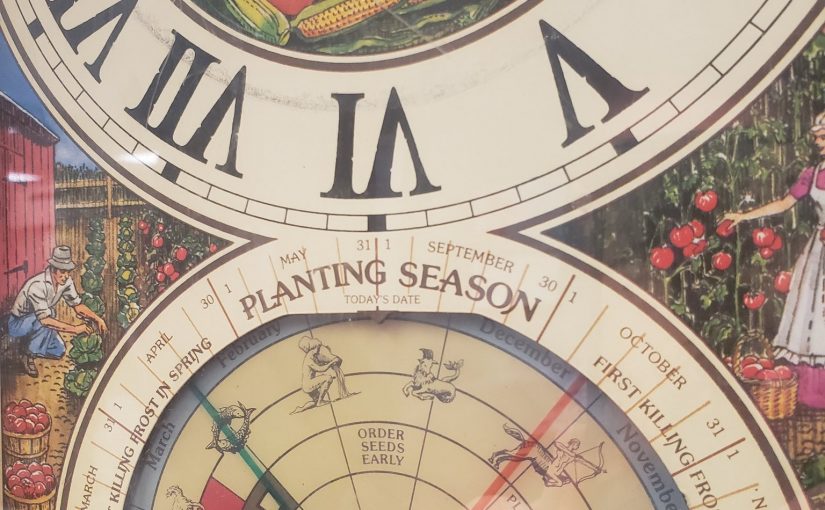
Fail to Plan or Plan to Fail? Planning for a year of garden success
It seems like we’re always adhering to one schedule or another these days. We have devices and planners to keep track of our appointments, our work schedules, kids schedules, and more. Heck, even the antique seed company clock in my office is telling me to order seeds. It can seem overwhelming, so you might laugh if I tell you that coming up with a schedule, or a plan, for your garden can be beneficial. It is especially helpful for vegetable gardeners or those who like to any kinds of seeds. … Continue reading this article “Fail to Plan or Plan to Fail? Planning for a year of garden success”
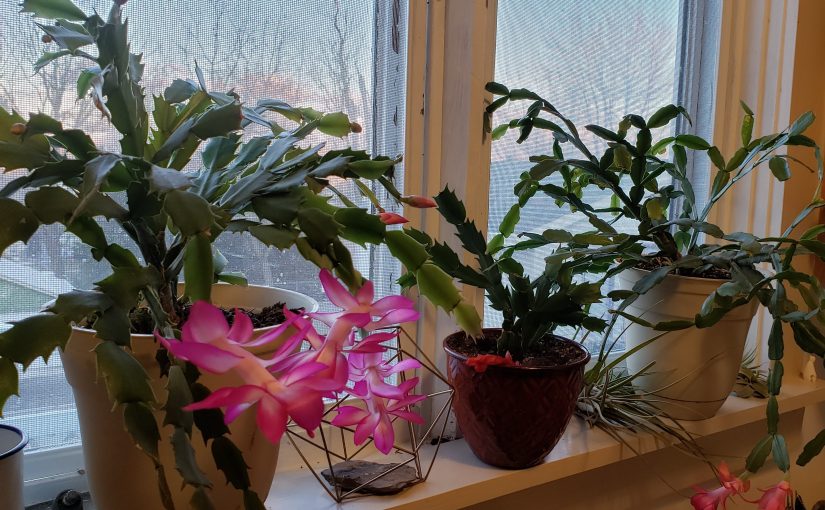
A Cactus by Any Other Name: A Case of Mistaken Holiday Cactus Identity
Believe it or not, a cactus, of all things, is one of those plants that have come to represent the holidays and feature in the regular rotation of holiday houseplants. Then again, maybe it isn’t so strange amongst its peers that feature a flashy bulb-grown plant named for a horse’s head (the Latin name of amaryllis is Hippeastrum, literally meaning horse flower), a plant that has ugly flowers but brightly colored leaf bracts and leaks sticky and irritating latex when damaged, or some daffodil-like flowers that have musky odor so strong it makes some people nauseous. … Continue reading this article “A Cactus by Any Other Name: A Case of Mistaken Holiday Cactus Identity”

Hydroponics, Aquaponics, & Aeroponics, Part Deux
Last month I shared some basic info on the major techniques for growing plants without soil, namely hydroponics, aquaponics, and aeroponics. With such interest in these topics, I thought it would be good to dive a little further into the technologies used. I’ll provide a bit of basic information about each type of system used for production and provide some resources for further technical reading if you’re interested in learning more. For some simple diagrams of the systems, check out this link (we don’t know if we can “borrow” the images, so we didn’t copy them over).… Continue reading this article “Hydroponics, Aquaponics, & Aeroponics, Part Deux”

DIY Hydroponics: Going soil-less at home and abroad
It seems that as interest in gardening grows, especially among younger generations, interest in different techniques that home gardeners use and different plants they grow are also on the increase. You see the old standbys like straw bales and containers emerge. Terraria, succulents, and air plants are having their moment. And all kinds of technology driven indoor growing systems are all over the web, mostly hydroponic, but some aeroponic and aquaponic as well (we’ll talk about the difference in a bit – if you’re just here for that, skip the first 2/3 of the article).… Continue reading this article “DIY Hydroponics: Going soil-less at home and abroad”