Systems to grow fresh produce in your home using hydroponics or other automatic processes have been popular for several years but seem to be even more popular this year with more folks home and looking for something to do and hoping to produce their own food. As a result, these systems are popping up on holiday wish lists and gift buying guides all over the internet. But are they worth it? And if so, what should you look for in a system?
First off, what are these systems? And what is hydroponics? Hydroponics is the process of growing plants without soil in a aqueous nutrient solution. Basically, you provide all the nutritional needs of the plants through nutrient fertilizers dissolved in water. These systems can grow plants faster and in a smaller space than traditional soil-based production. It also allows you to grow plants indoors and in areas where you would not normally be able to grow.

As for systems, you might have seen what is probably the “oldest” one on the market – the AeroGarden. Since it is the oldest and most common, that’s the example we’ll be staying with. It has been around a few decades and has evolved from a basic electronic system to fully automatic, “smart”Bluetooth connected systems that you can control with your phone. In recent years there have been many new systems come onto the market at all different sizes and price points. A quick search of online retailers will usually provide an array of options – from DIY kits to plug-and-play enclosed systems such as “Click & Grow” and “Gardyn”. My only experience is with the Aerogarden system, so I can’t speak to any of the others (though I’d love to try them out!).
The answer to “are they worth it” is up to you, really. Most home based hydroponic or aeroponic systems offer convenience, but at a cost. Most cost several hundred dollars and are small, so they produce a small amount of produce (or other plants) at any one time. So you have to determine what goals you, or your intended giftee, have with the system.

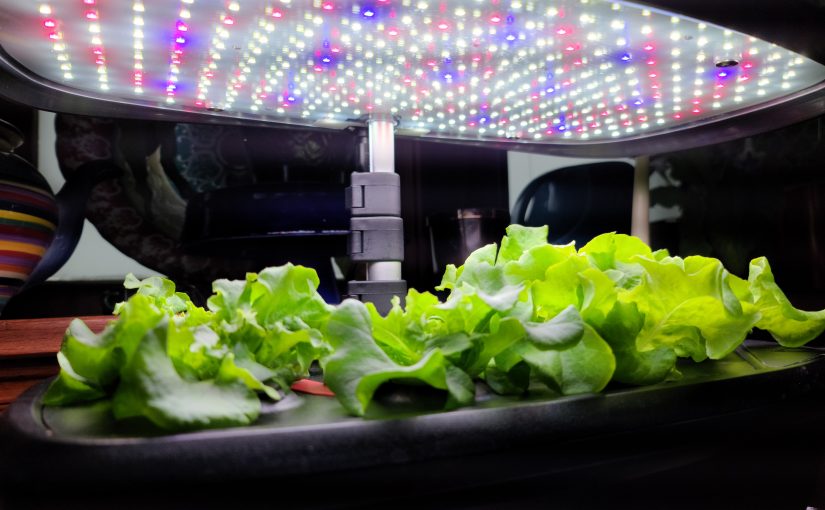
The benefit of the “plug-and-play” enclosed systems like the AeroGarden is that basically you can take it out of the box, set it up in less than 10 minutes, and have some fresh lettuce or herbs in a few weeks. It controls the water cycles, lighting, and all other conditions for growth. You just drop in pods that contain the seeds suspended in a spongy-material. The smallest system, that holds 3 plants, retails for $100. As an additional expense comes from buying refill kits to replant. The mid-size systems are the most common and range from $150-$300. The largest system, the “XL Farm” retails for $600. But these systems are commonly on sale at pretty significant discounts.
For many systems, you typically buy a new set of pods (there are different plant variety selections), but there are pods you can buy to assemble your own using your own seeds. For the AeroGarden, the pod kits range from $15 up to $30 to grow up to 9 individual plants. There are other plug-and-play systems on the market, as well as some kits that are more build-your-own and less automated.
No matter which systems you buy (or gift), keeping these costs in mind is important. If you’re looking for a fun and easy activity with the benefit of a little fresh produce and aren’t as concerned with production costs these systems may be for you – and if you are giving or getting them as a gift that definitely makes it more economical. But given the cost of the plug-and-play systems and the refill pods, they will never be an “economical” option for producing your own food. If you are wanting to produce food on a budget and you’re interested in home hydroponics, look for plans to build your own or buy a DIY kit.