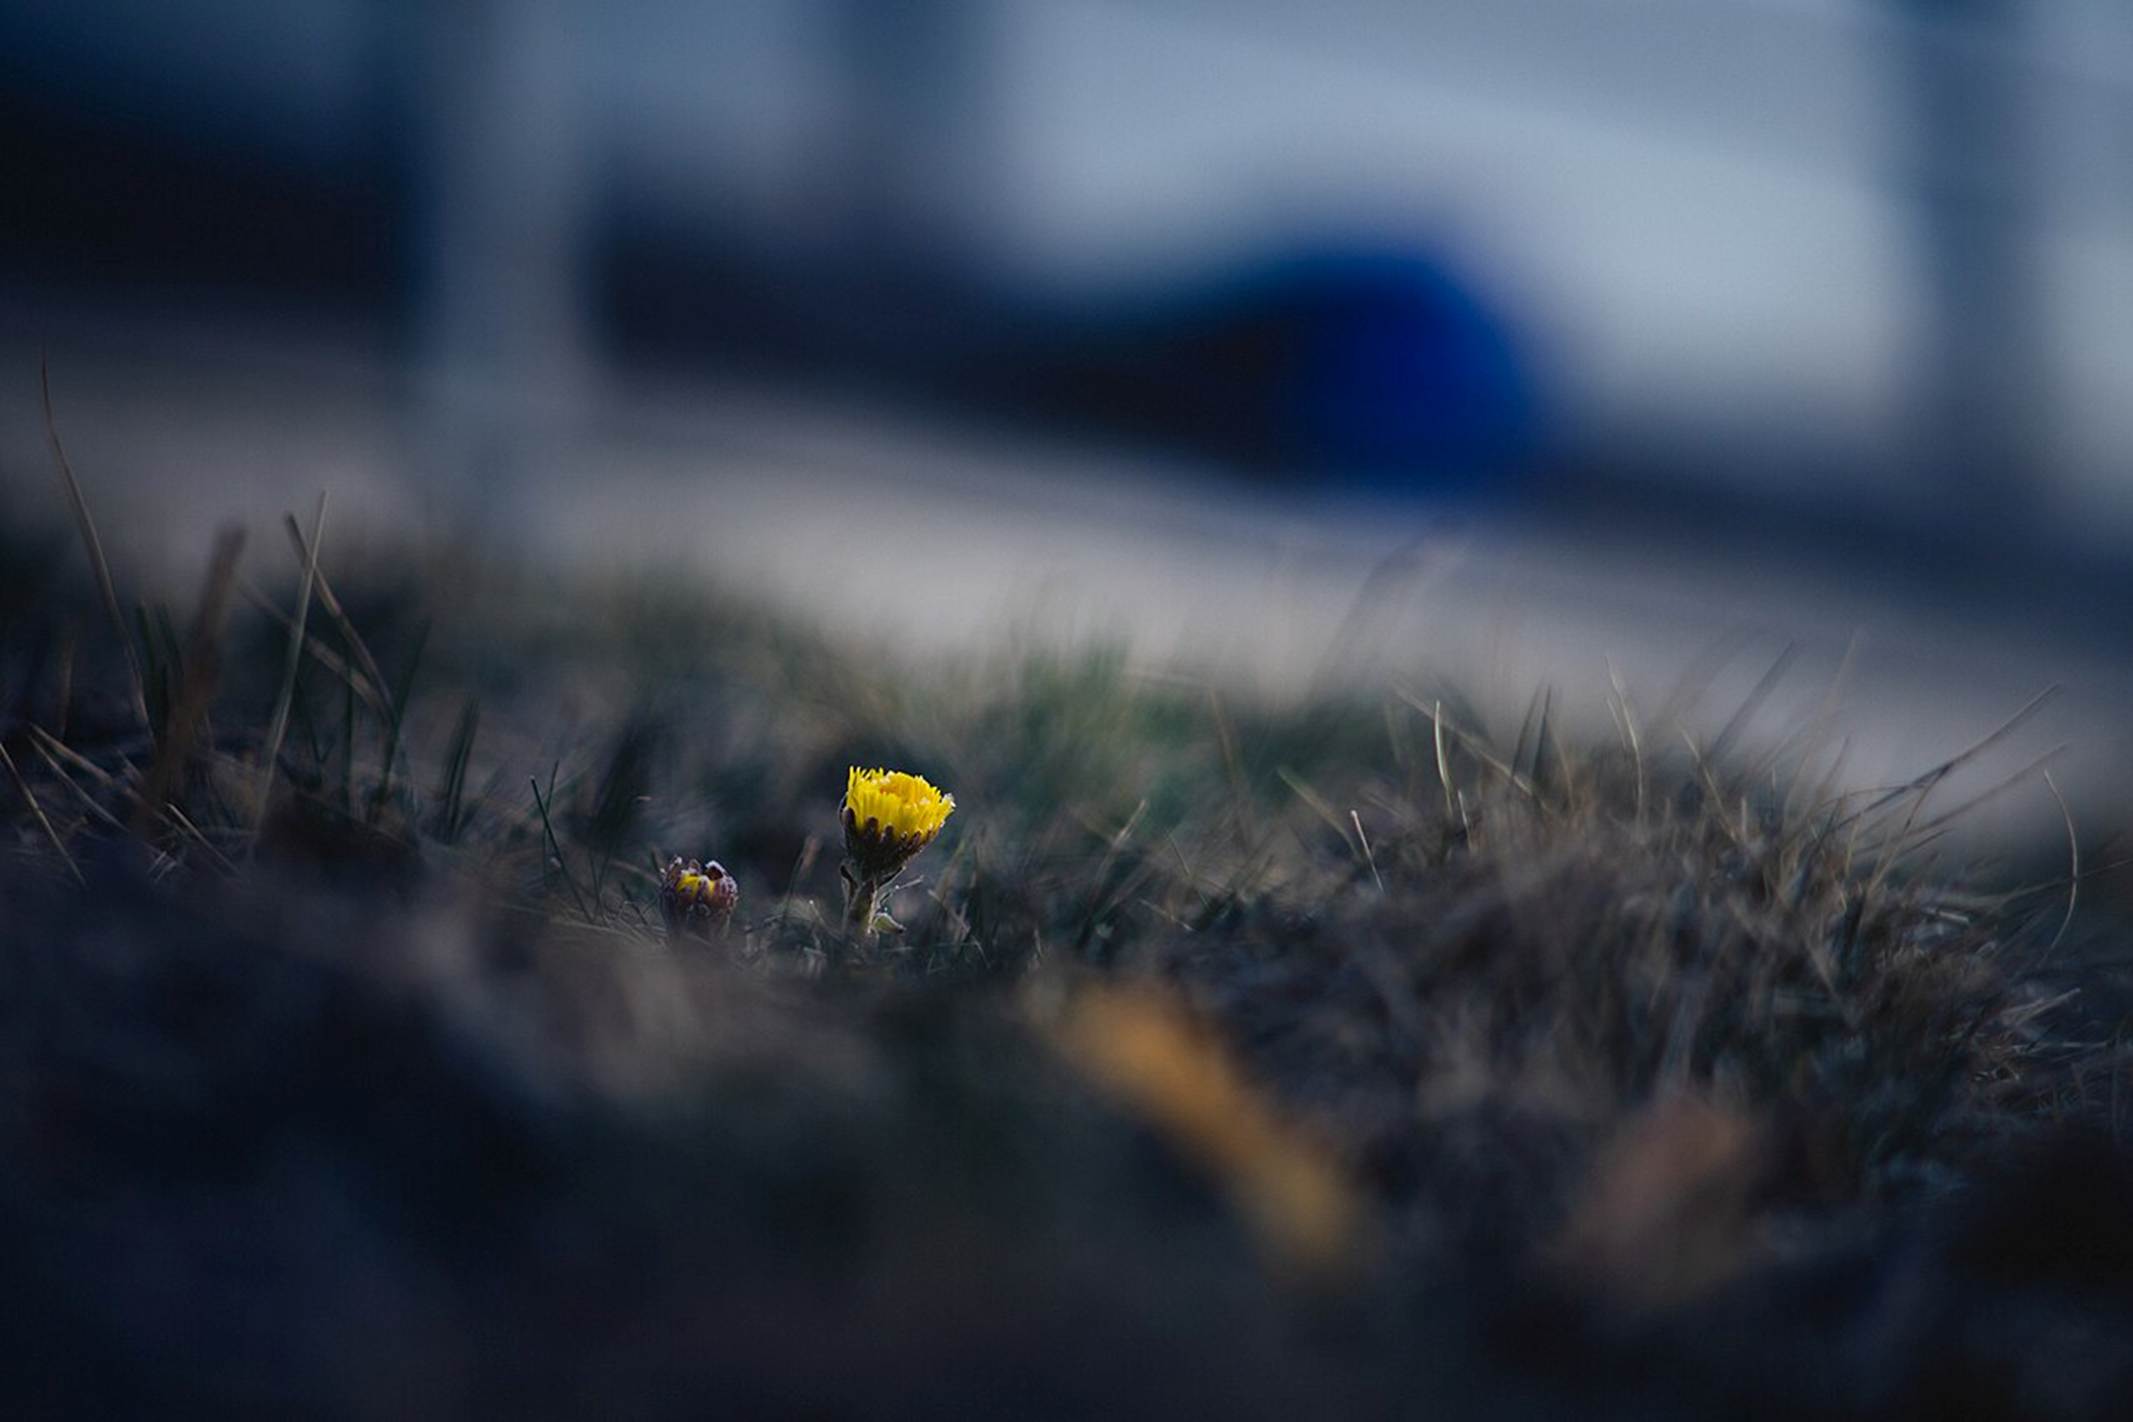
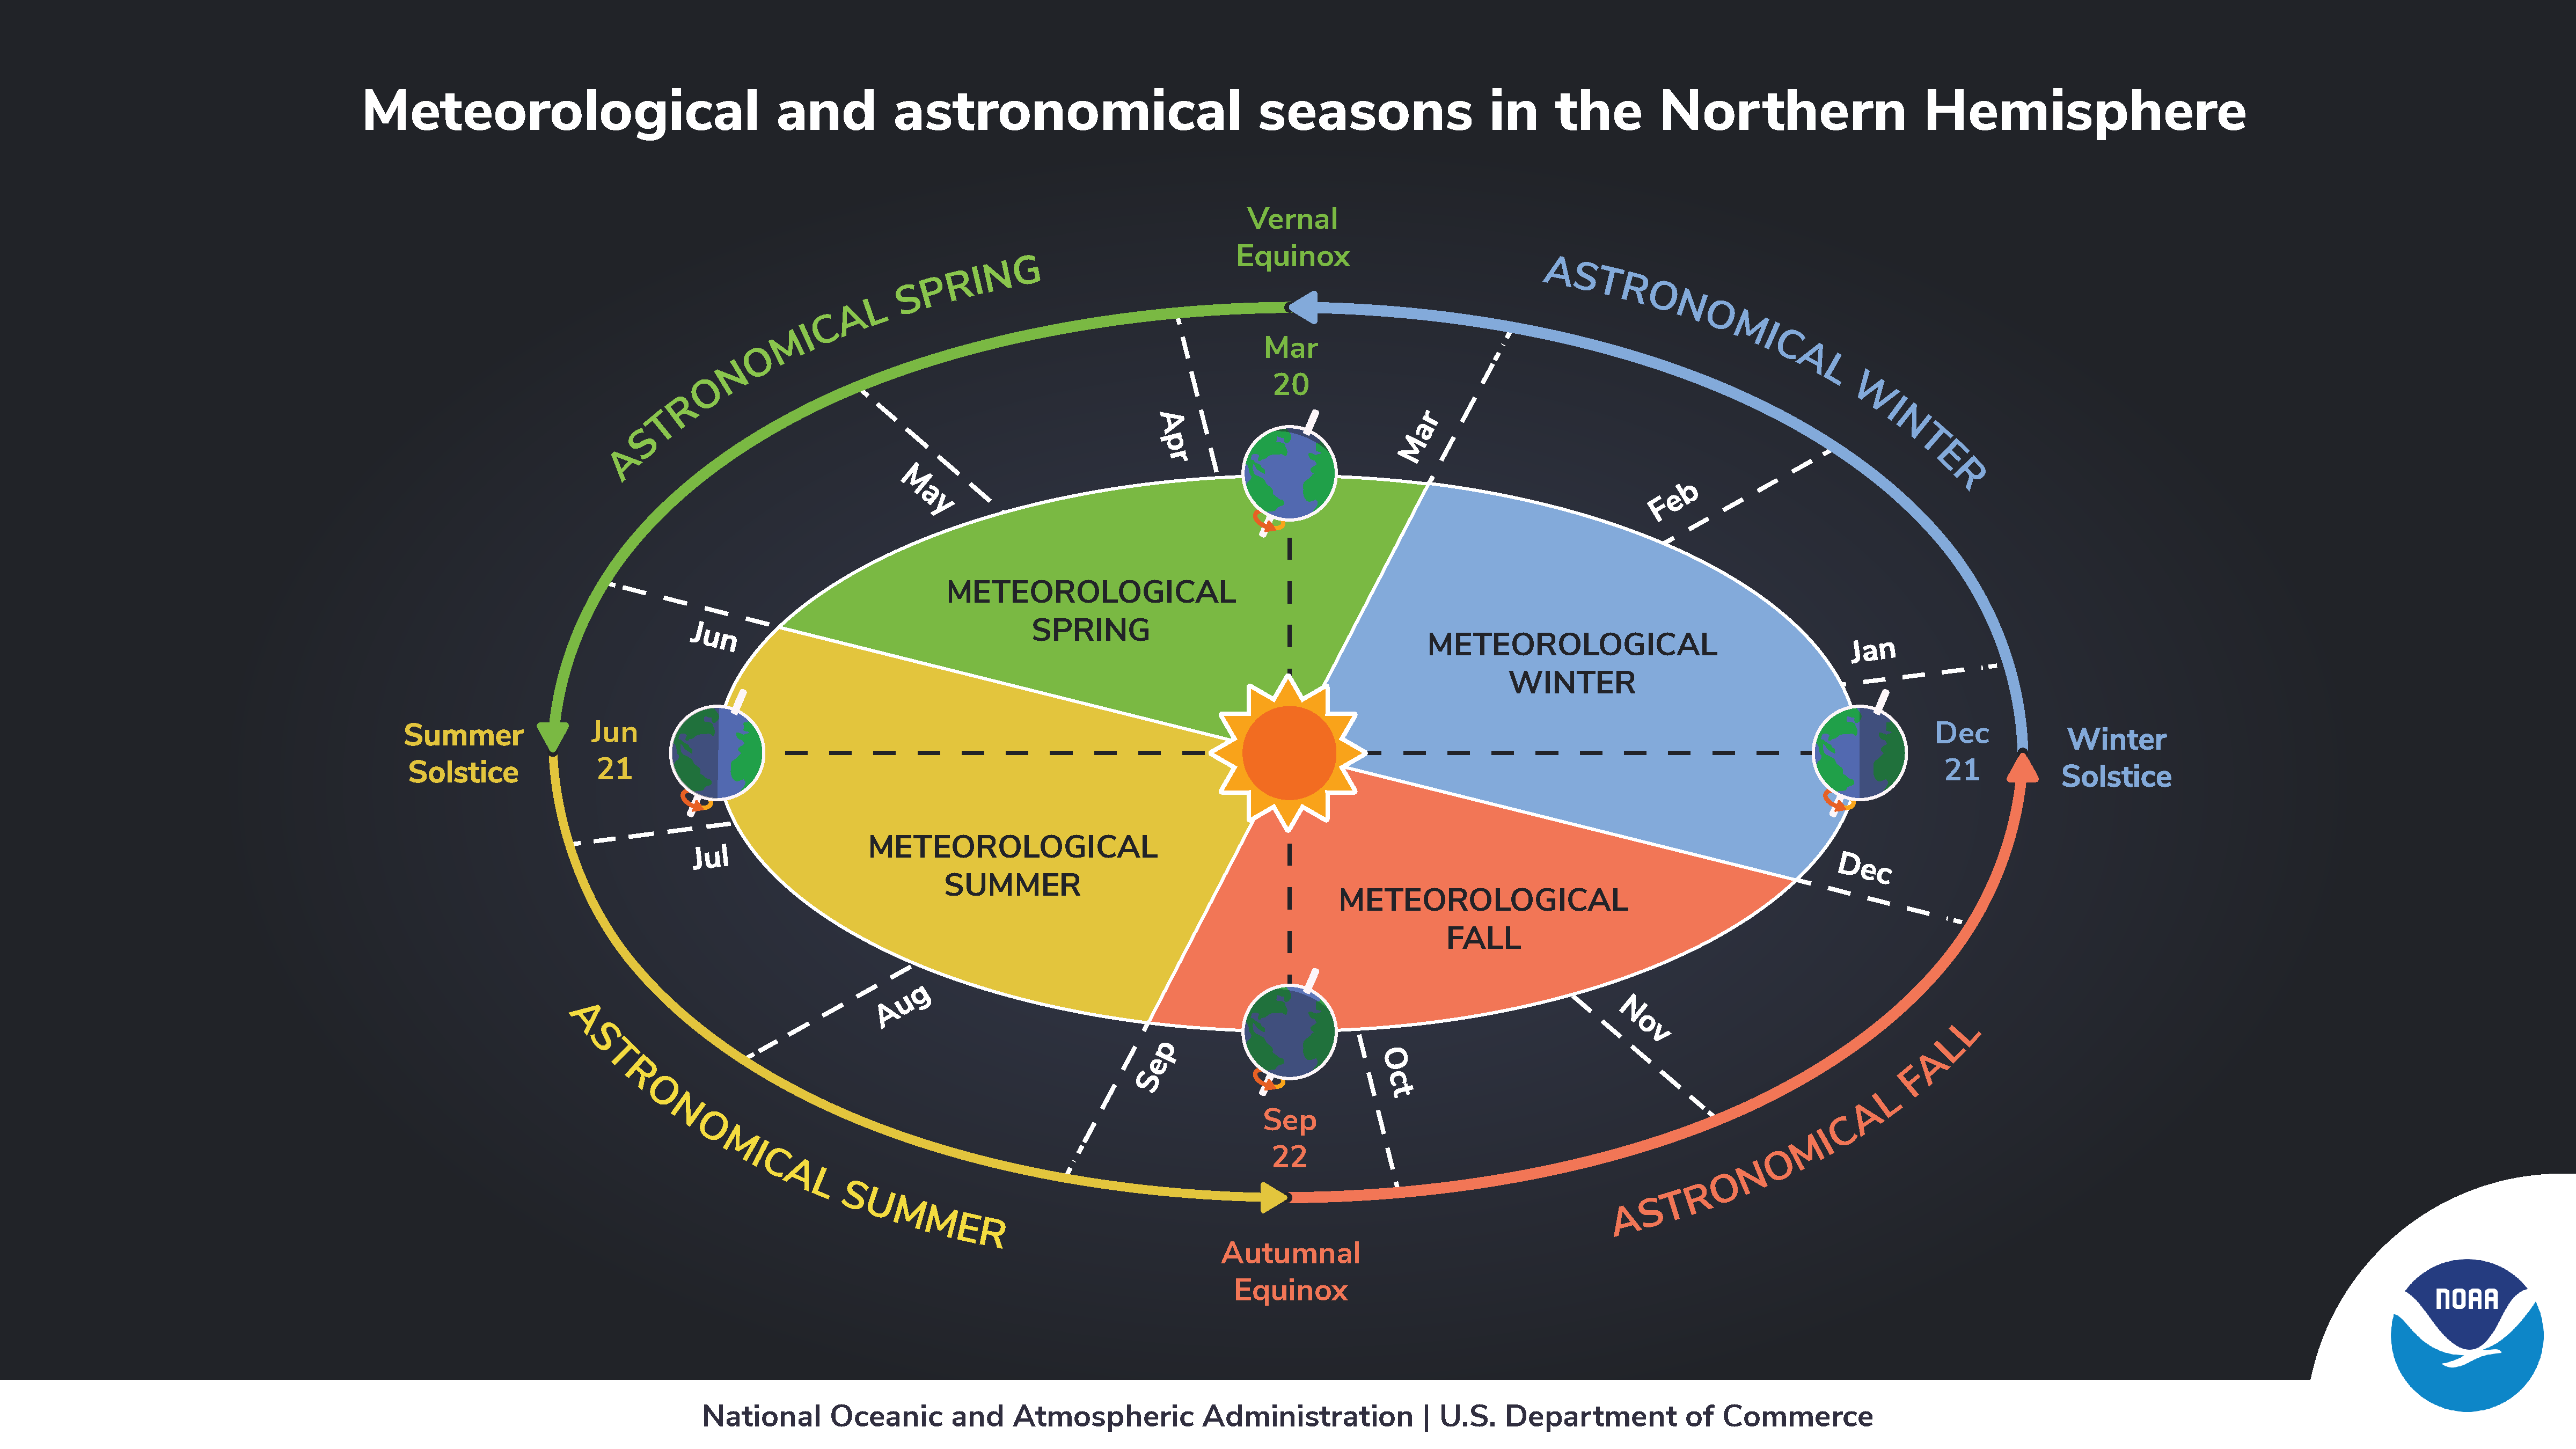
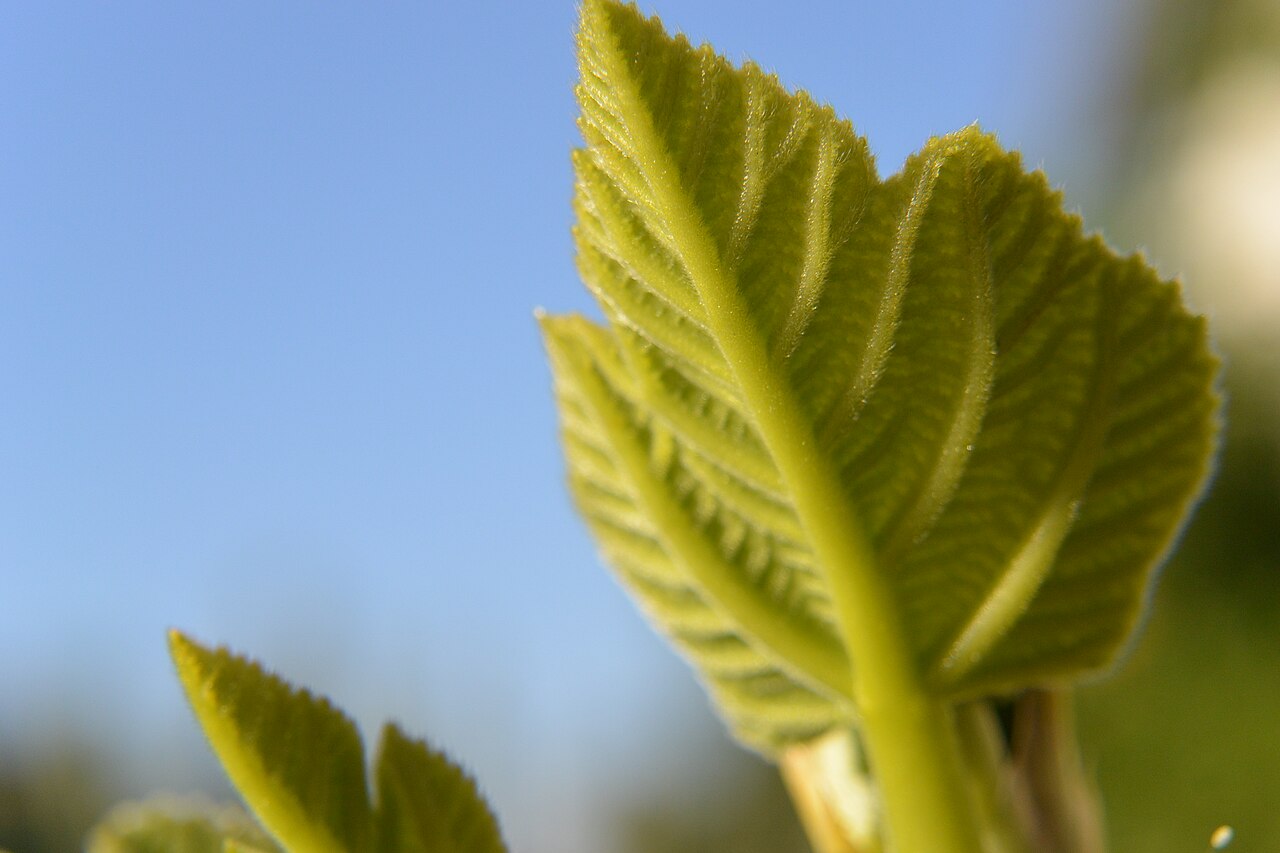
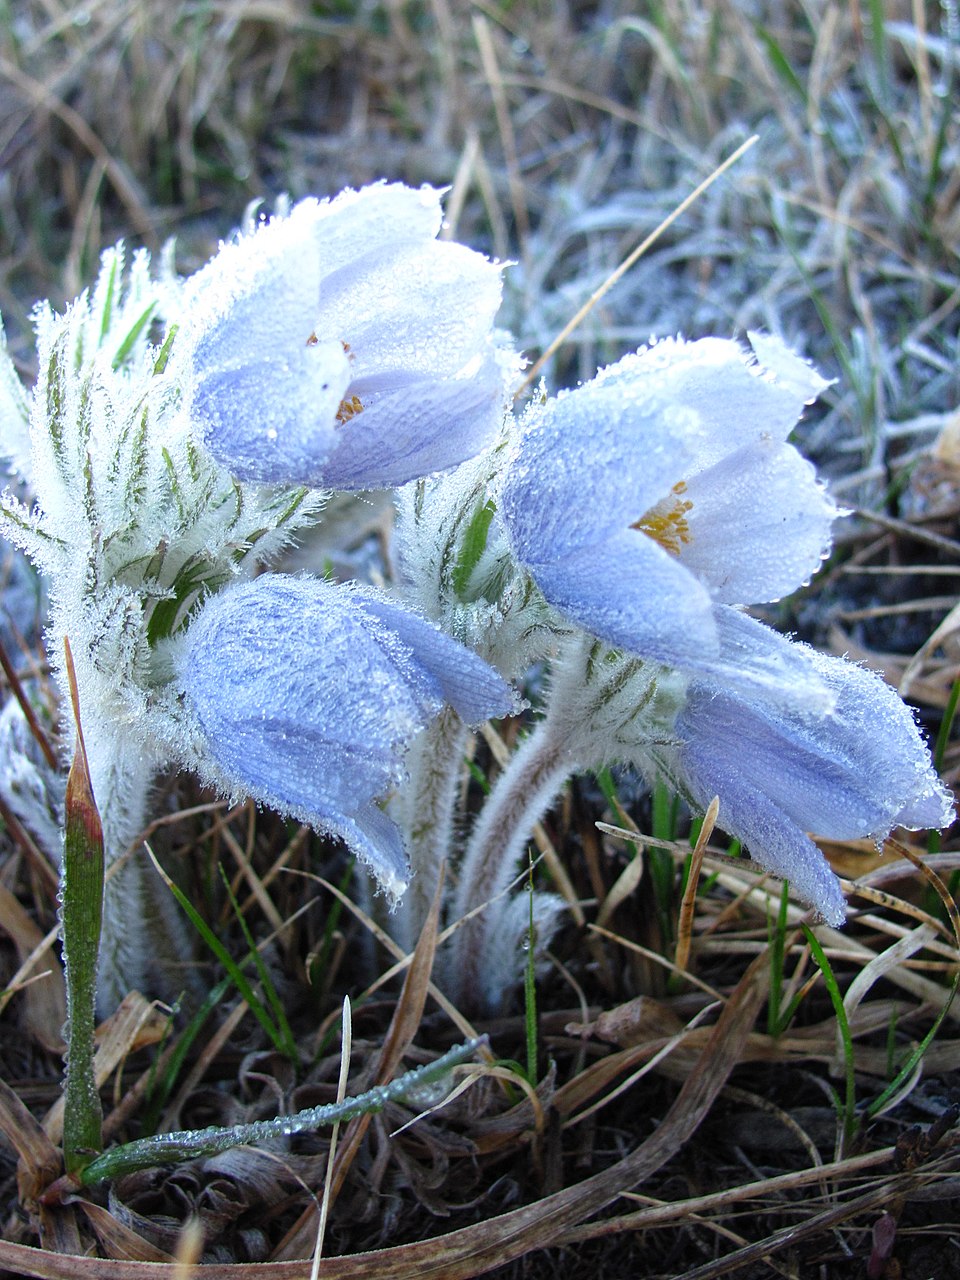
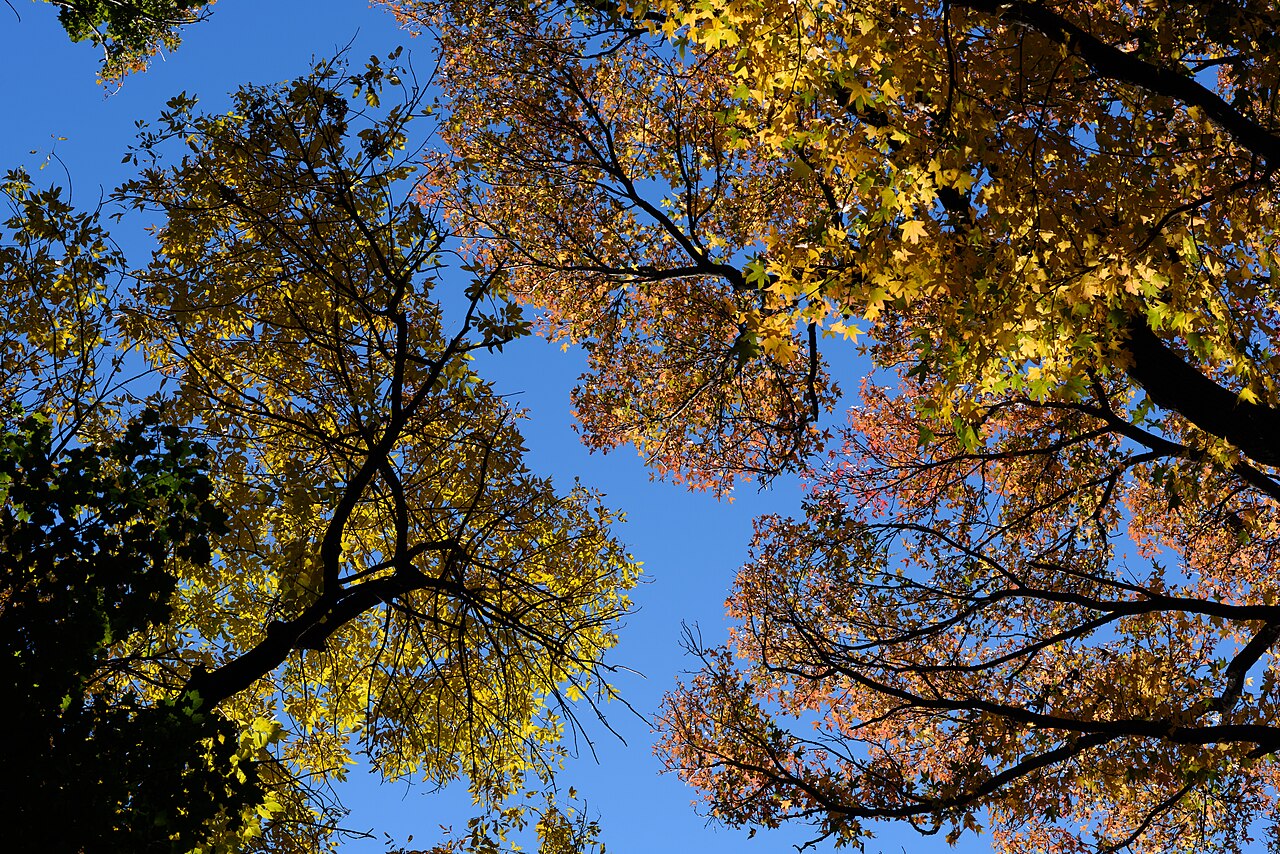
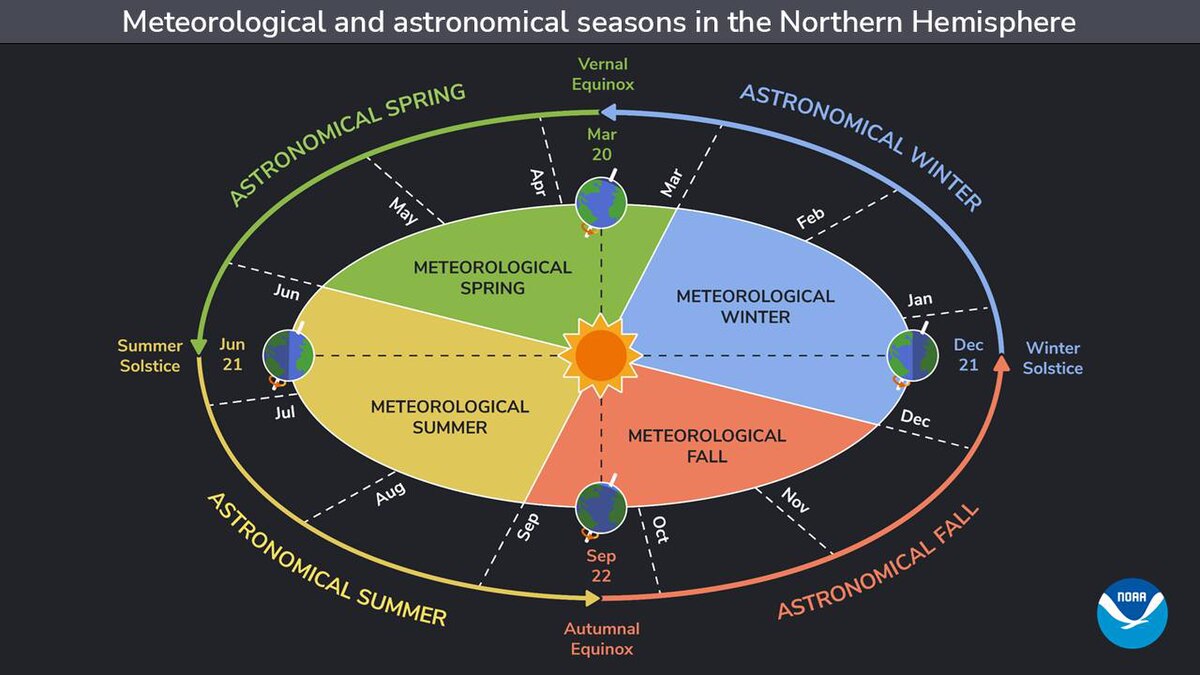
In this blog, I usually talk about how the weather affects gardens and plants, but today I am going to change the focus and talk about how the weather affects gardeners. By now, many of you in the Southern US and other parts of the Northern Hemisphere are starting to see spring leaves and flowers appear and are busy working outdoors in your gardens planting new crops and flowers or getting the soil ready to take the seedlings. If you are in the Southern Hemisphere, you are getting ready for the drift into autumn and winter conditions. In either case, as the weather changes, you may notice changes in how you feel. We will discuss what kinds of weather impacts you might feel and what causes these symptoms.

Three atmospheric conditions that affect human physiology
There are three main atmospheric variables that affect the body. Barometric Pressure is the weight of the air measured from the surface to the top of the atmosphere. The air pushes on the skin and by connection to joints, muscles, and internal organs inside the body. Temperature Swings are quick shifts between hot and cold atmospheric conditions and can make the body, especially the extremes like fingers and toes, ache or get dangerously hot or cold if the conditions occur for long enough. Humidity describes how much water vapor the air holds. Since the human body contains a lot of water, air that is much more or less humid than normal can affect how well the body is able to regulate itself. All these variables can cause physiological responses to weather and how it changes over time. While many people report sensitivities, however, some studies suggest that while weather effects exist, they may only account for a small percentage of the symptoms observed.
How does pressure affect us?
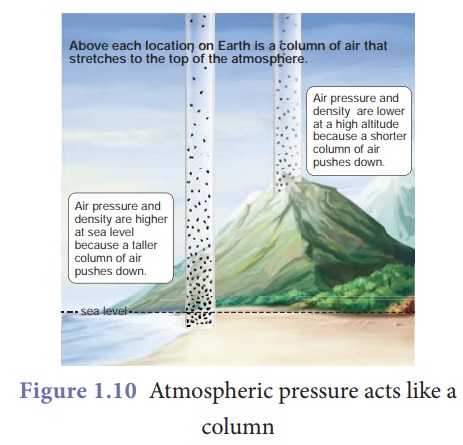
When the air pressure is high, there is a lot of air between the earth’s surface and the top of the atmosphere. The weight of the vertical column of air causes molecules of air to hit your skin, pushing on it. The molecules hit your skin more frequently when the pressure is high and less frequently when less air is present in low pressure. For some people, the strength of the pressure can cause headaches, especially when the pressure is high. When it is especially low, it can cause your ears to “pop” as the pressure in your inner ear equalizes with the pressure of the atmosphere through the Eustachian tube.
Some people notice changes of pressure over time when their joints start aching as areas of low and high pressure move through the area. Usually, areas of high pressure are associated with clear skies and low humidity and occur far from the warm and cold fronts that bring us rain. Areas of low pressure are often related to areas of higher wind and humidity that bring rain and cloud cover. When atmospheric pressure drops (often before rain), it reduces pressure on the body, allowing tissues and joint fluids to expand. This can lead to aches and pains in your joints and muscles. It can also lead to migraines and sinus issues. When you go from one elevation to a higher elevation, you can also get headaches from the changes of pressure if you don’t acclimatize to it gradually.
How does temperature affect us?
The areas of low pressure are often associated with Temperature Swings, or quick shifts between hot and cold atmospheric conditions. Rapid temperature swings can also cause physiological effects as the body responds to the heat by swelling or shrinking tissues. Cold weather causes muscles to stiffen and fluids to thicken, causing joint and muscle aches. Cold weather can also cause blood vessels to constrict, which raises blood pressure and forces the heart to work harder, which can lead to increased risk of heart attacks and strokes. If air is especially cold, it can cause surface freezing and the body can become dangerously cold, leading to the possibility of hypothermia, which can lead to death if not remedied. Individual limbs or fingers, toes, and ears can become so cold that they freeze due to frostbite and may need to be removed. Even if they are successfully thawed, they may become more sensitive to cold temperatures in the future.
If the air is especially hot, it can also cause problems for the human body. If it is hot, the body temperature may rise too high, leading to heat illnesses like heat stroke that can result in confusion and organ shutdown. This could result in death if it lasts too long.
How does humidity affect us?
Fortunately, we can regulate our body temperature to some extent by sweating, which sends moisture to the skin surface where it can evaporate. However, if the humidity in the air is too high, evaporation is not very efficient, and the body continues to get hotter. You can start to feel lethargic or fatigued and might have trouble breathing, especially if you have a chronic lung disease like asthma. Conversely, if the humidity is too low, we are more likely to get dehydrated and mucous membranes can dry out, reducing their ability to trap viruses and weakening the immune system.
What can gardeners do to keep themselves healthy in adverse weather conditions?
The most important thing a gardener can do to reduce the effects of changing weather on their health is to be aware of how the weather affects you. People have a range of sensitivities to the weather, and some will barely notice the changes while others will suffer days ahead of any big changes in the weather as their bodies are more sensitive to changes in pressure, temperature, and humidity. Some people even keep a record of their symptoms and relate them to the changing atmospheric conditions. You can also watch weather forecasts and identify what types of symptoms you might experience in the coming hours or days as the weather changes. Keeping well-hydrated is one way you can reduce ill effects of dry air that can occur in summer or in winter. Protecting your skin from the direct heat of the sun is another way to keep your temperature lower in the summer but protecting your extremities, nasal cavities and lungs in cold winter wind conditions can reduce the likelihood of frostbite or other severe winter health conditions.

In summer, you can look for time periods when it might be too hot to work outside safely and plan your outdoor work for hours that are safer. In 2024, I talked about heat indices such as the wet bulb globe temperature and provided places to find specific forecasts for the worst conditions so you can avoid working outside when they occur.
Do you experience weather sensitivity? If so, let us know! You can put a comment on this post and tell us and our other readers how the weather affects your health.


.jpg)