Voles are Pickier Than You Think

Facebook

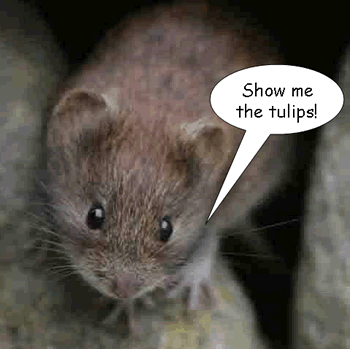
…and it’s not just the scientifically-proven inverse correlation between the price of the mail-order perennial and likelihood it will get chomped within six months. The prairie vole (Microtus ochrogaster) is notorious throughout central and eastern North America for laying waste to many a well-tended garden. Much of what’s out there in regards to herbivory of ornamental plants (said chomping by deer, voles, bunnies, etc.) is simply anecdotal, yet repeated ad nauseum as fact. So it’s exciting to see some new research in that field, published in a recent HortTechnology journal.

Dr. William Miller’s research focus is bulbs, and his group at Cornell University set up feeding trials with thirty common garden bulb species to quantify the prairie vole’s preference thereof. Tulips topped the list as the colony’s favorite (but you knew that already). In fact, “the voles became accustomed to this feeding schedule, and would vocalize and get excited when we entered the laboratory to prepare the bulbs…”

The voles showed the least interest in daffodil (Narcissus), grape hyacinth (Muscari armeniacum), Italian arum (Arum italicum), ornamental onions (several Allium species) and snowdrop (Galanthus nivalis). These bulbs were evidently high in the sort of secondary metabolites that, among other things, cause plant tissue to taste bad. There were even preferences shown as to different cultivars within each species – they were wild about tulip ‘Apeldoorn’ yet ate half as much of the species Tulipa turkestanica. Note to the vole-ridden…the daffodil ‘Ice Follies’ registered barely a nibble.

Apparently voles love apples more than anything, so the researchers also mixed dried, ground bulbs with applesauce to make them even more appealing. The point of this slightly eludes me, but the take-home message was 1) voles will eat anything except onions when mixed with applesauce, and 2) don’t dip your bulbs in applesauce prior to planting. Now if only Dr. Miller would work on vole feeding preferences by price point…
Source: Curtis, B, D. Curtis, and W. Miller. 2009. Relative Resistance of Ornamental Flowering Bulbs to Feeding Damage by Voles. HortTechnology 19:499-503.

Facebook

Buddleia or Buddleja?

Facebook

I recently heard that Mike Dirr has come out with the next edition of his book on woody landscape plants. Dr. Dirr (I can’t seem to bring myself to call him Mike, even after all these years) was my major advisor in graduate school, so I’m really looking forward to getting it.  In the meantime I heard that he included a section on my thoughts about how to spell the scientific name of the butterflybush, a plant that I worked on to get my Ph.D..  Some people spell it Buddleia, but most go with the Buddleja spelling  — but it looks really silly.  So, while I’m not sure exactly what Dr. Dirr wrote, I thought I’d give you my two cents worth.

By the way, any of you out there yelling and screaming that I shouldn’t be promoting an invasive weed should be ashamed of yourselves.  I spent years working on this plant and I refuse to believe that all of my work was for naught!

But back to the name. First of all you need to understand that the Butterflybush was originally named for a botanist named Adam Buddle.  Buddle didn’t discover this plant.  Nor was he directly involved with its naming, being an expert on mosses.  Besides, he wasn’t even around when Butterflybushes were discovered by the western world around 1730 (Buddle died in 1715).

Buddleja was first mentioned in Species Plantarum, a book by Linnaeus.  And, when it was listed there, it did have that j in it.  OK, so far it makes sense to spell the name Buddleja. BUT, in his later works, though this plant was spelled Buddleja in the text of the book (at that time stylized print settings meant that i’s were printed as j’s u’s as v’s as s’s as f’s), in the index – where the stylized text wasn’t used – Buddleia was spelled with an i.  Hence I submit to you that Buddleia should be spelled with an i – though I’m not nearly as fanatical about it as I once was.

Facebook

Take it all off (cue bow-chicka-bow-bow music)

Facebook

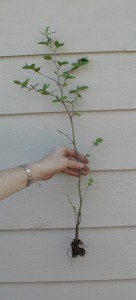
OK, I know there are skeptics out there including many of my dear colleagues.  Though it seems that at least some of my photos are making an impression.  So here is another little photo tour through bare-rooting – this time with a bigger tree.

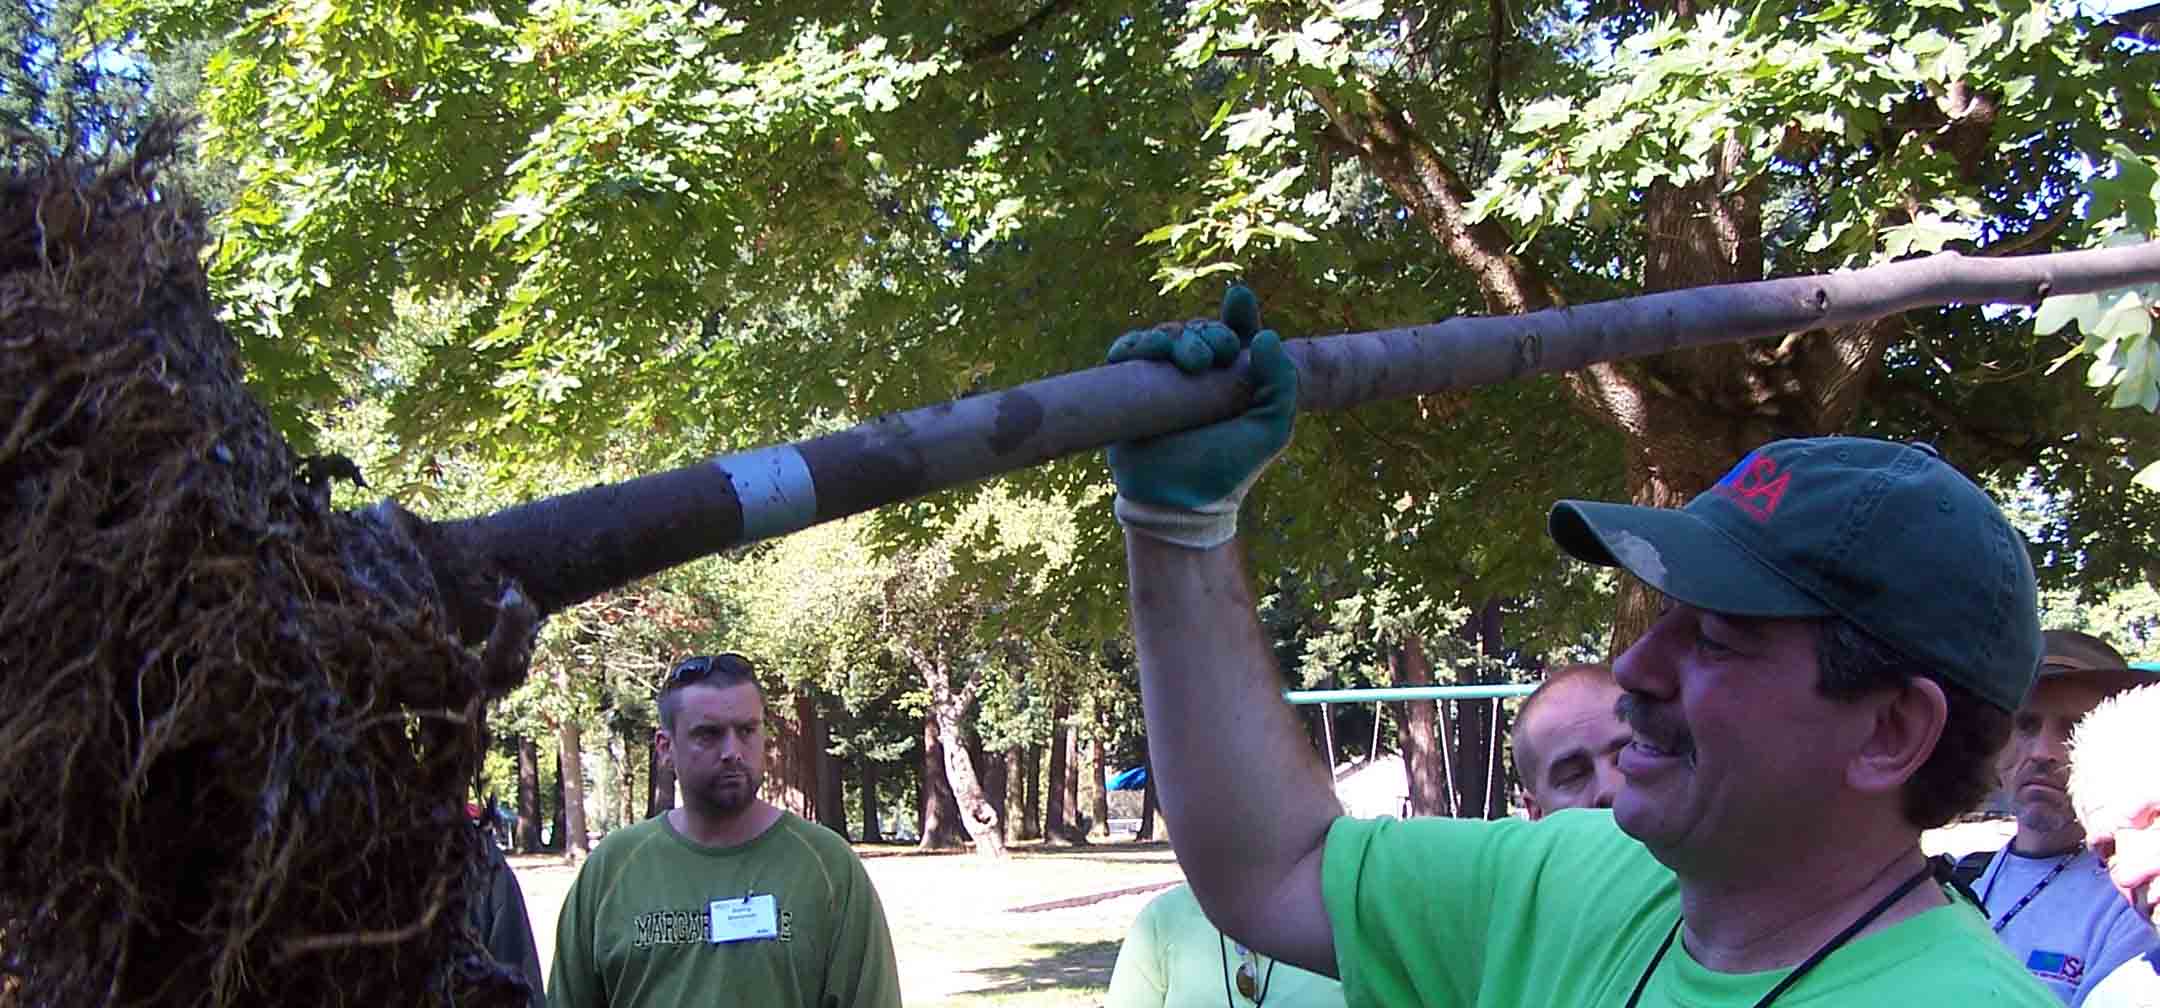
This demonstration was given at the 2006 ISA conference in Washington.  This is a good sized tree…

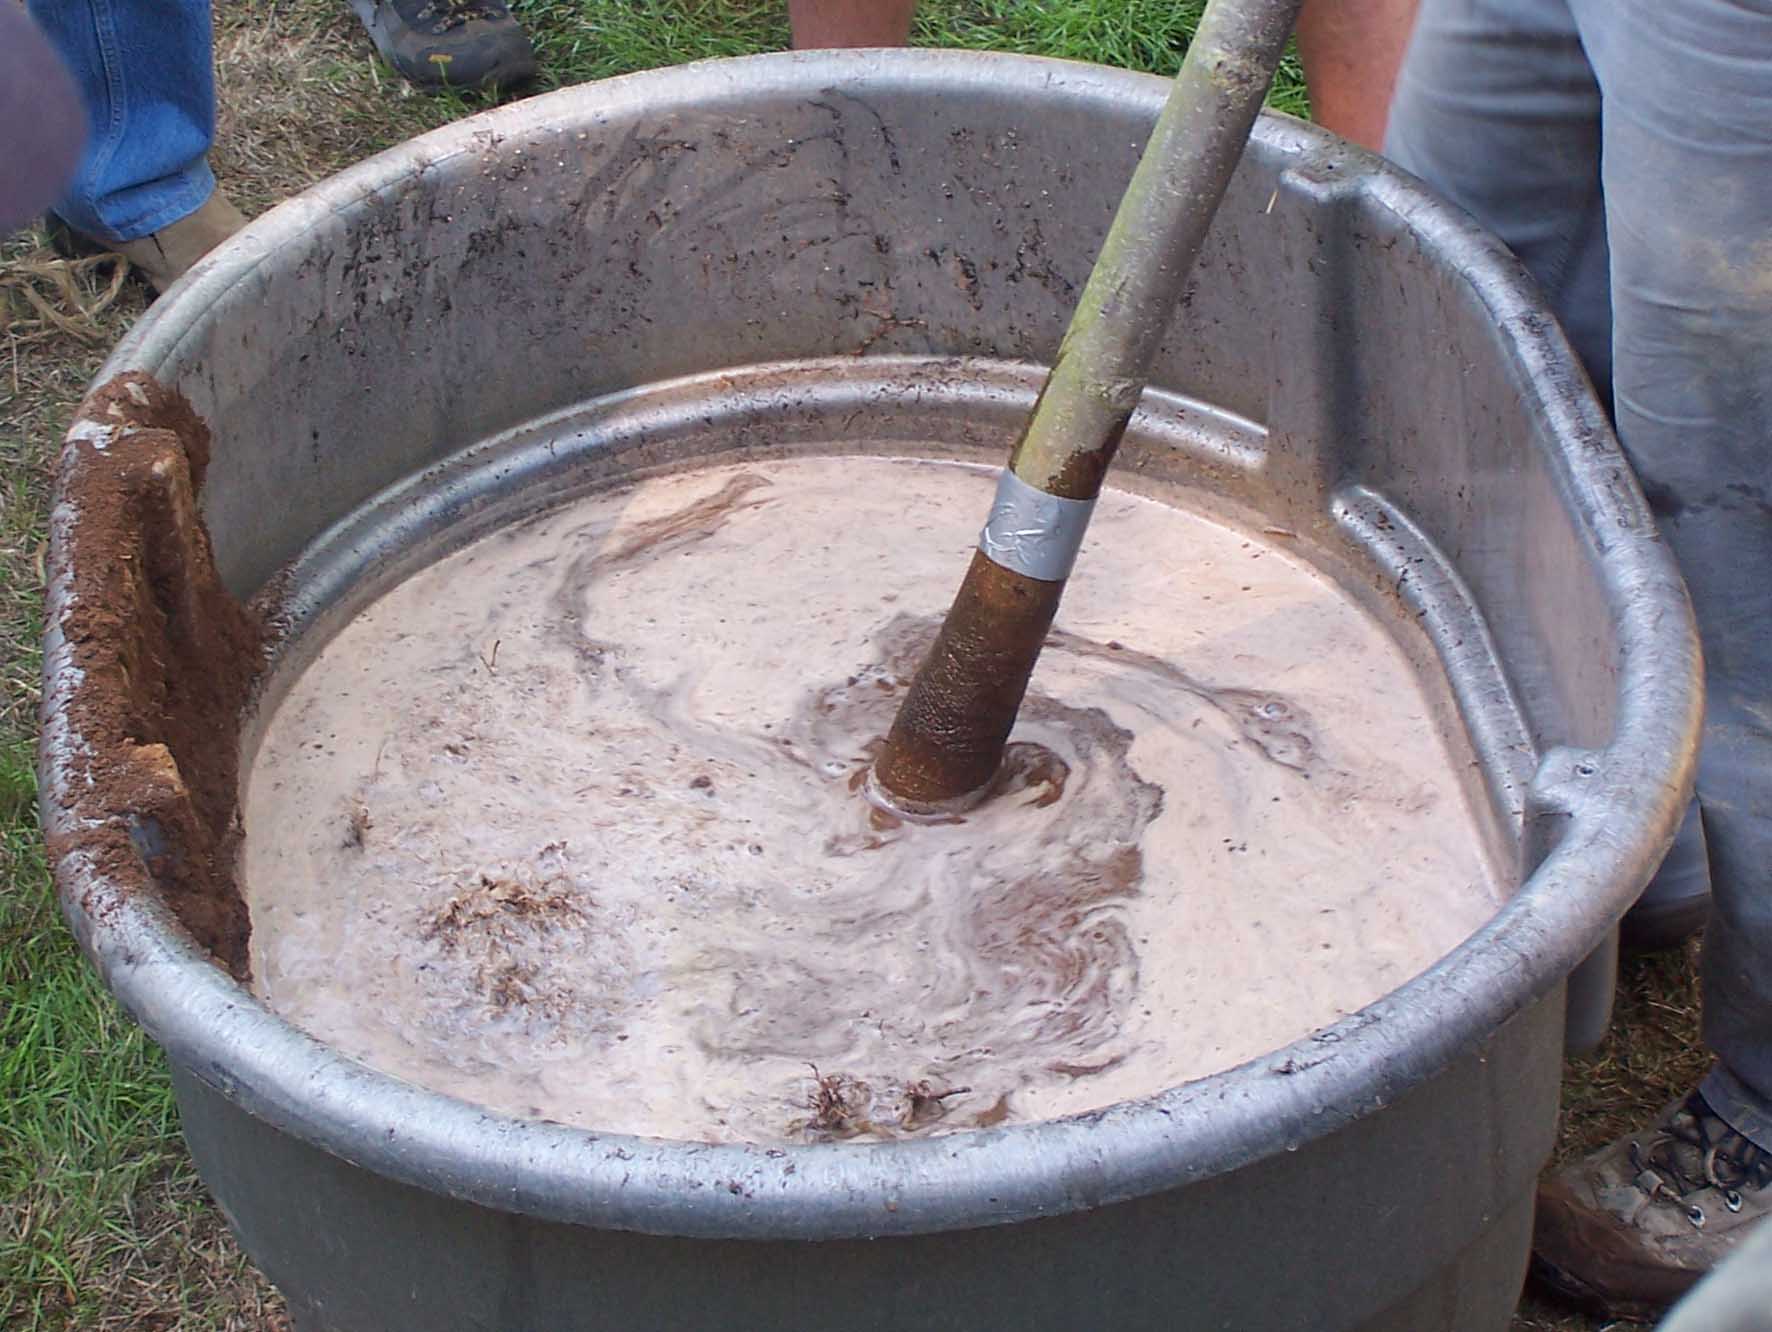
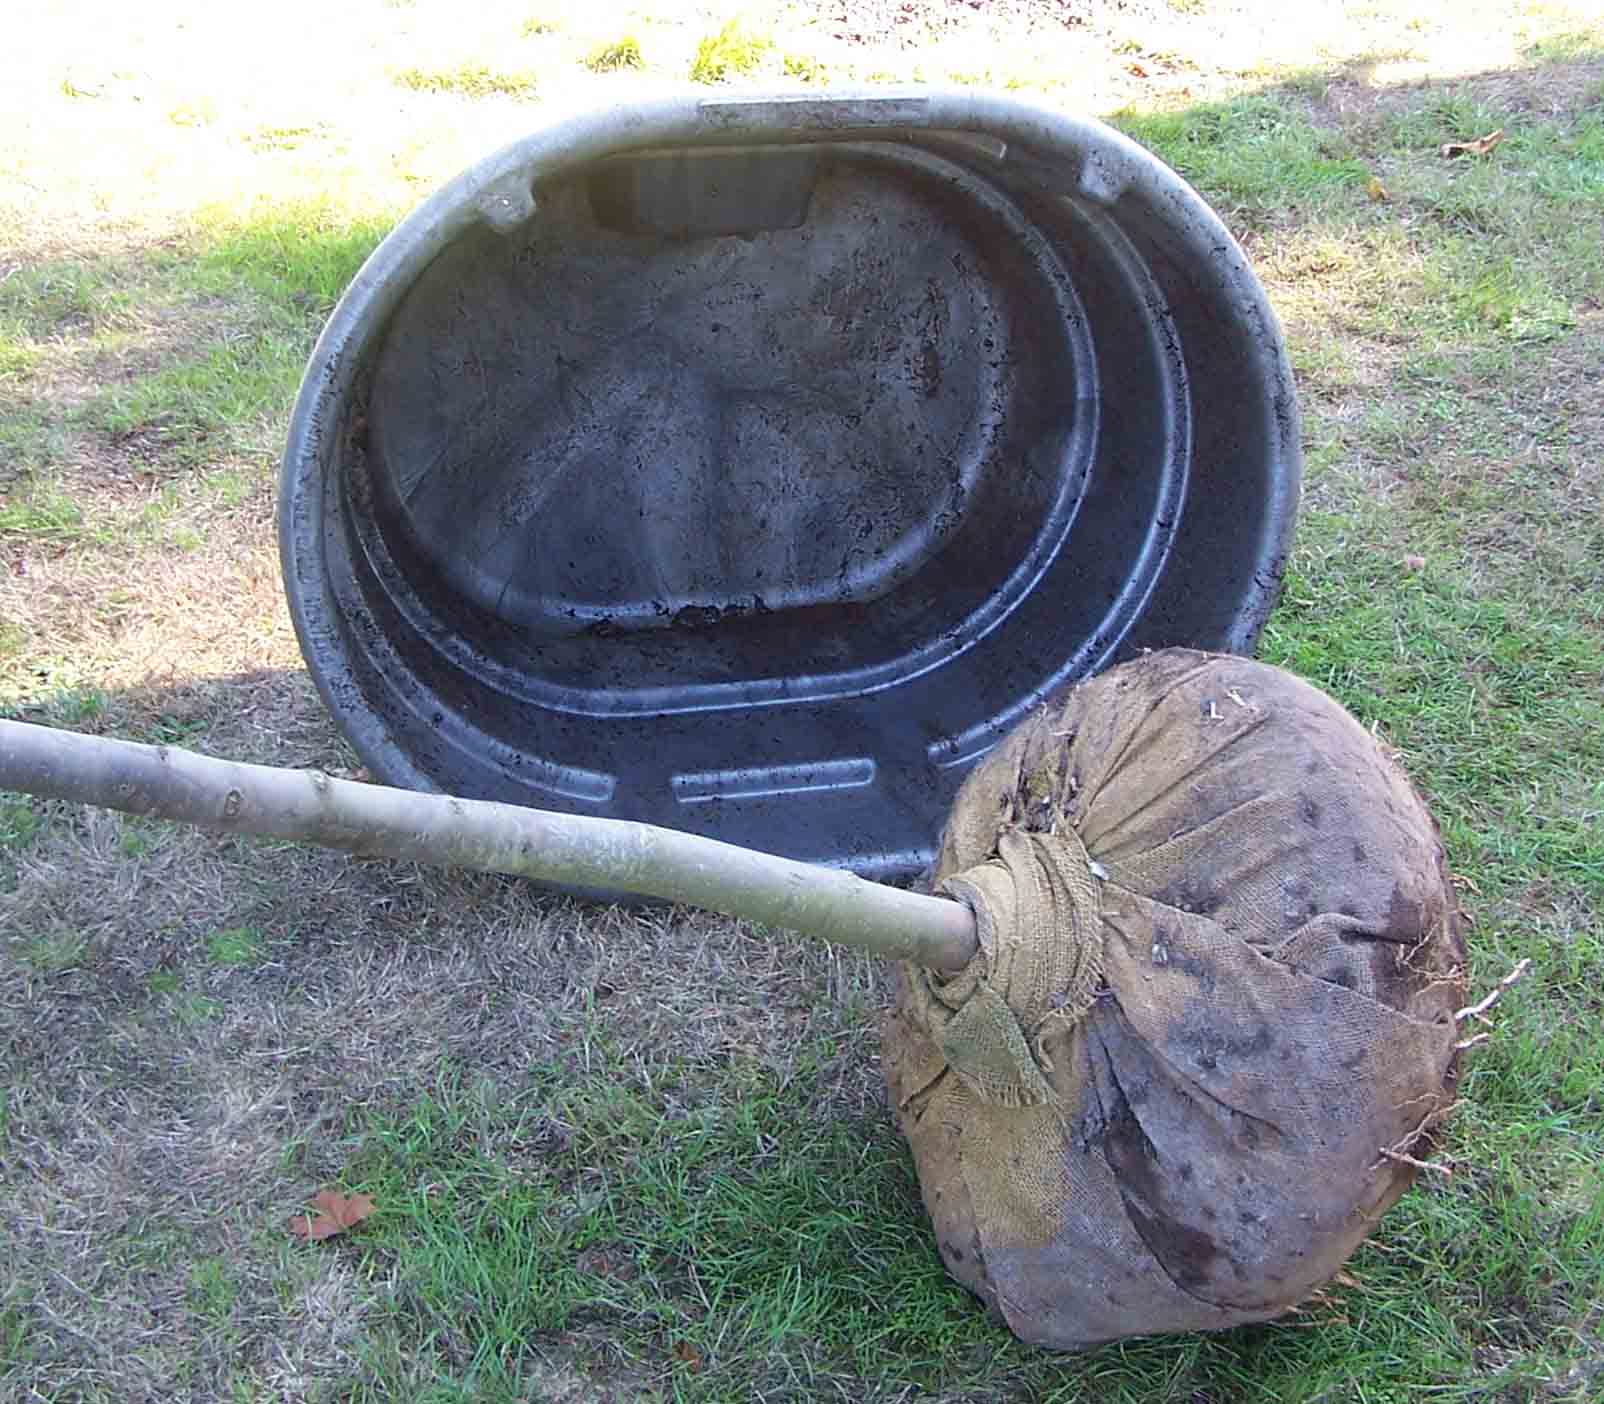
…that we plopped into a Rubbermaid watering trough after removing the burlap…

…and washed off all the clay.  It is deceptively easy to do.

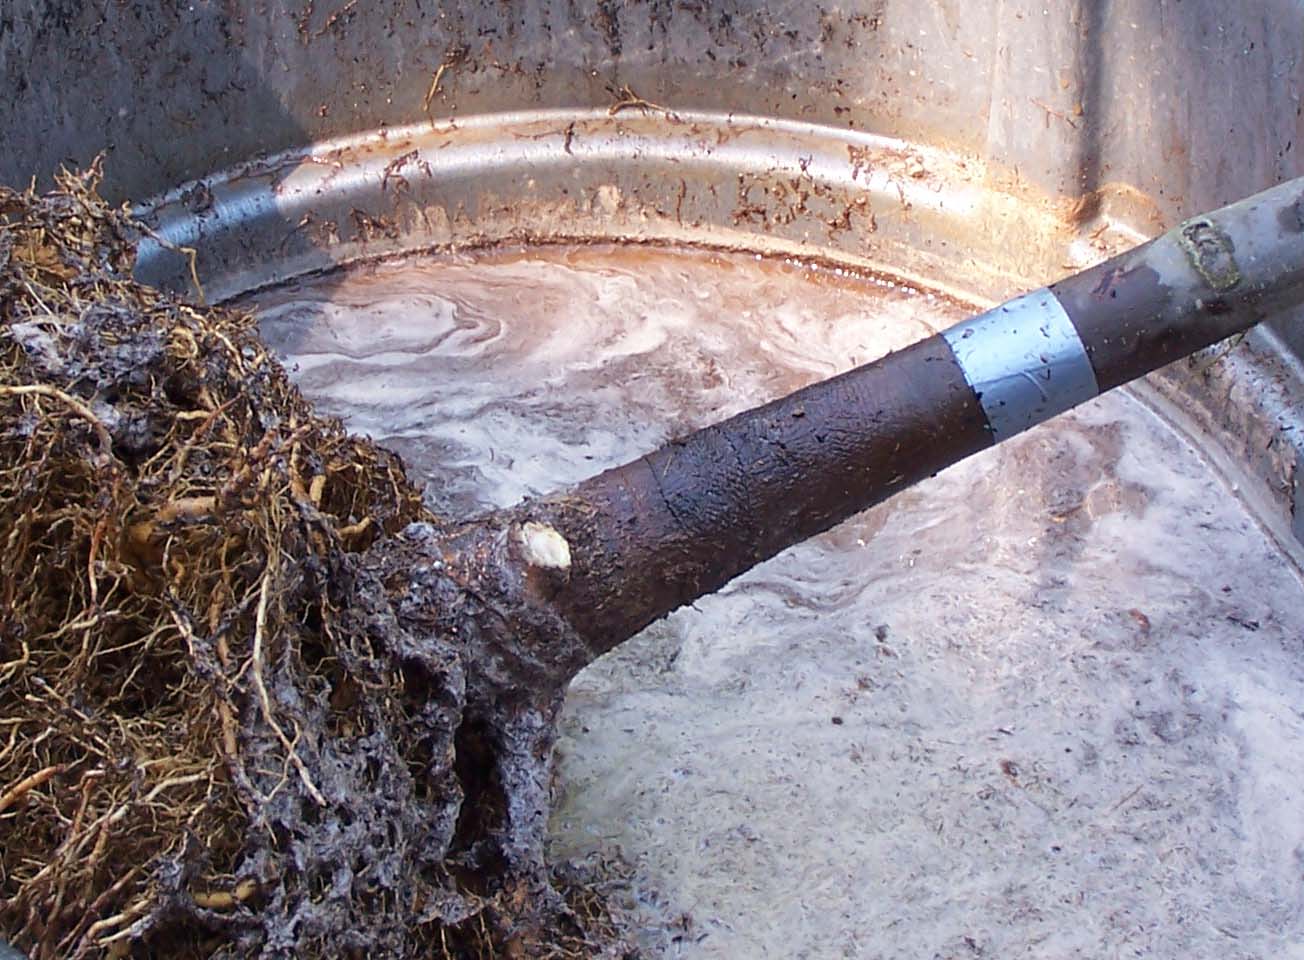
Oh!  I almost forgot!  We put some duct tape around the trunk just above the burlap before we started this procedure.  Look where the tape ended up:

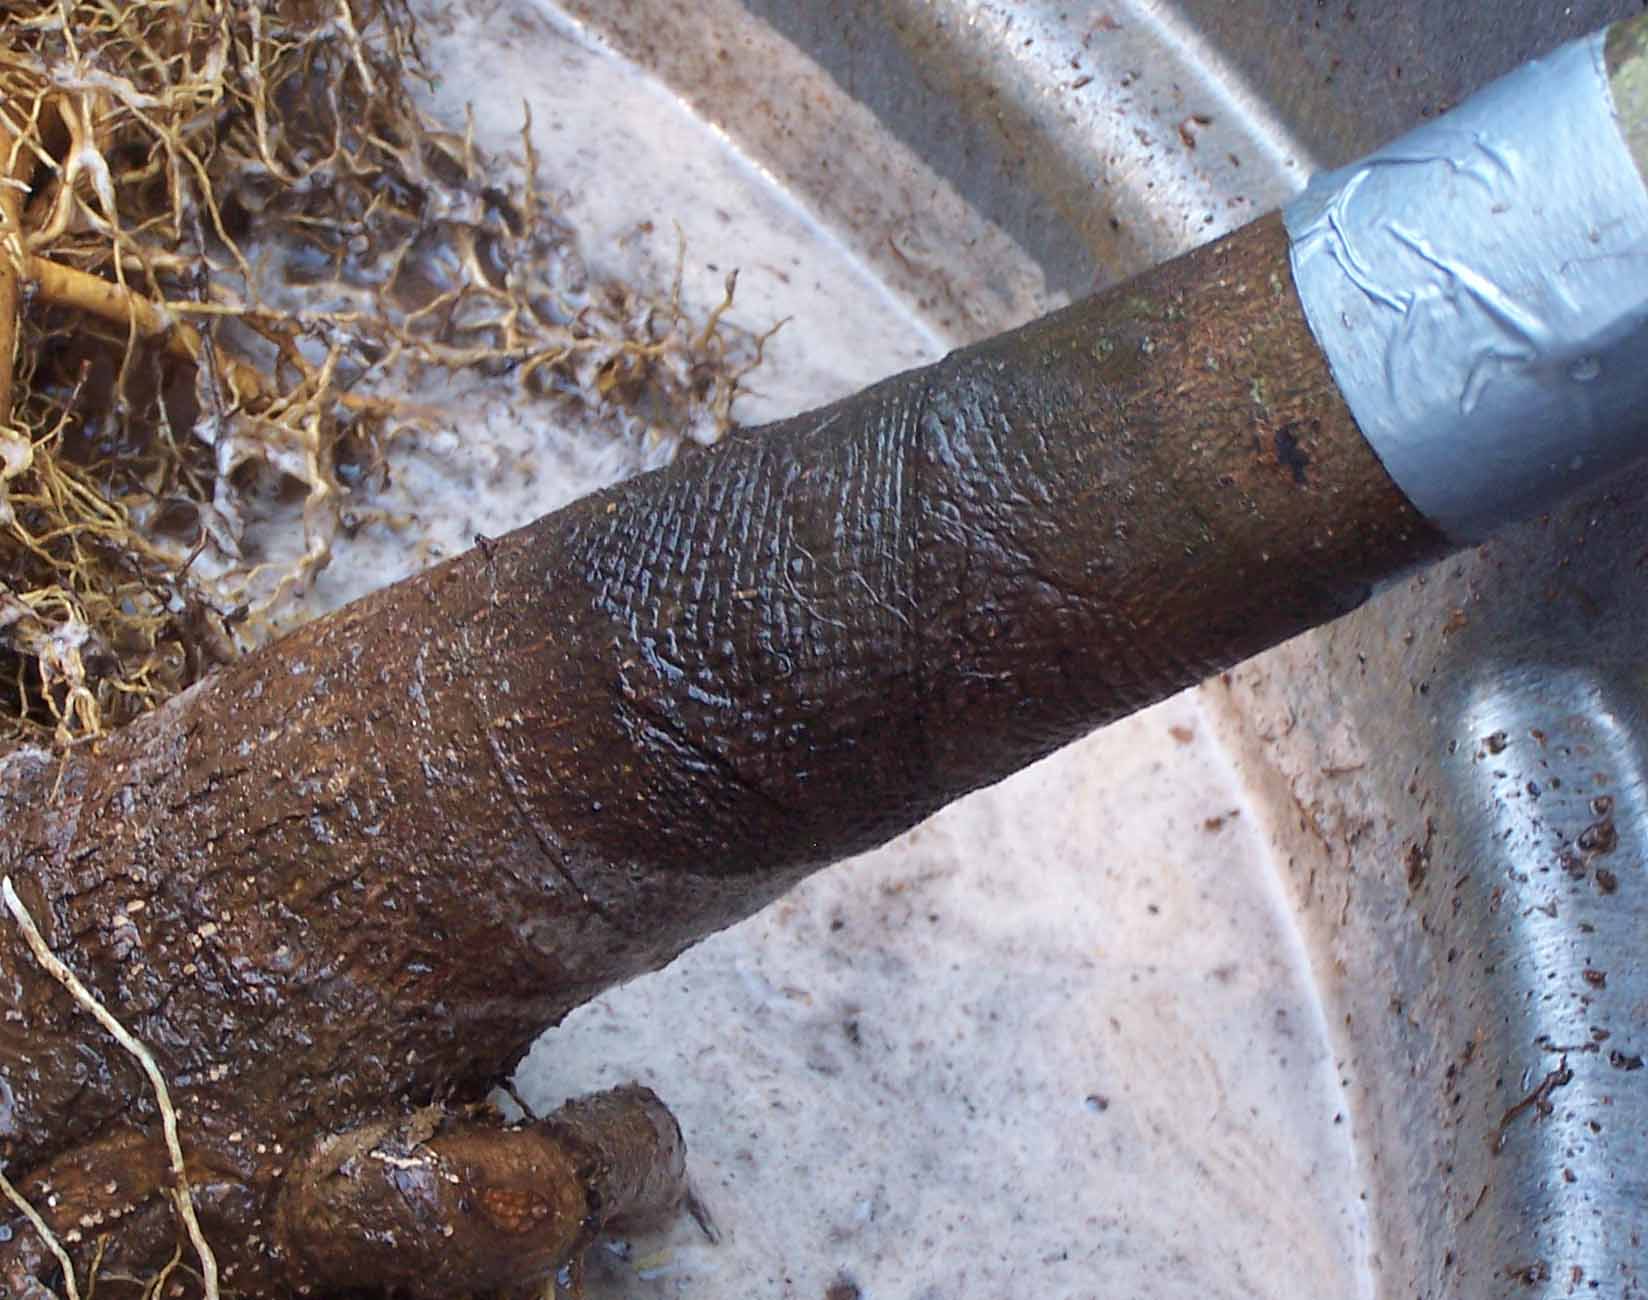
So there is another really compelling reason to bare root trees.  Had we not, this tree would have been planted 10 inches below grade.  But I do have to say the burlap made pretty patterns on the tree:

Another plus – with the clay gone, these trees are really easy to pick up and move around!

And it didn’t need staking once it was mudded in…


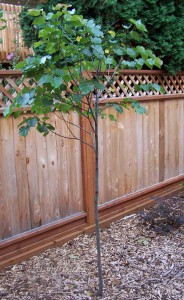
And it looked great seven months later with little to no maintenance and lives happily ever after.  The end.

Facebook

Slugs and Beer: Not So Fast, My Friend…

Facebook

[To those new to our blog, there are many past posts of scientifically-proven garden advice and research results…so pardon if we slip off the wagon just briefly.]

In response to the previous post:
Dr. Gillman, I’m simply shocked at your sloppy “materials and methods”.
What is that, a Frisbee? And you drink a beer called Moose Drool? Sounds intriguing, but probably too hoppy. No wonder the slugs were simply mocking your feeble attempts at attracting them.

BEHOLD the well-researched and insightful slug trap:

One 12″ plastic pot saucer + 10 oz. Pabst Blue Ribbon = 28 slugs in one night.

Not unlike college students, results indicate there’s obviously no accounting for the slug’s taste (or lack thereof) in beer. Hmmm…that gives me an idea for a grant proposal…

Facebook

Slugs and Beer

Facebook

Around my home I have gravel and hostas.  Just perfect, as you might imagine, for lots of slug damage.  This is where I do my work on slug remedies.  And there are lots of remedies for slugs!  One of the oldest of these remedies is beer.  Almost any beer will be adequate (including alcohol free), but generally the darker the beer the better.  When I first started testing different cures for slugs about five years ago one of the first ones that I looked at was beer.  And when I first tried it…..well, see for yourself.

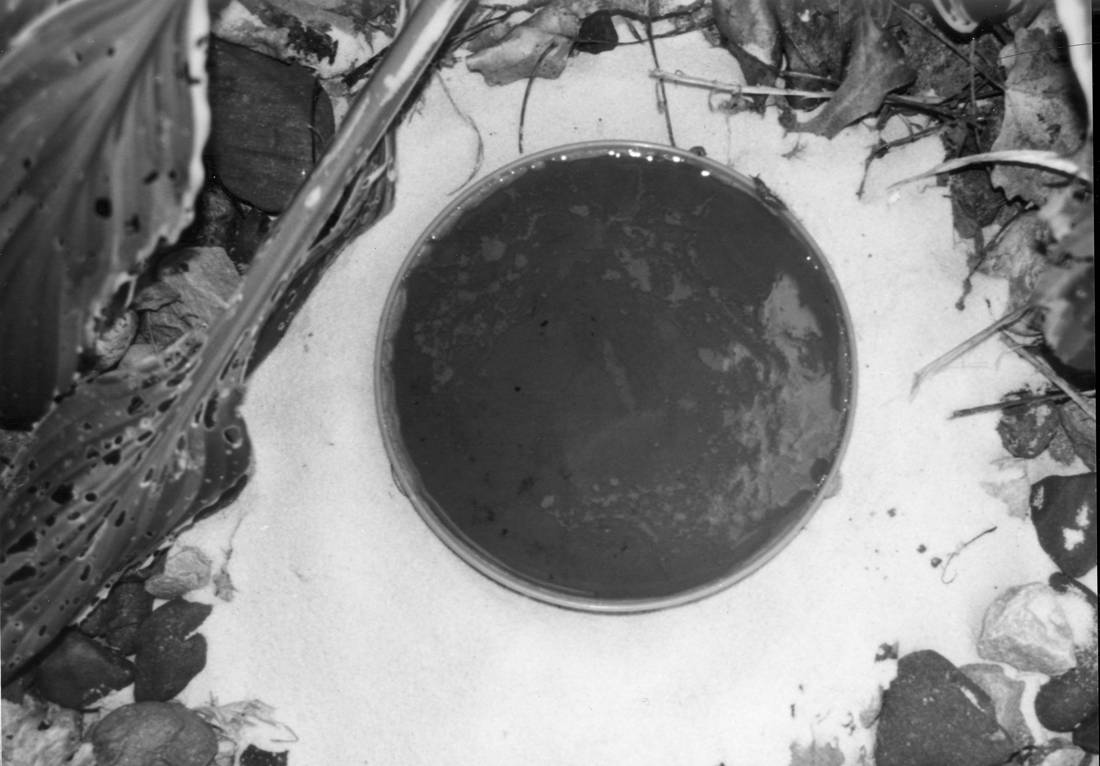
This is the way that I set up my first beer trap (for this test).  There’s fine sand all the way around the trap and the trap is filled with Moose Drool (a nice beer — Suzanne, my wife — was actually a little irritated that I wasted a good Moose Drool when we had a Bud Light in the fridge — But I was only thirsty for half a beer when I set it out….and I don’t like Bud Light)

I set this trap up around 8 o’clock on a nice warm summer evening, the idea being that the next morning I could go out and see how many slugs approached the beer (by looking at the sand) and then see how many slugs the beer actually caught.

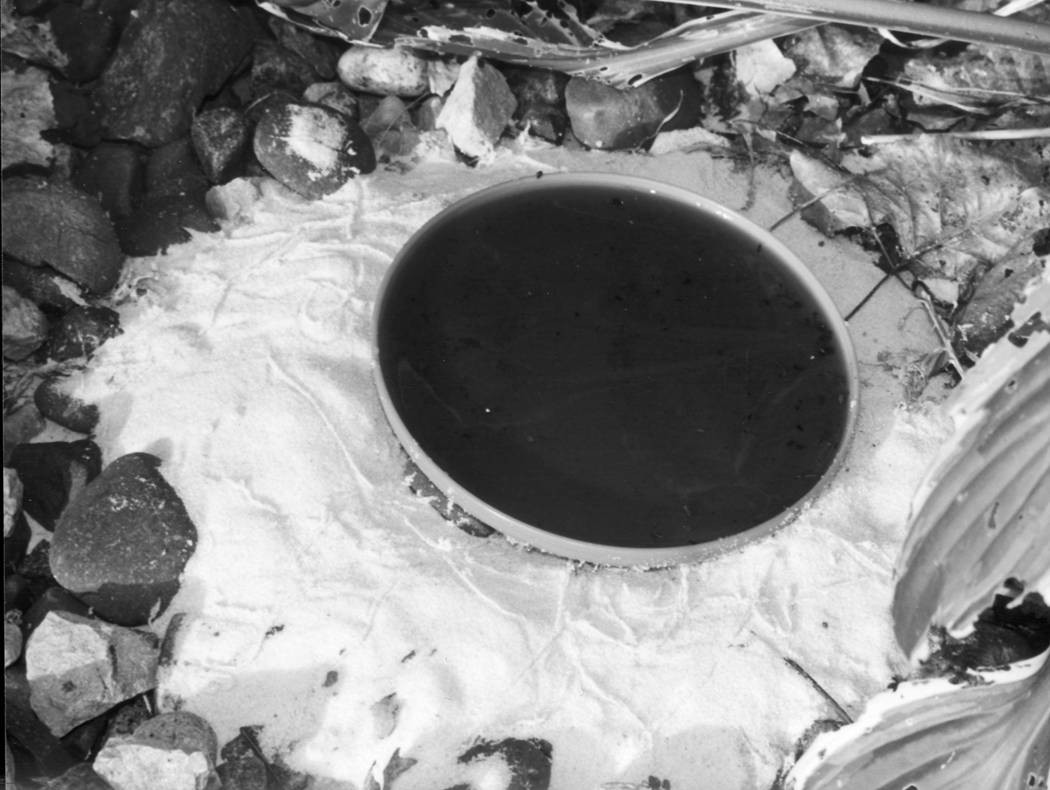
As you can see below we had quite a few slugs approach the beer (By my count about twenty).  And guess how many dead slugs were in that beer?

If you guessed 20…you’d be wrong!  There were no slugs in that beer.  Why?  Because this is a poorly designed slug trap!  slug traps are best when they are made with something like a mason jar and that jar is buried up to the lip of the jar in soil.  Then the jar should be filled up to within about an inch of the top with beer.  If you fill it higher the slug will be able to just reach his head in and drink.  In fact, after I set this trap out, I spent much of the evening watching slugs do just that — it was actually a little like watching old episodes of Cheers!  I had names for the slugs and everything (like Norm and Frazier and that mailman guy whose name I can’t remember now…).

So slug traps are good — but only if they’re set up right!

Facebook

Bags and Apples

Facebook

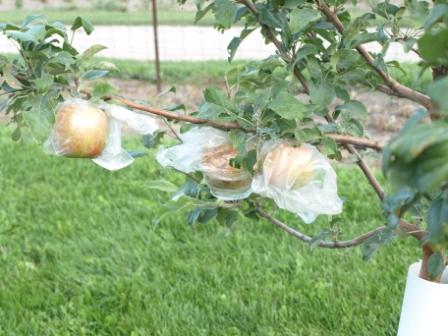
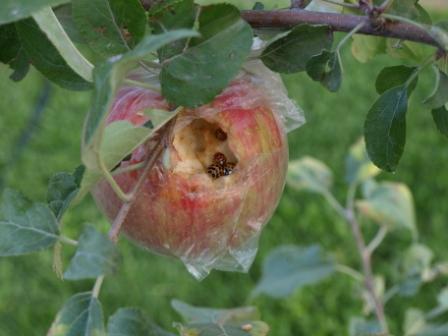
One of my favorite garden “cures” is placing a clear plastic sandwich bag around apples when they are young to protect them from insects and disease.  It usually works great and impresses the heck out of people who see and eat the apples which are normally tough to grow without using  bunches of organic or synthetic pesticides.

Unfortunately this year was different.  Rebecca Koetter, the person who planted these trees and put the bags on the apples (on the University of Minnesota campus) discovered that birds may choose to ignore the bags.  And, as if that wasn’t bad enough, Asian lady beetles decided to get in on the fun!

Facebook

Health care reform (of trees)

Facebook

Nothing is more frustrating to a gardener than watching a newly installed tree or shrub slowly die.  In performing “post mortem” analyses on failed landscape plantings, I’ve identified four common errors that can be easily avoided:

  • inadequate root preparation
  • improper soil preparation
  • planting below grade
  • inadequate aftercare

This blog entry will be dedicated to the first point – but before I do so, we need to understand how nursery plant production has changed over the last several decades.

A brief history of propagation
Many years ago the only way to obtain young trees and shrubs was as bare-root plants.  Plants were field grown, then dug up during dormancy for storage and shipping.  Bare-root trees and shrubs are usually only available during a narrow window of time, but in general these plants are healthy and structurally sound.  Most importantly for our discussion, growers can see the woody root system of bare-root plants and cull those that are not well formed.

The development of containerized production methods meant that plants could be grown and sold year around.  When plants are grown in a production greenhouse, they are generally started in small liner pots and gradually moved through a succession of increasingly larger pots.  Ideally this is done before roots become potbound, or the roots are corrected when “potted up” (moved to a larger container).  What we found, unfortunately, in a study of nursery plant quality, is that root systems are often ignored in an effort to produce large quantities of plants quickly and cheaply.  It is not considered to be cost effective to examine and correct root flaws during potting up, so the entire root mass is moved into the new container.  Structural root flaws are not self-correcting and will become more severe the longer they are ignored.

Based on our study, as well as evidence collected by numerous researchers and arborists, it is apparent that poor root quality is a significant problem in containerized and balled-and-burlapped trees and shrubs, at least in this part of the country.  Therefore, we need to correct root flaws before installing woody plants into the landscape.

A quick intro to correcting poor root systems
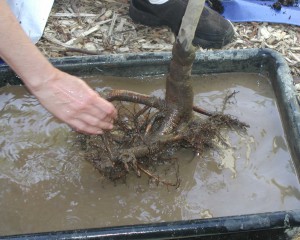
Balled-and-burlapped plants have a clay rootball; despite its appearance, it is fairly easy to remove the clay simply by removing the burlap and twine and soaking the entire rootball in water.  You can facilitate the process using your fingers to work out the clay, or use a gentle stream of water (Figure 1).

Figure%201.jpg
Figure 1.

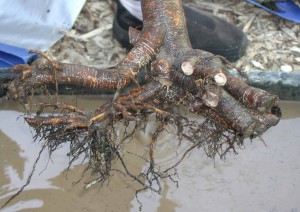
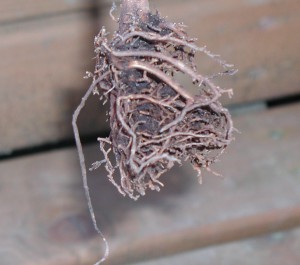
Once the clay is removed the root system can be evaluated.  If you find woody roots that are circling, girdling, or in general not growing horizontally and away from the trunk (Figure 2), they should be pruned (Figure 3).  You want to develop an evenly distributed structural root system.

Figure%202.jpg     Figure%203.jpg 
Figures 2 and 3 – before and after

The pictures in this post are from my own Cercis tree, which I planted in April of 2004.  This is not a great time for planting, since Seattle has notoriously dry summers.  Nevertheless, that’s when I planted and as you can see from Figure 3, I had to remove close to 70% of the root system.  I mudded it in well (which eliminated the need for staking), mulched, and kept the root zone well rooted.  It sat for about 3 months and did nothing (Figure 4), except of course the flowers died quickly!.  In July it leafed out (Figure 5), and 3 years later had doubled in size (Figure 6).  It is now close to 15 feet tall and is in excellent health.  Given its initial root system, it’s doubtful it would have done this well without intervention.

Figure%204.jpg   Figure%205.jpg   Figure%206.jpg
Figure 4 – April 04              Figure 5 – July 04               Figure 6 – July 07

(I have performed radical surgery on hundreds of tree and shrub root systems and have only lost one small shrub, whose root system is in Figures 7-8.  Kind of tough to prune something as fatally flawed as this.)

Figure%207.jpg     Figure%208.jpg
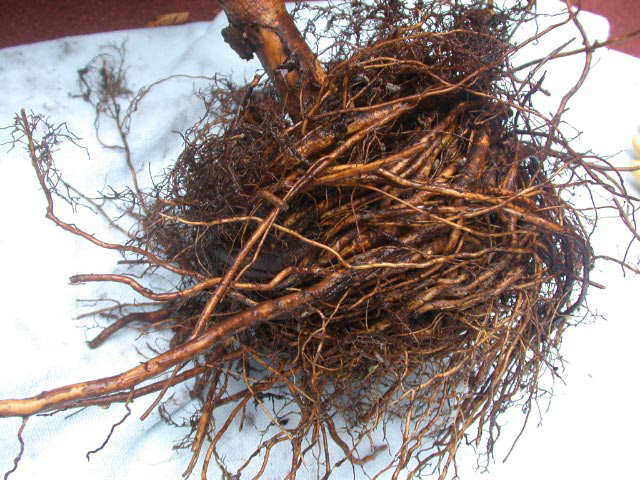
Figures 7 and 8 say so much more than I can.

Facebook

I *heart* My NRG Pro Transplanter

Facebook

[Disclaimer: I do not endorse any particular product over another, nor do I receive ANY compensation (darn it), free stuff, etc. from any companies, whether recommending or dissing their product.] 

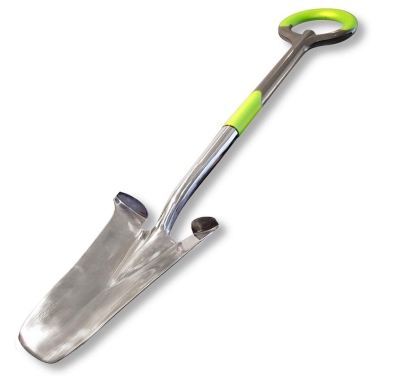
Seeing Linda’s favorite mulch fork prompted this post – scroll on down past the Great Root Debate (rowr)!  I remember first laying eyes on this beauty at a local garden center…shiny stainless steel,comfy chartreuse handle, large step area, nice and solid…”I must have eet!” But it’s the functionality that makes me reach for it every weekend. I’m tall (6′) and was a bit concerned that the short handle would compromise my leverage. Not the case! The round handle allows you to grip it most anywhere, reducing repetitive stress on wrist, elbow, and shoulder joints. The unique tapered blade – probably 5″ across at the tip – make it perfect for working around established plantings, removing king-sized gobs of crabgrass, and ideal for planting 1 gallon or smaller perennials or annuals.  I must have dug 400 holes in the frenzy of planting that followed our agreeing (idiots!!!) to be on the local garden tour this summer. But I was darn comfortable and stylish while doing it. These puppies have been on the market for a few years, so this may not be news to you. But I just had to share my affection – two thumbs up. Wish they made a mulch fork!

Facebook