The comments on Friday’s puzzle have certainly been imaginative! (Tribbles indeed!) But this weekend nature cooperated to give me some more information.
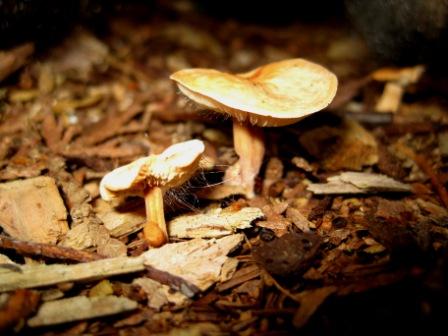
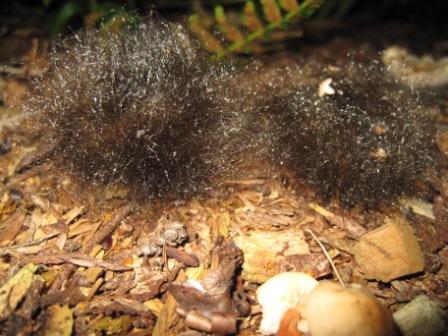
My little fungus family expanded over the weekend. As this photo shows, we definitely have a mushroom-type fungus:

Looking at a young member, you can see what look like stalked spores emerging from the gills:
And the edges of the mushroom curl upwards as the spore mass grows
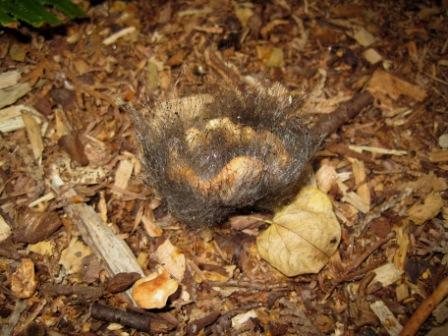
until we end up with the black furry ball shown on Friday:
So the discussion continues: What the heck is this? … Continue reading this article “Fungal fun continues!”