One of the things we Garden Professors can do is give tests! And the nice thing is you don’t get penalized for being wrong. So this will be my inaugural Plant Puzzler.
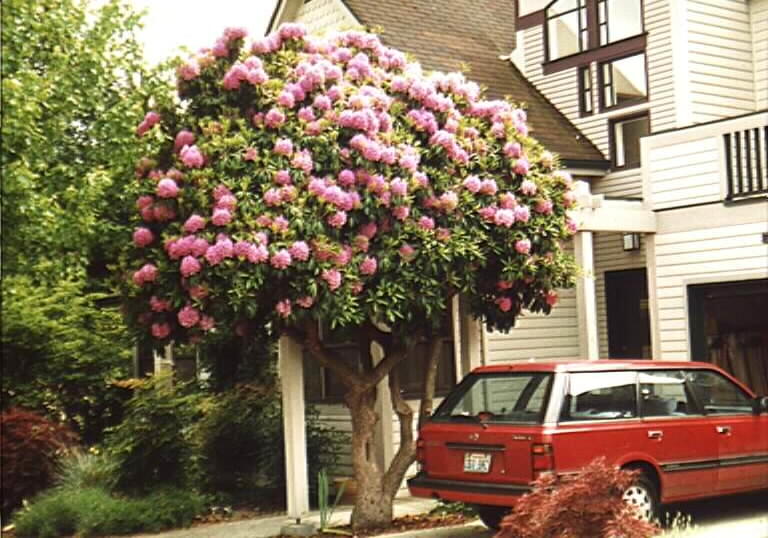
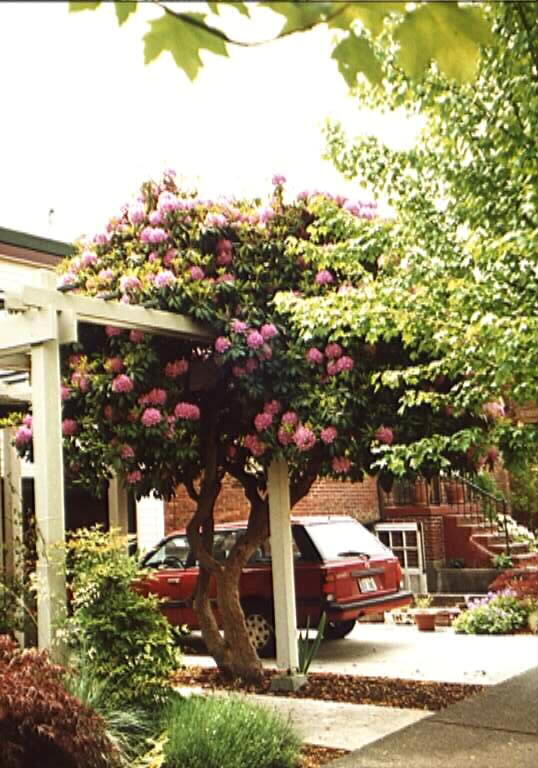
Below is a photo of a tree with epicormic shoots on its two lower branches. Epicormic shoots are vigorous, upright branches that have more of a juvenile than mature appearance. They often appear when a plant has been stressed, perhaps by overpruning, or maybe the roots were damaged by construction:

So here is your test question. … Continue reading this article “Quiz time!”