Advancing the science of gardening and other stuff since 2009
Author: Linda Chalker-Scott
Dr. Linda Chalker-Scott has a Ph.D. in Horticulture from Oregon State University and is an ISA certified arborist and an ASCA consulting arborist. She is WSU’s Extension Urban Horticulturist and a Professor in the Department of Horticulture, and holds two affiliate associate professor positions at University of Washington. She conducts research in applied plant and soil sciences, publishing the results in scientific articles and university Extension fact sheets.
Linda also is the award-winning author of five books: the horticultural myth-busting The Informed Gardener (2008) and The Informed Gardener Blooms Again (2010) from the University of Washington Press and Sustainable Landscapes and Gardens: Good Science – Practical Application (2009) from GFG Publishing, Inc., and How Plants Work: The Science Behind the Amazing Things Plants Do from Timber Press (2015). Her latest effort is an update of Art Kruckeberg’s Gardening with Native Plants of the Pacific Northwest from UW Press (2019).
In 2018 Linda was featured in a video series – The Science of Gardening – produced by The Great Courses. She also is one of the Garden Professors – a group of academic colleagues who educate and entertain through their blog and Facebook pages. Linda’s contribution to gardeners was recognized in 2017 by the Association for Garden Communicators as the first recipient of their Cynthia Westcott Scientific Writing Award.
"The Garden Professors" Facebook page - www.facebook.com/TheGardenProfessors
"The Garden Professors" Facebook group - www.facebook.com/groups/GardenProfessors
Books: http://www.sustainablelandscapesandgardens.com
This topic may have no relevance to where you live – but it’s very much front and center here in western Washington this summer. Our naturally droughty summers have gotten longer, hotter, and drier thanks to climate change. Wildfires are ravaging all of the west coast, on both sides of the Cascade mountains. And one of the recommendations I see for fire-proofing your landscape is to remove all wood-based mulch. While this might seem logical, it’s not. And here’s why.
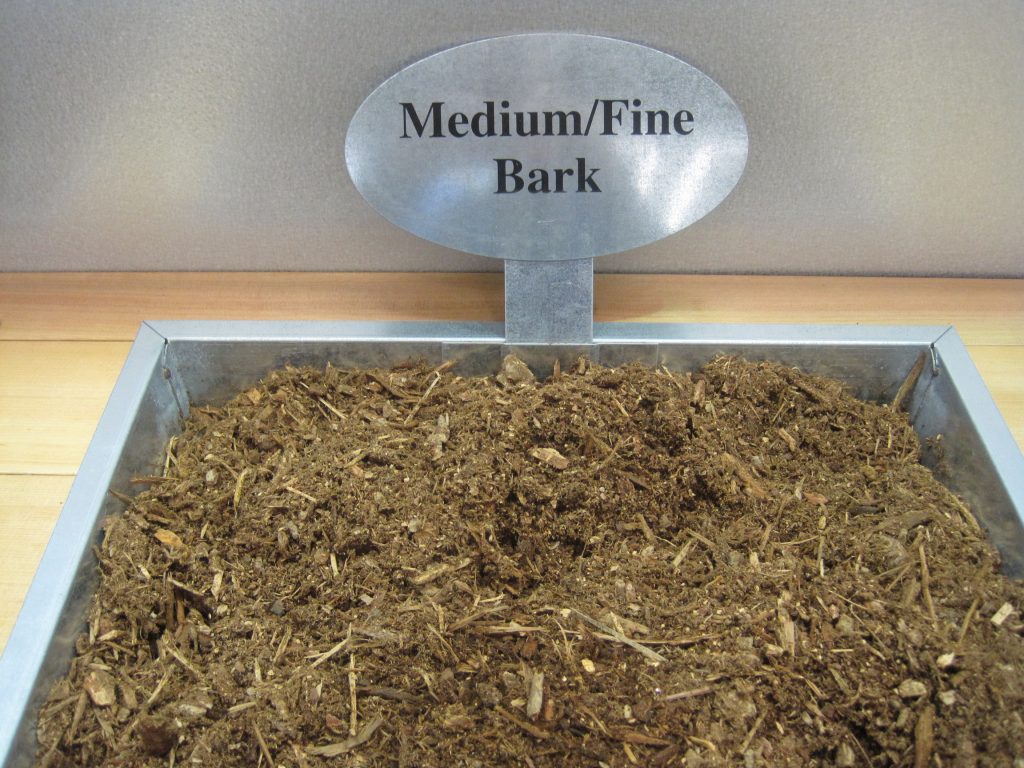
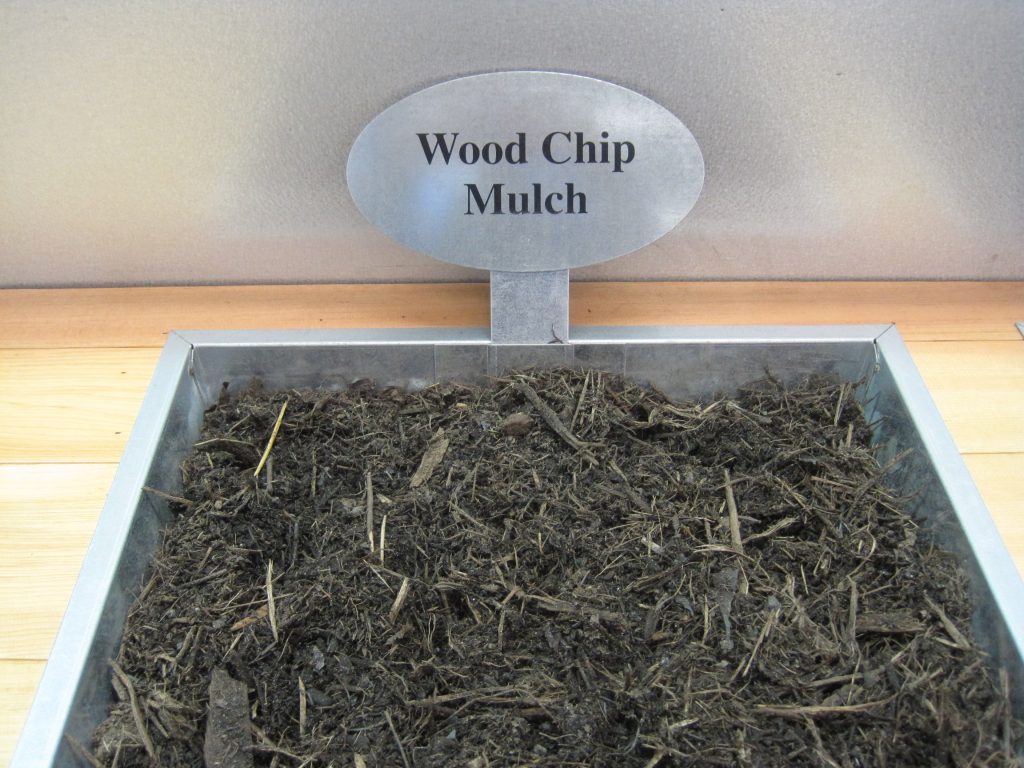
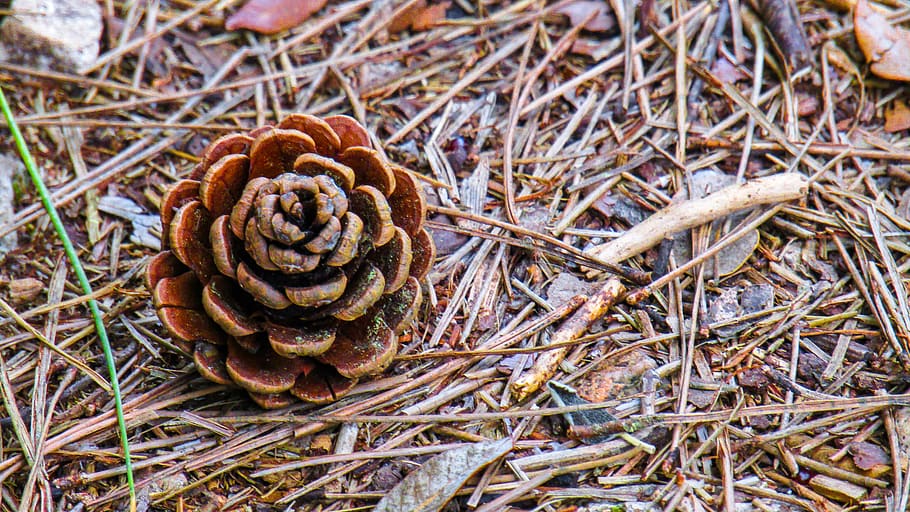
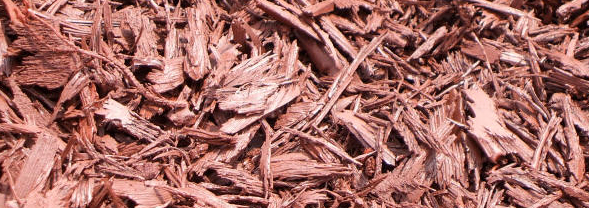
Not all wood mulches are equal. Wood chip mulches, which readily absorb water, are different than bark mulches, which can be quite impervious to water based on the type of bark and how fresh it is. The waxy components of bark not only make it resistant to water movement, they also more likely to burn. Likewise, pine needles, cones, straw, and other coarse organic mulches absorb little water and easily ignite. They should be avoided in fire-prone areas.
Pine needles and pinecones are a natural mulch layer in pine forests – but they burn readily. Photo by Pxfuel.
Wood chips are one of the least flammable mulches, and if landscape plants are properly irrigated, the wood chip layer is going to be increasingly moist as you work your way down to the soil. This reduces flammability, while maintaining plant health. And healthy plants are more likely to survive fires than water-stressed plants – because they are full of water. (Oh, and those “flammability lists” of plants you might see? Dr. Jim Downer has already debunked that approach.)
Rubber mulches are the very worst choice you can make for a wildfire-resistant landscape. They burn readily and they burn hot.
The best way to reduce wildfire damage to your planted landscape is to keep it irrigated. Bare soil is a no-no in planted landscapes, regardless of what you might see recommended elsewhere. A well-hydrated landscape with green lawns and healthy trees and shrubs is not going to catch fire from a spark or ember. And it might even survive a fast-moving wildfire.
Yes, it takes water to protect a planted landscape from fire. If consistent irrigation isn’t feasible, you might want to rethink your plantings.
We saw this in eastern Washington this week, where the small town of Malden was 80% destroyed by a fast-moving fire. But some homes were spared – why? Whitman County Sheriff Brett Meyers pointed out “those people that had some green and some buffer around their home were able to maintain their homes.”
Did these houses survive because of a green buffer?
So while it may seem counterintuitive to keep woody debris on your soil, look at the whole system – not just a piece of it. If you don’t have plants anywhere near your house, then bare soil is the way to go. But for planted landscapes, wood chip mulch is part of the solution – not the problem.
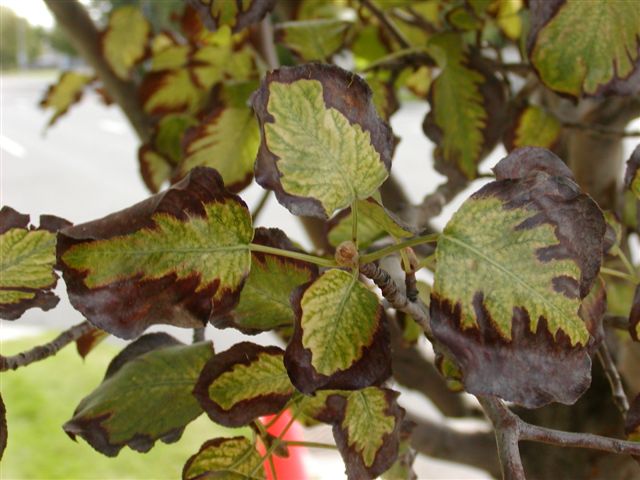
This tree suffers chronic drought stress every summer. Why?
It’s the middle of summer, and maybe you’re wondering what’s wrong with your landscape tree (or shrub) that just doesn’t seem to be putting on the growth that you’d expect this time of year. Before you take any “corrective” action, let’s figure out what the problem might be. Here’s a short checklist that we will start with. (NOTE: This is just a start. You can go so many different directions once you have some specific concerns to explore.)
Do you have one of these? If not, you can’t adequately diagnose problems.
Soil information. Have you had a soil test done in the last few years? If so, are there any nutrient toxicities indicated? Has the soil been significantly disturbed or modified in the last several years? Have you recently added any chemicals (fertilizers and pesticides, organic or otherwise) or amendments?
Plant information. When was the plant installed? Was it in a container or in a burlapped rootball? If so, were all materials removed from the roots by root washing before planting?
Planting information. Did you amend the soil (i.e., add anything to the backfill) prior to planting? If so, what did you add? Did you mulch it afterwards? If so, what is your mulch material? Did you ensure that your plant was set at grade in the landscape? (“Grade” means that the root flare is at the soil surface.) Did you water it in well and avoid compacting the soil? Are new plantings adequately irrigated during their first year in the landscape?
Environmental information. Have there been unusual weather events between time of planting and now? Is there sufficient irrigation and drainage?
Symptoms. What are you seeing that concerns you?
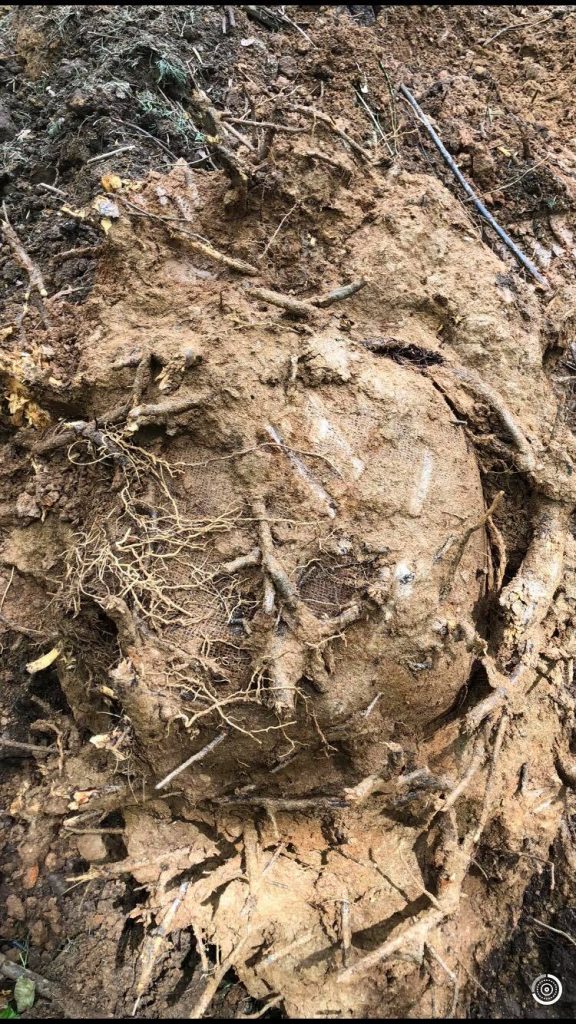
Intact clay rootball after 28 years (and yes, the tree died long before this photo was taken).
At least 95% of the landscape failure cases I’ve diagnosed over the last
20 years can be traced back to improper planting methods. You simply cannot
pull a woody plant out of a pot and stick it in a hole. There are three major
factors at play here to consider when rootballs are planted intact:
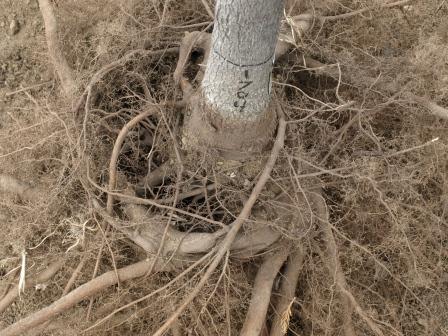
Think that this root system can straighten itself out? Think again.
The textural and structural differences between the soilless media around containerized roots (or the clay in a B&B rootball) and the soil in the landscape are significant enough that they will impair water, air, and root movement across the interface. This means roots have a difficult time establishing outside the planting hole.
Any structural flaws in the root system created during improper potting-up at the production nursery, such as circling or J-hooked roots, are undetected and uncorrected. And these woody roots will stay in a death spiral after planting.
If you cannot see the root flare of your plant, then you cannot plant at grade. Most trees and shrubs that are buried too deeply will generally fail to thrive and eventually will die.
If you can’t see the root flare, you’ve got a problem. See the next photo.
If you’re like the majority of people who are seeing problems this time of year, you know that improper planting or severe soil disturbance is to blame. But now is not the time to fix it! You’ll need to wait until the fall, when the crown has gone dormant, to dig the plant up and take corrective action. (The “corrective action” has been discussed in this blog before; you can explore the archives or wait for an upcoming post).
These are the roots of the tree at the top of the post. No root flareNo surprise that it’s chronically water stressed in the summer, given this pathetic root system.
What you want to do right now is keep your plant as healthy as possible by mulching with coarse wood chips (not bark) and supplying them with adequate water. You DO NOT want to prune them, because that just uses up stored resources as the plant then replaces pruned material with new shoots and leaves. You DO NOT want to add fertilizer, unless you know that you have a nutrient deficiency (which you can’t know unless you’ve had a soil test. And no, those cute little diagrams of what nutrient deficiencies look like in corn leaves are worthless. You’re not growing corn here.) And DO NOT add any pesticide of any sort, even if you see signs of insect or disease damage on the foliage. With few exceptions, pesticides are broad-spectrum and you will kill beneficial species as well as any possible pests. Opportunistic pests and disease attack stressed plants, and that’s why you are seeing them.
Crown pruning just results in more crown growth. Don’t do this if you are planning to move a woody plant during the current year.
In the upcoming months, I’ll do some follow up case studies that can help you learn how to diagnosis problems. If you’re interesting in having your tree or shrub problem diagnosed and can supply sufficient information (as outlined above) and clear photos, leave a comment on this post and I’ll contact you.
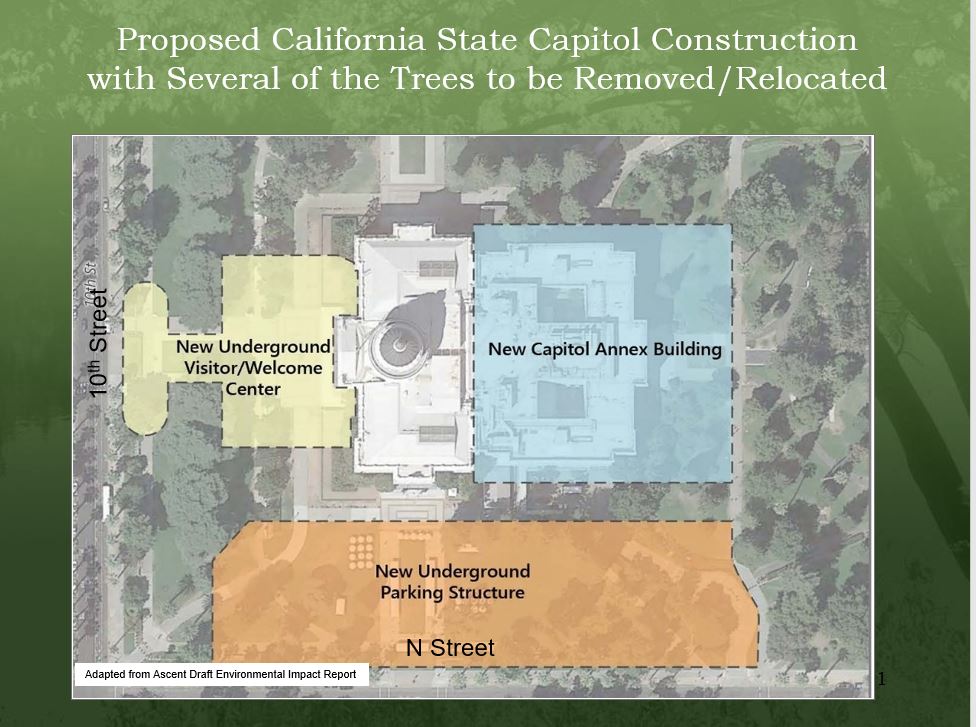
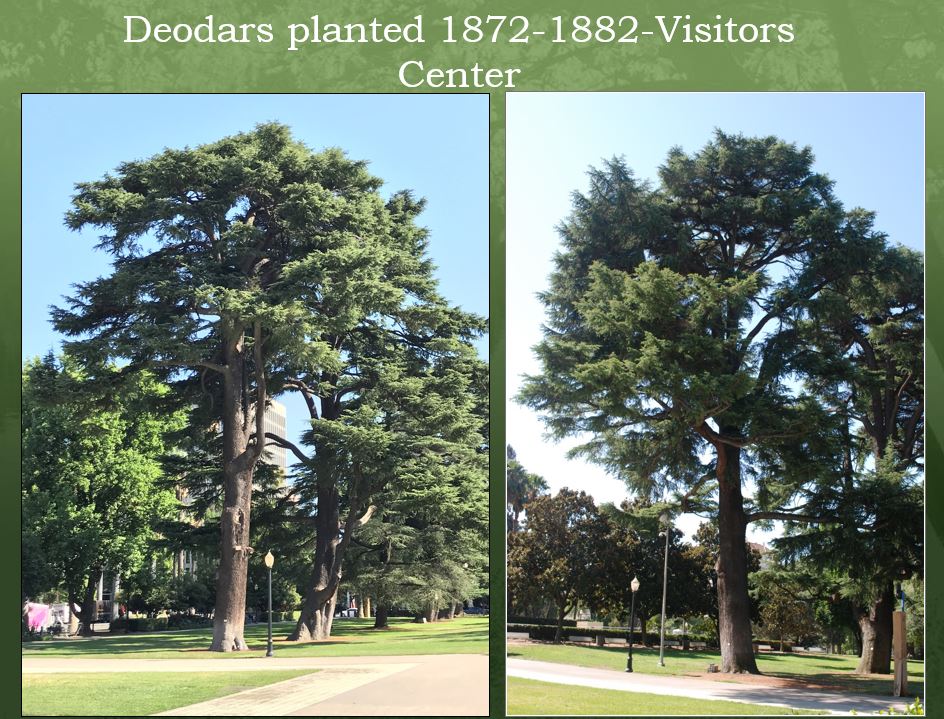
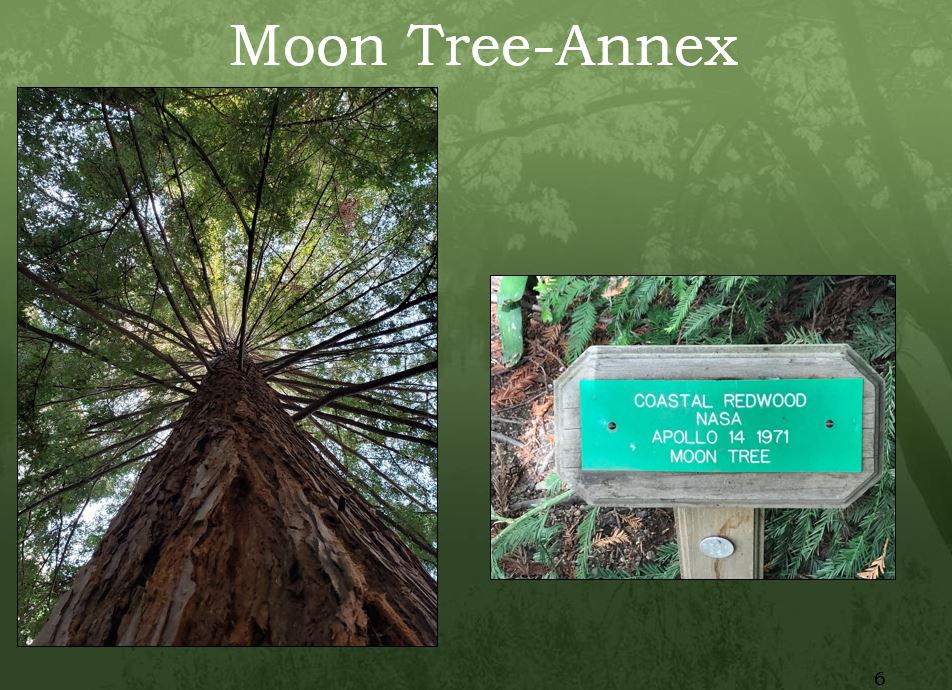
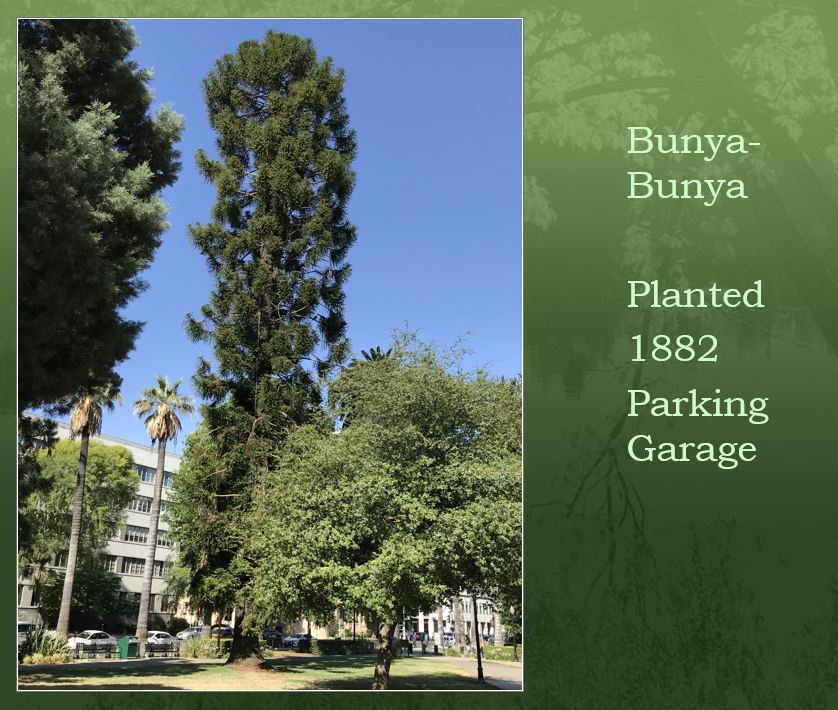
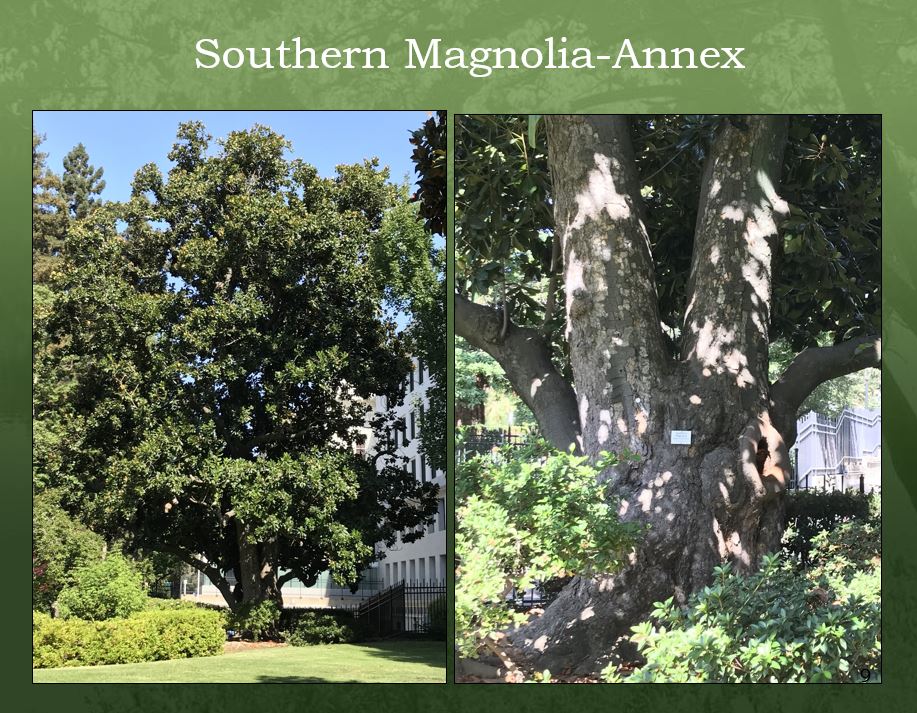
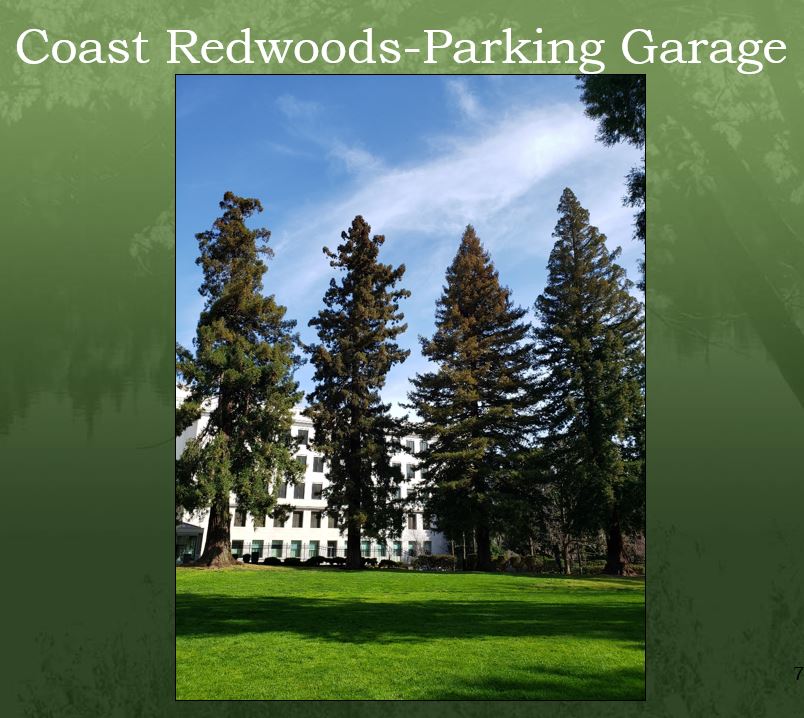
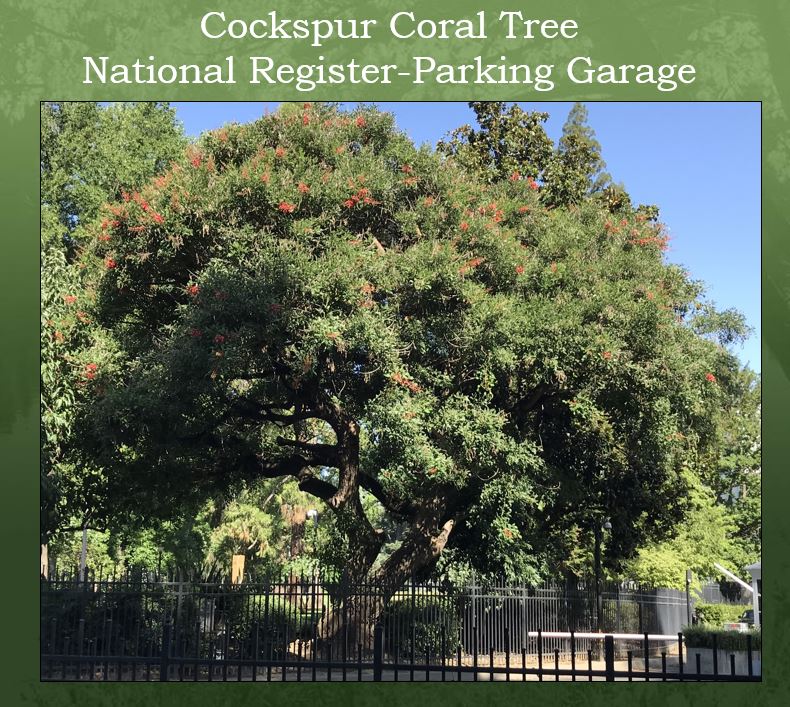
It’s not my week to post on the blog, but this is a PSA for California residents. Having visited the Capitol grounds in Sacramento, I find it important to make others aware of the plans to remove a number of large and historically important trees for the purpose of building a parking garage and expanding the Capitol building space.
I’m not a California resident, so in a sense it’s none of my business. But I am an urban horticulturist, and an arborist, and committed to preserving trees especially in urban environments. These trees are irreplaceable unless you want to wait a few hundred years. The plans to “relocate” some of these large trees are probably not realistic given the size of the specimens.
More importantly, this is public space and the public should be actively involved in discussions. But the process has been secretive and under the radar of a public more concerned, and rightly so, about COVID-19 and all the associated fallout from the pandemic. But it’s not too late.
Please share this post with California residents who have should have a say in how their land should be managed.
More importantly, you should call AND write to your own California legistator at this website findyourrep.legislature.ca.gov, as well as the two Legislative leaders who can really pause the project and guide its re-planning: Senator Toni Atkins, President pro-Tempore of the Senate, 916 651 4039 and senator.atkins@senate.ca.gov. UPDATE: This email does not appear to work. Try using this form. Assembly Member Anthony Rendon, Speaker of the Assembly, 916 319 2063 and speaker.rendon@assembly.ca.gov
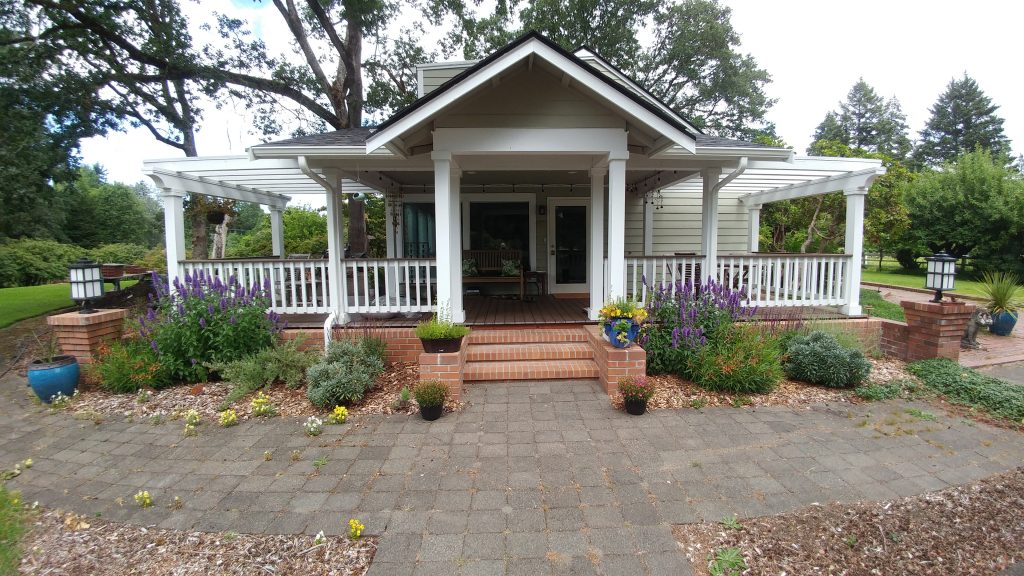
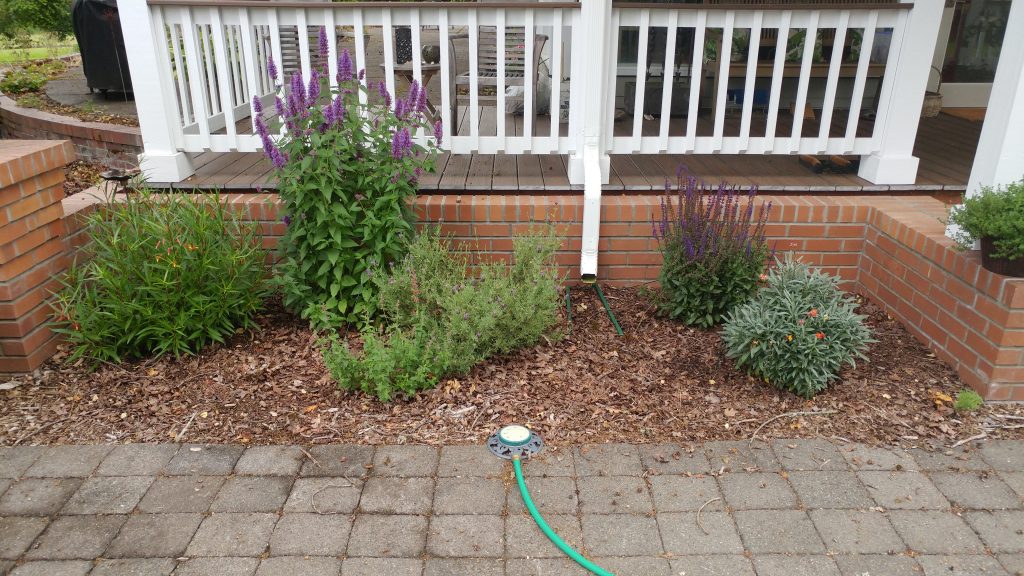
Two years ago I installed a pollinator garden in early July. This goes against my recommendation to install plants in the fall, when roots have longer to get established and less stress is felt on the rest of the plant. But I wanted to see what would happen if I was careful to mulch well and keep it irrigated. Oh, and did I mention I was going to root wash every one of them? (Be sure to look at that process in the link from 2018.)
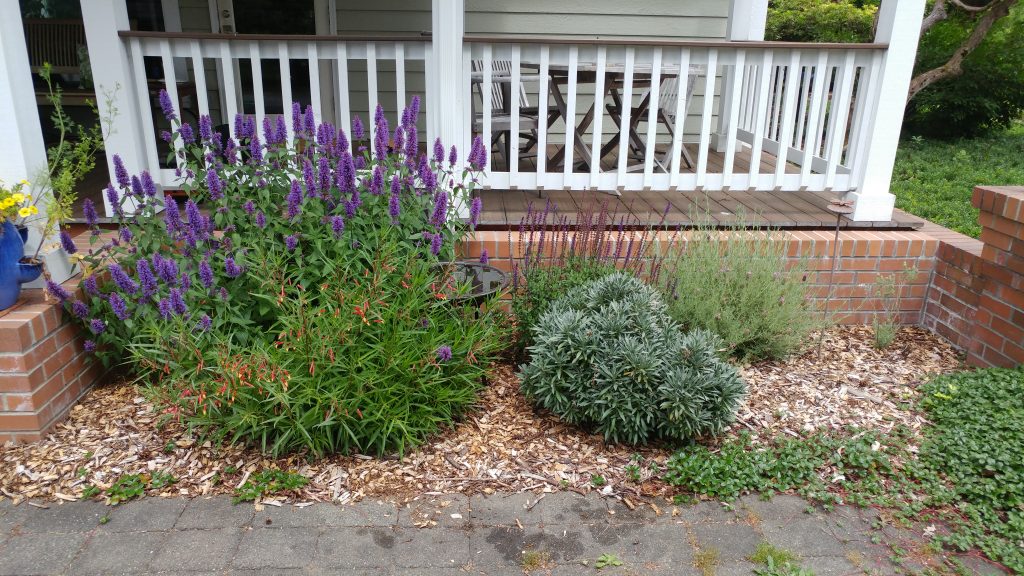
Southwest garden, October 2018
Southwest garden, July 2019
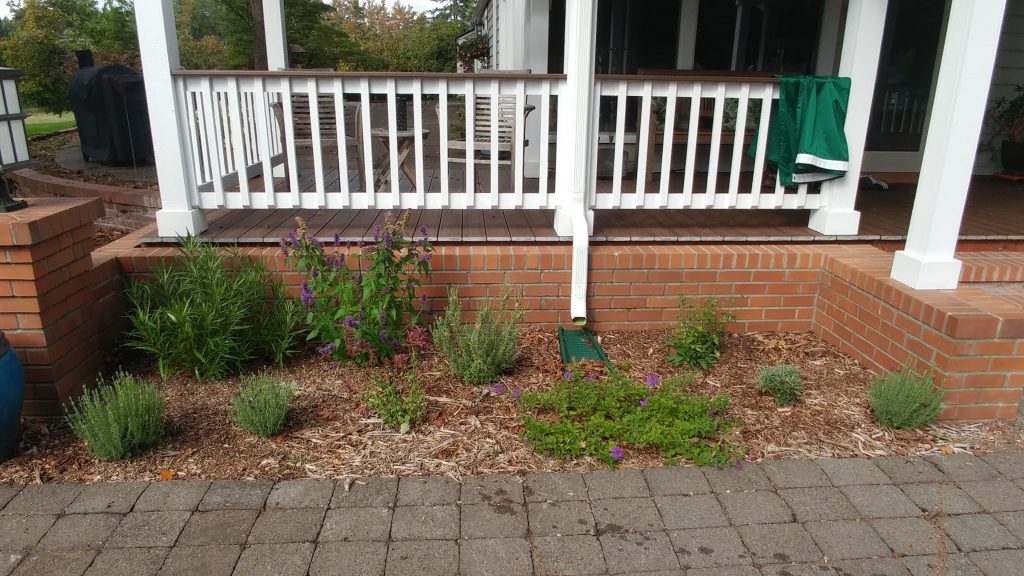
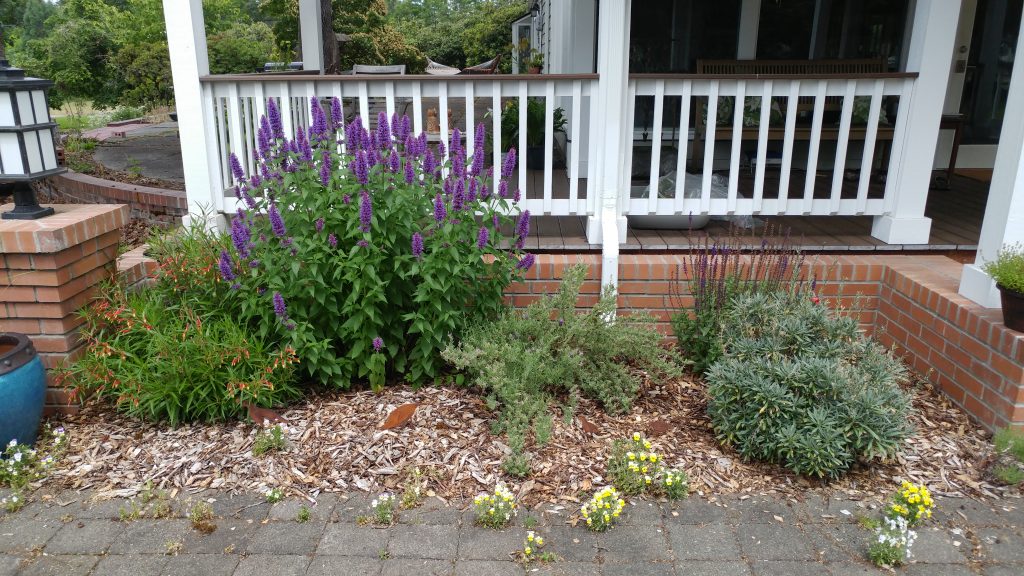
I reported on progress last year, and this year shows even more vigorous growth by nearly all the plants. Two of the three ‘Bandera Purple’ lavender died over the first winter, as they were marginally hardy (USDA 7-10) for our area. One straggler remains in the lower right hand corner of the photo below. The Agastache ‘Acapulco Red’ and the Verbena ‘Homestead Purple’ were planted near the front of the beds on both sides and while they survived the first year, they are now gone. My guess is that our cold snap in February 2019 wiped out those plants that were in less protected locations. Perhaps we’ll fill those spots in later with something more cold hardy, or just let the escaped Viola tricolor continue to colonize bare spots.
Overall, the garden is wildly successful in attracting hummingbirds and a variety of native bees and other insects.
The southwest garden is being colonized by violets that have hopped out of a nearby container. Wood chip mulch keeps the soil cool and moist.The southeast garden with its invading strawberries (soon to be relocated). The tiny lavender in the back right corner is a rescue plant.
I still have a little work to do – I’m relocating the strawberry adjacent to the southeast garden so it stops invading the perennial bed. But after that I’m calling this garden finished.
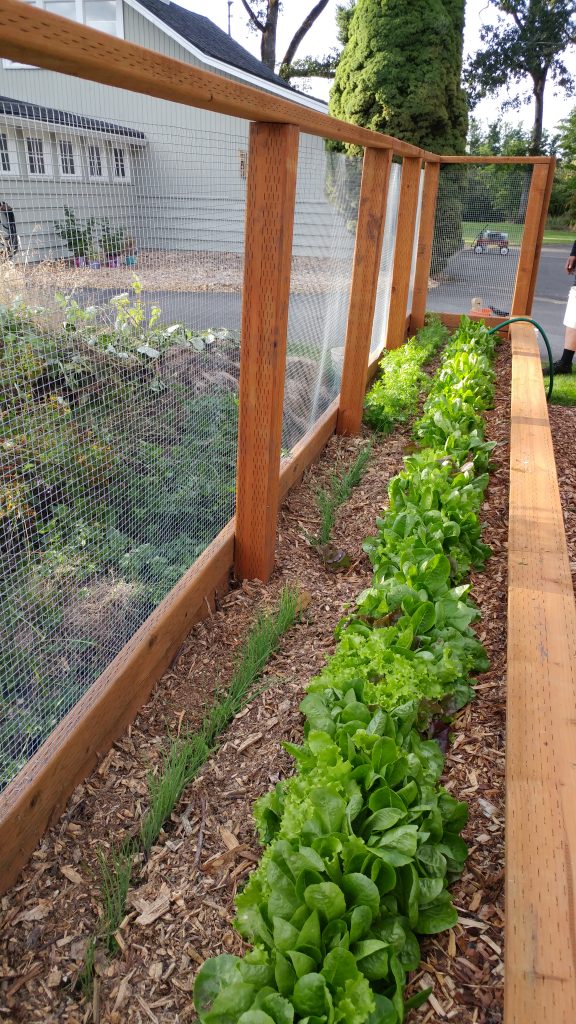
Young vegetables thrive in mulched, weed-free raised bed.
Over the last couple of months I started a series on raised bed gardens, focusing on materials and preparation. In this final installment, I’ll focus on maintenance activities to avoid in your raised bed systems and remind you of three things you should always do.
Terrible traditions
We’ll start with some practices that damage soil structure and function (GP John Porter discussed this in much detail a few years ago). Tilling, once the mainstay of soil preparation for crops, is increasingly found to cause more damage than good. Grinding the soil into a material with the texture of coffee grounds might look pretty, but it’s devoid of the ped structure that allows water and gas to move through easily. It also increases microbial activity by bringing up microbial spores, which release carbon dioxide to the atmosphere as they digest whatever organic material is there. And tilling will increase the likelihood of erosion and compaction.
Soil runoff from tilled, unprotected field. The same thing will happen in your garden. Photo from Wikimedia.
This is the opposite of what gardeners should want: an
optimal soil has natural structure which might look messy but allows for good
drainage. It’s also more resistant to compaction and erosion, especially when
it’s protected with mulch (more on this later).
Speaking of drainage, don’t be tempted to add gravel or
some other coarse material at the bottom of the bed. The change in soil texture
creates a perched water table, which makes for a soggy planting bed and optimal
conditions for soil-borne diseases.
Classic experiment that demonstrates water does not move easily through different soil textures.
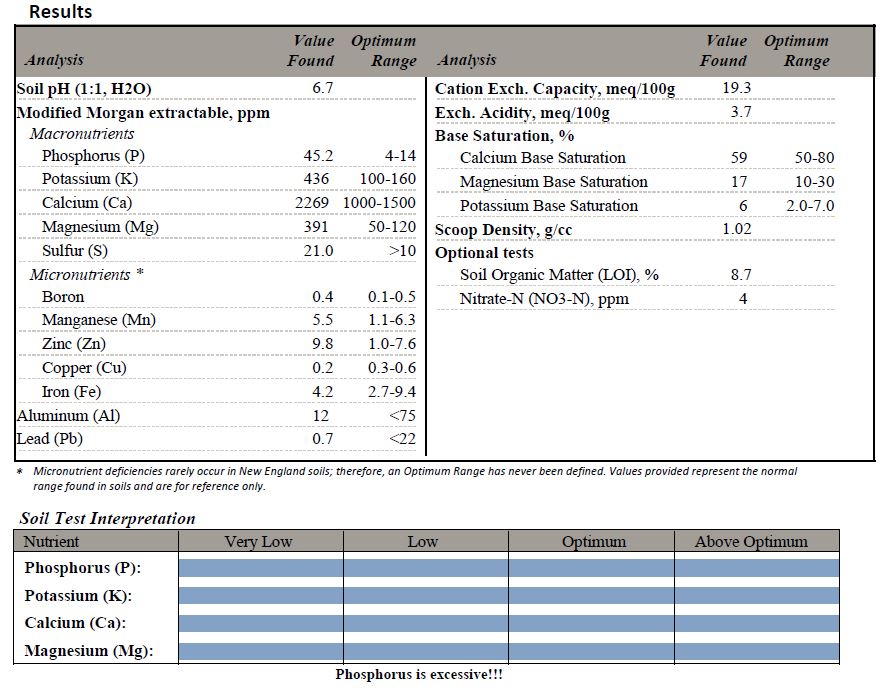
While we’re talking about unnecessary or harmful additions to your raised beds, let’s not forget the annual addition of compost or other rich organic material. This is a holdover from old agricultural practices and is not warranted unless you have an organic material deficiency. Without a soil test, you don’t have a clue about what your soil has or what it needs. The problems associated with routine amendments are discussed in this peer-reviewed fact sheet, and are exacerbated by the tillage that is often the means to incorporate compost. Likewise, don’t add fertilizers and pesticides unless you have conclusively identified nutrient deficiencies or pest issues.
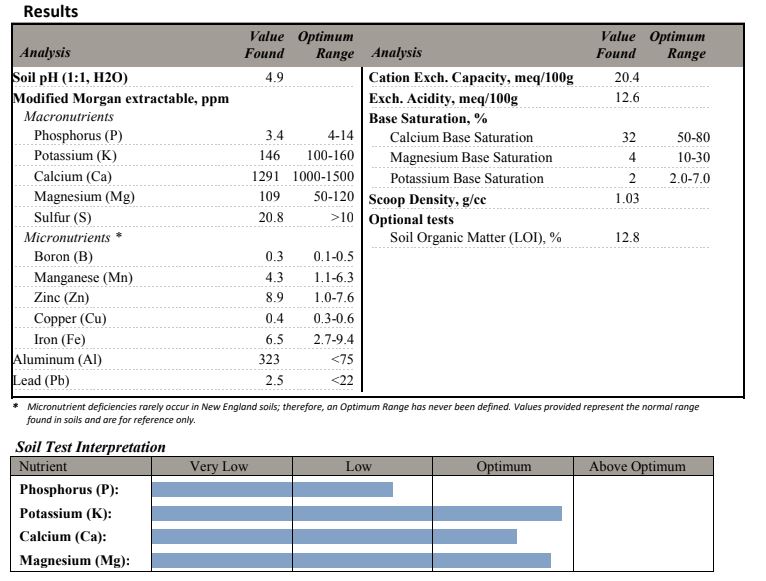
If your nutrients are off scale, don’t add any fertilizer!
The last tradition I’d like to see shelved is growing cover crops. This practice originated in the management of agricultural fields, which were otherwise left bare after harvest. Outside of producing some kale or other winter vegetables, what’s the point of planting a cover crop in your garden, when you can protect the soil in other ways? Cover crops require water and nutrients, which eventually will need to be pulled or incorporated. You are forcing your soil system to continue to support plant growth and be subjected to disturbance with the planting and harvesting of the cover crop. Why not let the soil rest over the winter with a nice blanket of mulch? Give it a chance to regenerate its nutrient load while being protected from unnecessary disturbance.
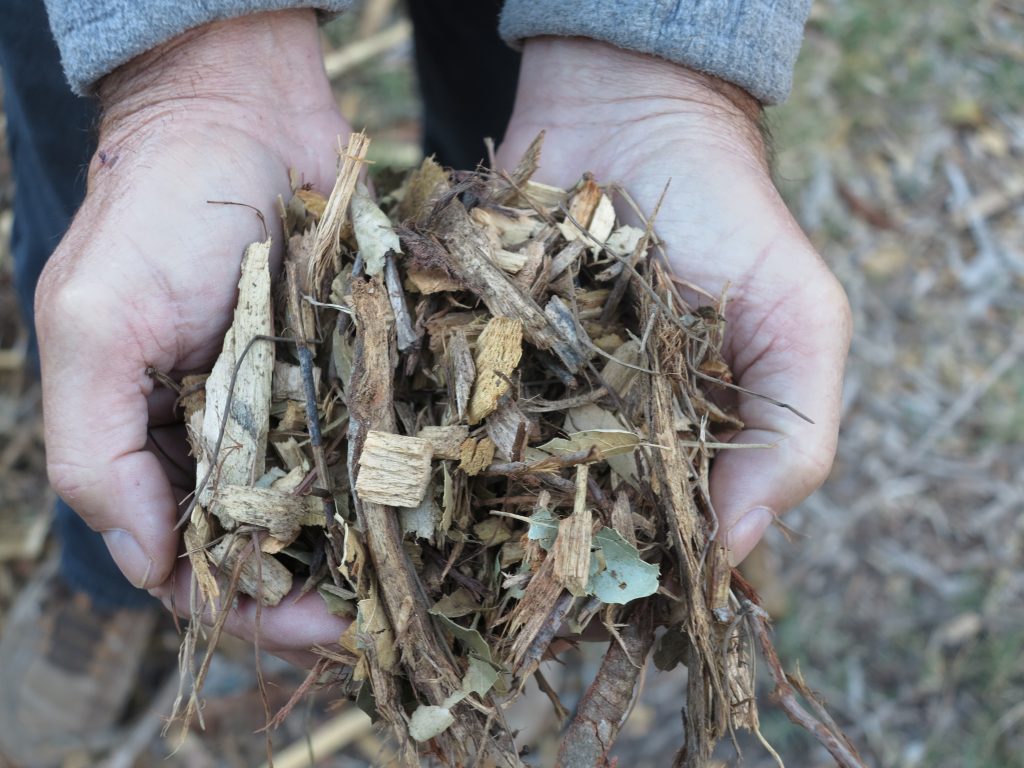
A great arborist chip mulch has leaves or needles as well as wood.
Three tips
Two of these tips have been discussed many times in this forum, so I’ll direct you to longer discussions of soil testing and mulching. Mulching is not just important for protecting the soil bed after the growing season, but should be used on actively producing beds. A deep, coarse organic mulch will promote water and air movement, moderate soil temperatures, reduce weeds, and provide a slow feed of nutrients throughout the season. You’ll have to wait until your seeds are up to apply it, of course, but try to avoid bare soil as much as possible.
Though you’ll need to leave the soil bare during seed germination, you can still protect unplanted areas of the bed with mulch.
Soil testing is really crucial for any garden, but
perhaps most important in vegetable gardens where harvesting may decrease key
nutrients over time. It will also guide you in identifying potential heavy
metal problems. The money you will save in not buying unnecessary fertilizers
and other amendments will pay for many soil tests.
There is so much great information in a soil test that will help you make decisions about what to add – and what to avoid.
Sometimes you will need to add material to your existing
beds if you are not using a natural soil. Soilless media (deceptively
marketed as “potting soil” though no soil is to be found) will decompose and
settle over time, leaving you with a sunken soil system. You will need to add
more of the same sort of media to the beds, making sure you mix it in
thoroughly to prevent a perched water table. (This is why you might consider
using a natural soil and avoiding this annual chore – because a natural soil
will not subside over time.)
This recommended planting media will decompose down to the oyster shells and lime over time.
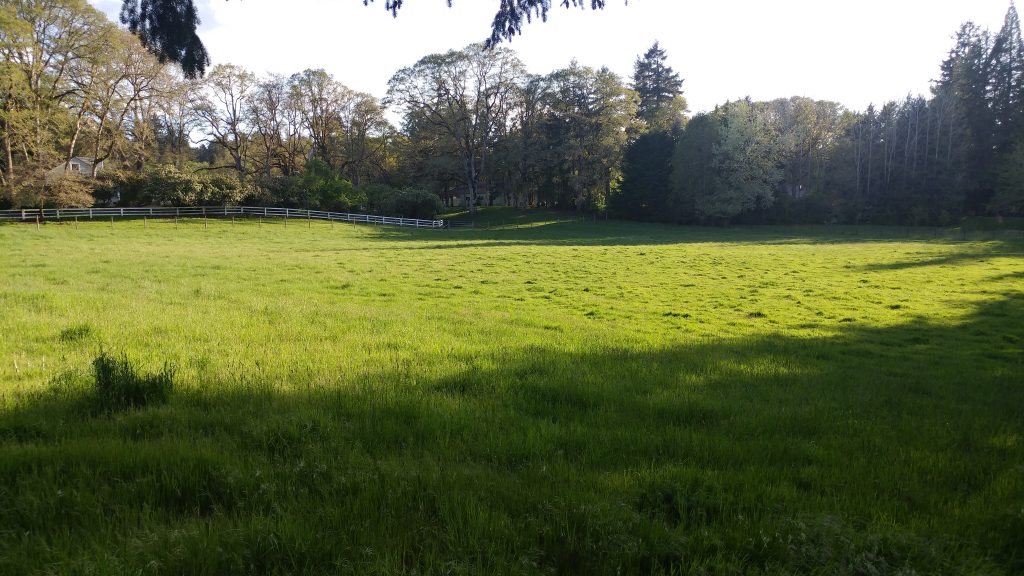
Nearly every afternoon for the last two months, curious
drivers have noticed two people meandering through a pasture, following a
narrow pathway formed by two lengths of string tied to fenceposts. It’s us!
Thanks to COVID 19, we are no longer able to go the gym for a workout so like
many other gardeners we have put that unexpended energy into our gardens and
landscapes. And in this case, cattle pasture.
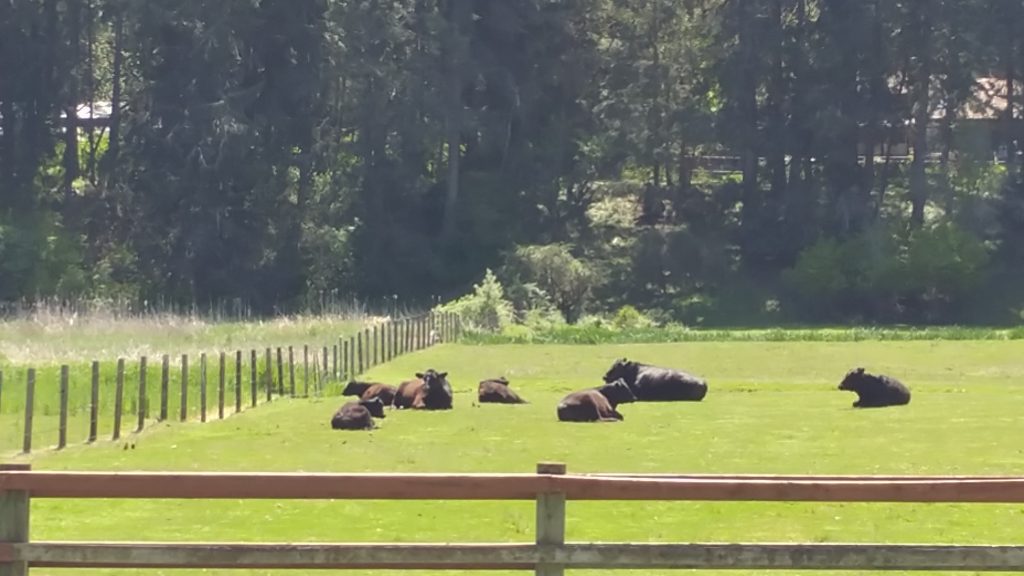
The herd
The lettuce from hell
My family has raised free-range, grass-fed beef cattle for over 50 years, and with our move to the family farm in 2017 we now oversee much of that business concern. Managing pasture weeds is just one of the battles associated with providing quality browse for the cattle. Inedible plants like bull thistles (Cirsium vulgare) and tansy ragwort (Senecio jacobaea) are taprooted species, easily removed with a single weeding. But not Canada thistle (Cirsium arvense), colorfully and accurately described as the “lettuce from hell” thistle. Though it’s highly nutritious, the prickles are so unpleasant to sensitive muzzles that cattle avoid it.
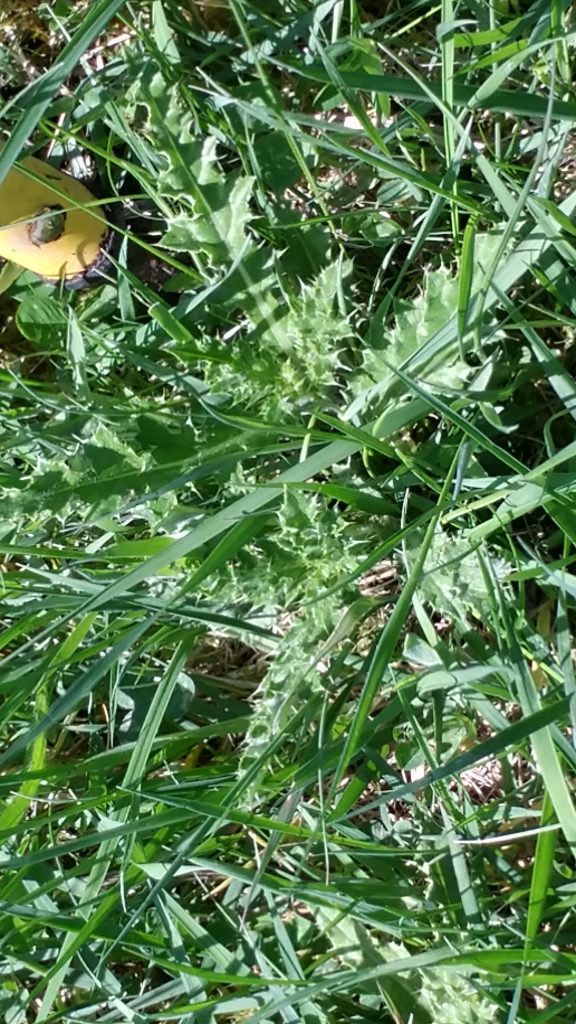
Here are two small specimen lurking in the grass
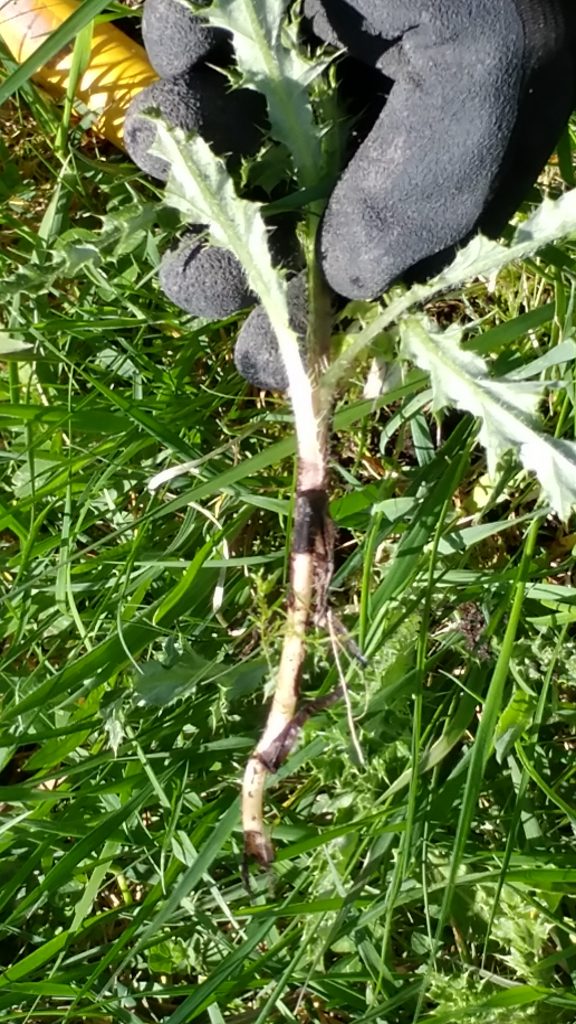
Last year’s stems are still attached to the active root system, which has already generated two new plantlets
This aggressive, herbaceous perennial (native to Eurasia, not Canada!) has an extensive underground root system, consisting of thick, propagative roots which give rise to more roots (which grow vertically and horizontally), and shoots which pop up seemingly everywhere. They do NOT have rhizomes, and they do NOT have stolons. Apparently, Canada thistle has a unique, hellish morphology allowing it to spread rapidly – 6 meters per year in the U.S. – if not managed (you can read more about this topic here).
Applying plant physiology in the field – literally
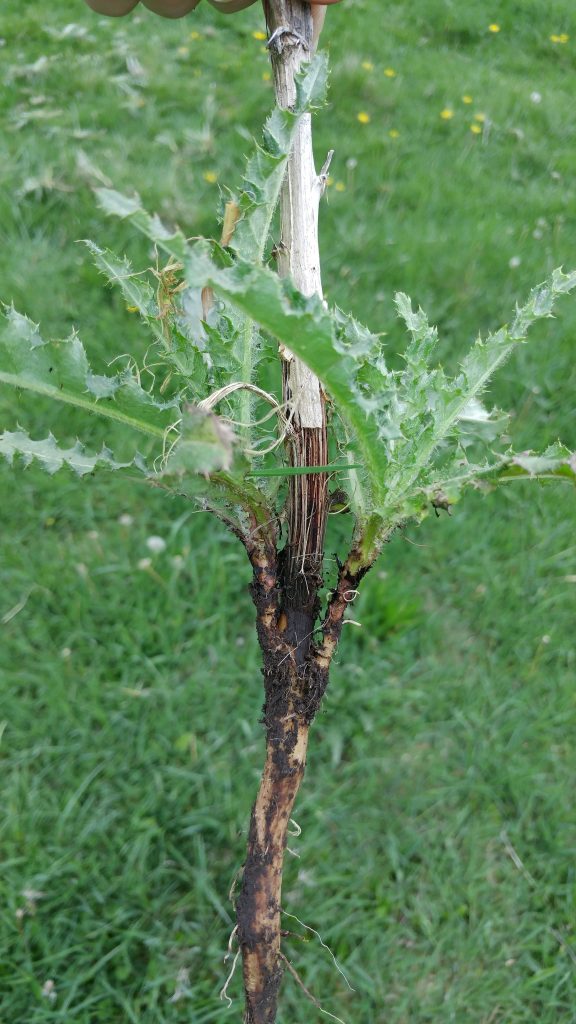
The area be;pw the black collar is all underground stem
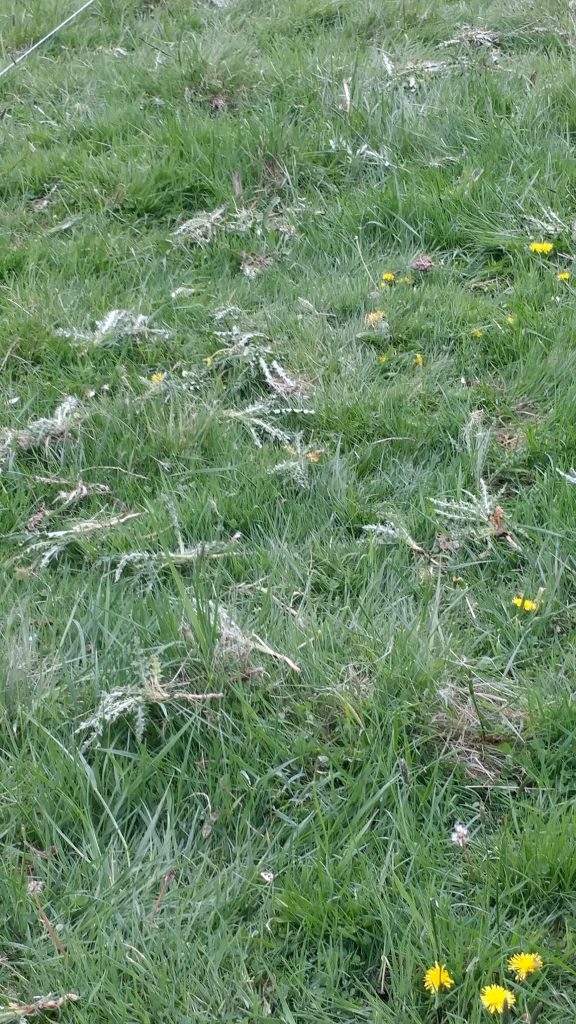
Leaving the bodies strewn behind me. Exposed stems mean these will die quickly.
But there is a weakness in this aggressive root system – and
that weakness is the need for resources provided by the aboveground thistles. The
perennial root system stores resources over the winter, then pumps them into
new shoots in the spring. This is the chink in the armor – these shoots are
USING resources, not providing them, until they slow their own expansion. So
the trick is to remove the shoots as soon as they appear, forcing the roots to
expend more resources to make more shoots, and so on.
So this is why we are in the field, every day, removing
those shoots, systematically clearing areas and then repeating in another week
or so as new stems appear. And it’s working. But here is the lesson we are
learning that gardeners can apply to their own gardens and landscapes.
Dueling weeders
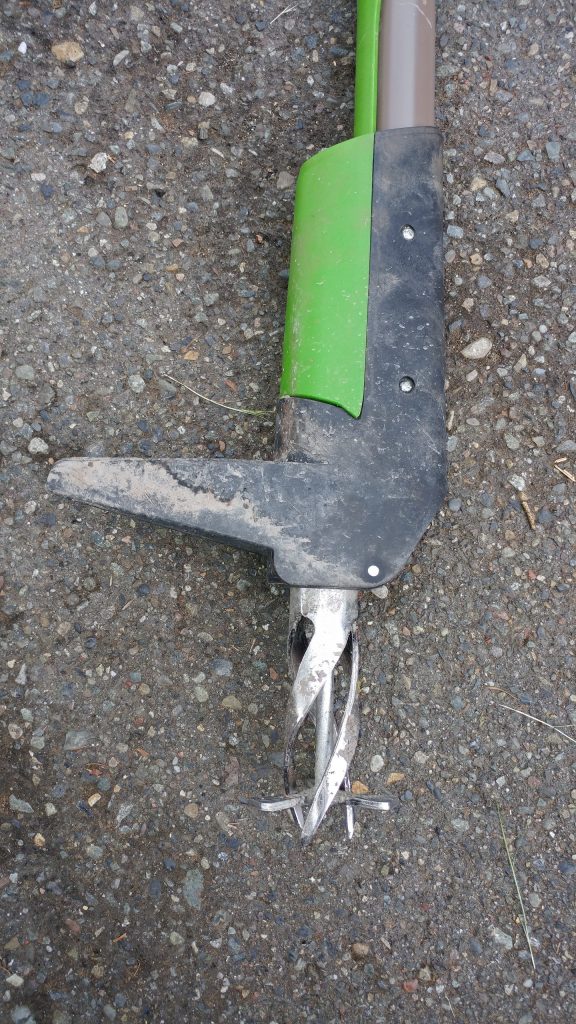
The uproot weeder removes a core of soil containing the roots
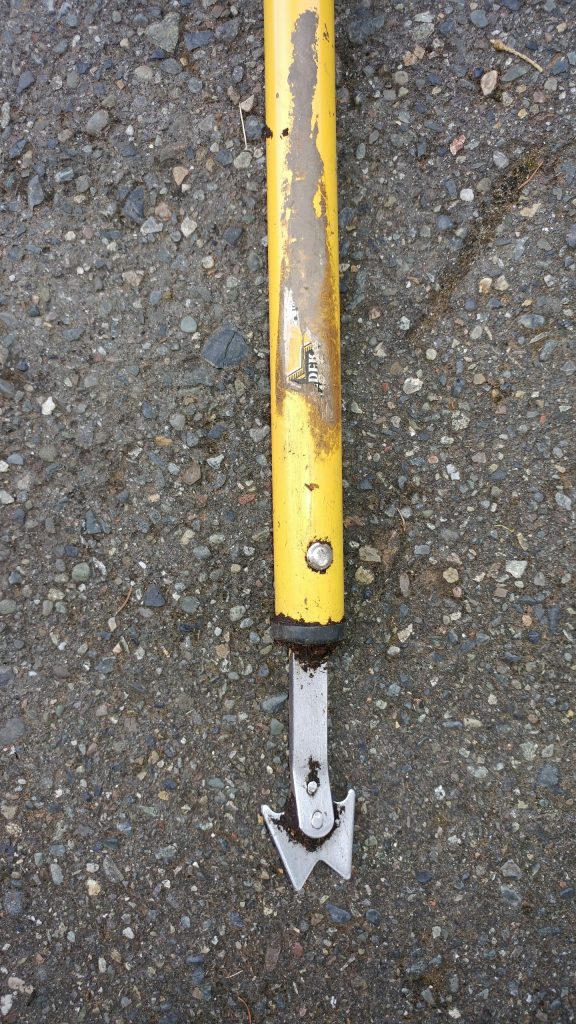
The winged weeder dislodges the weed from underground networks
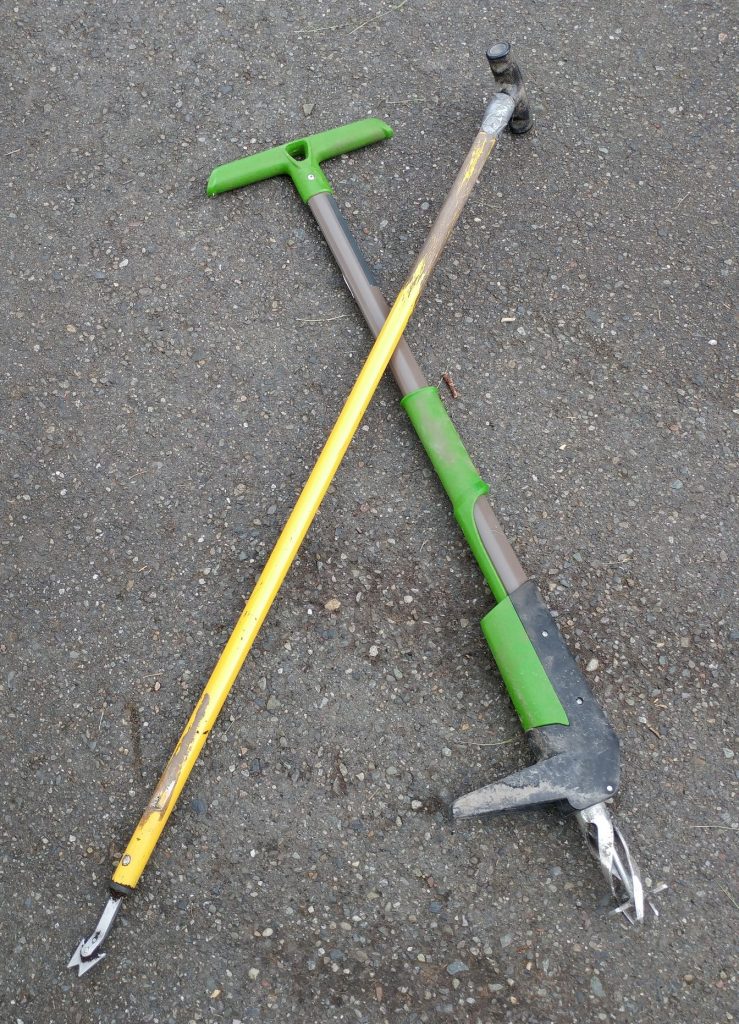
We have two weeding implements: the “winged weeder” and the
“uproot weeder.” The first is my choice, though it is NOT a solely a “stand up
tool” for this purpose. My husband prefers the uproot weeder, which twists and
pulls out a core of soil along with the root. I don’t like this latter method,
as it creates a hole through which sunlight can penetrate, activating both
photodormant seeds and stem regrowth. But to each their own.
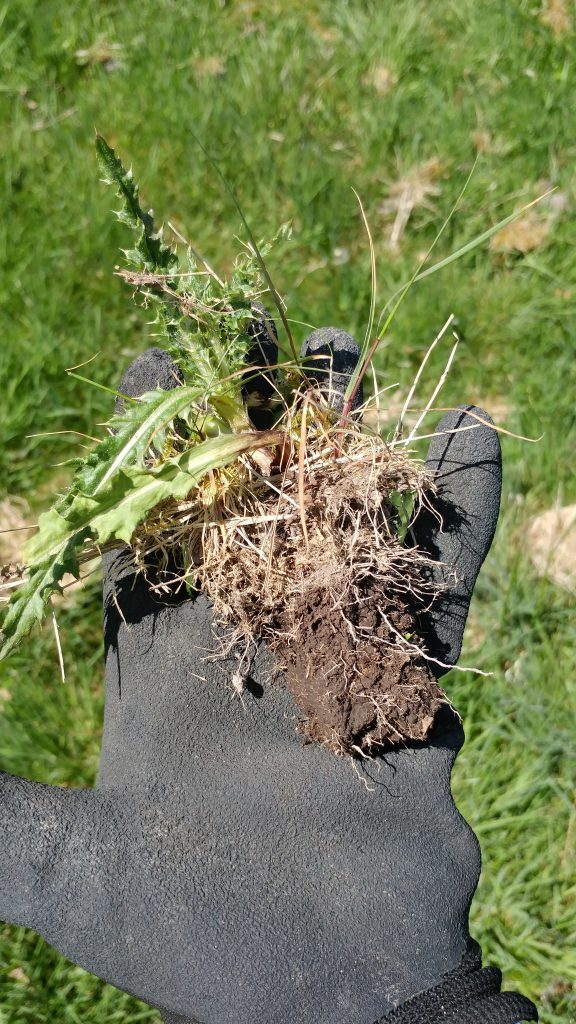
The presence of healthy leaves suggests this thistle fragment is far from dead
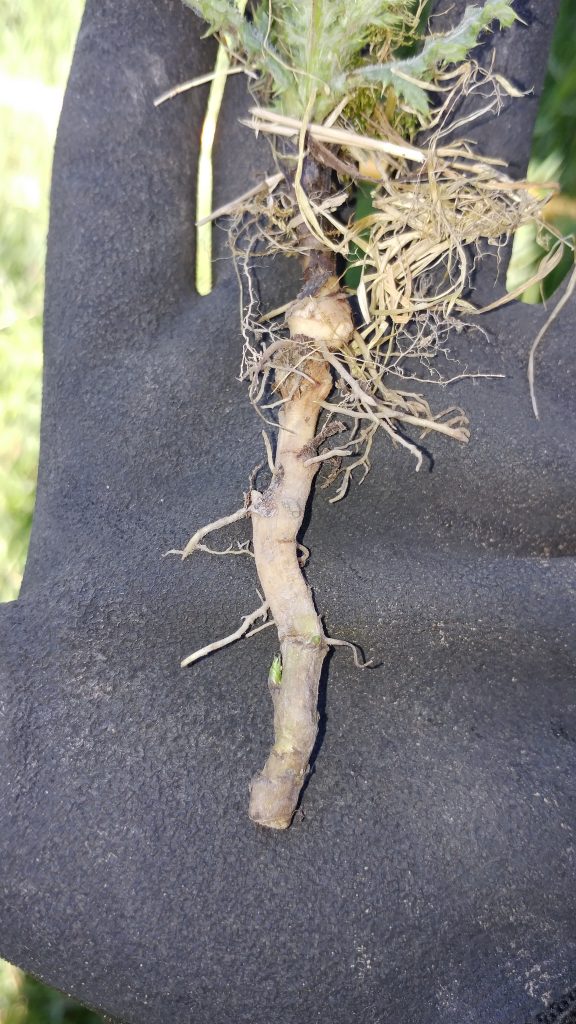
This underground stem has already generated new roots and stems (bottom left) despite sitting out in the elements for several days
However, we found another reason that the coring method
doesn’t work well: those cores can stay moist and guess what? The stems
generate new roots, and left alone could easily re-establish if conditions were
cool and moist. Just what we need.
Done properly, this is a quick and effective means of removing the entire root crown of new plantlets
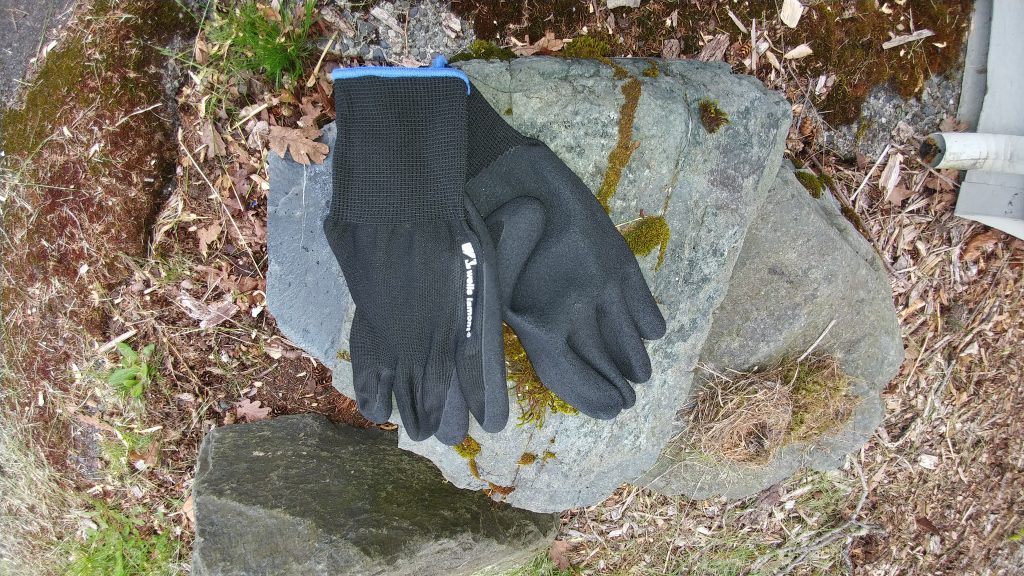
My preferred method, using the winged weeder, is to break the underground stem off as deeply as possible and then work it out as seen int he video. For this you need protective gloves, but not thick ones. You need to be able to feel what you’ve got a hold of.
These gloves are thick enough to protect against most thistle prickles, but thin enough so you can feel what you are holding
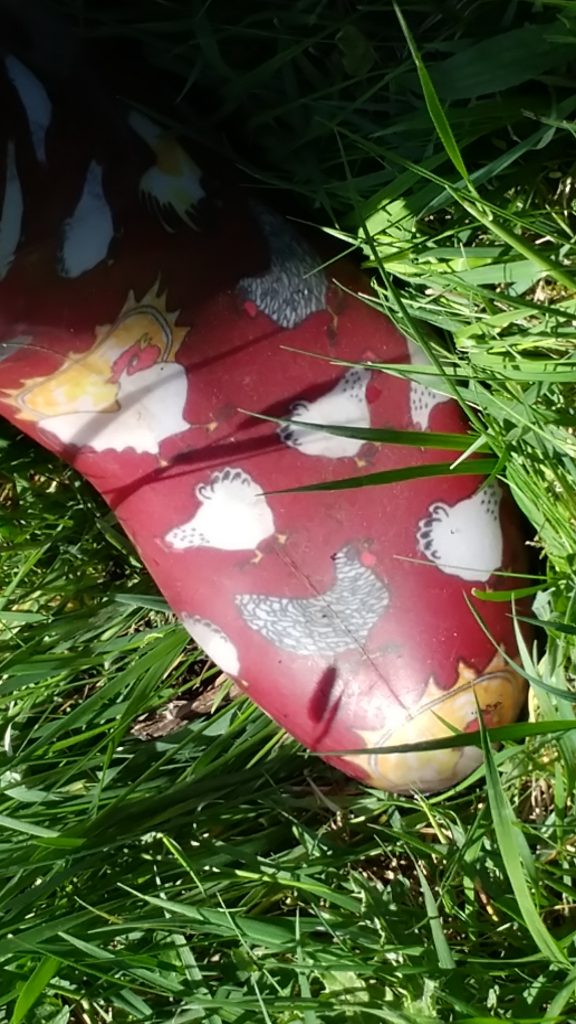
Hold onto the base of the thistle gently and as you work the weeder under it move your fingers down BELOW the crown. It feels like a tough bulge and you want to hold onto the smooth stem below it. Otherwise it is likely to break off, leaving the crown viable. You will hear, and possibly feel, a satisfying pop as you dislodge the stem from the underground system. Pull it up carefully. The remaining hole is tiny, and easily covered by pressing on it gently with one’s boot.
My chicken boots close the small holes left by the winged weeder
The advantages to physical removal of perennial weeds
I’m getting out into the fresh air and have lost more weight in the last month than I lost going to the gym in the past year.
I’m controlling a noxious weed population without the use of chemicals.
I’m developing a technique that can be applied to ANY herbaceous perennial in ANY garden or landscape. That’s the great thing about plant physiology – the pattern of resource allocation is not species dependent. Think horsetail and bindweed, for instance.
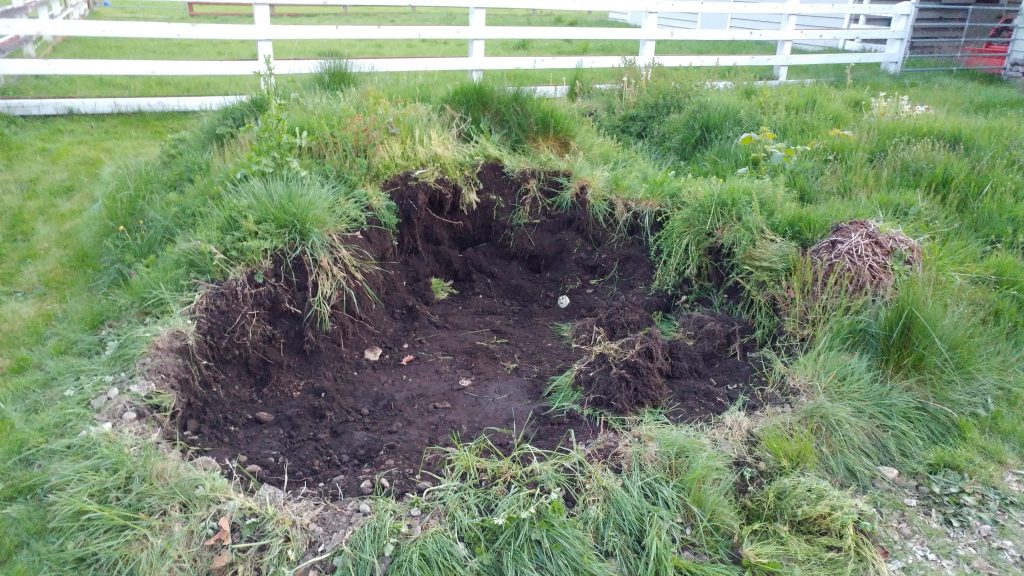
Our battleground – the enemies are well hidden
Do keep in mind that perennial weeds are perennial problems! We aren’t EVER going to have a thistle-free field, but it will become a more manageable problem as the infestation will have been dramatically reduced this year. I’ll try to do some updates over time.
Last month I started a series on raised bed gardens, focusing on materials and designs. Today I’ll mention some of my favorite tools and materials for putting everything together and getting ready to plant.
Getting your soil ready for raised bed use
Tools and materials:
shovel, wheelbarrow, tarp, soil screens
If you’ll recall from my previous post, I like using native
soil for raised beds (assuming it is not contaminated with heavy metals or
other undesirable chemicals). We have glacial till soil, which means it has a
LOT of rocks of various sizes. The bigger ones are easy enough to lift out, but
what about all the other ones?
First, realize that SOME rocks are no big deal. In fact,
they are important in reducing soil compaction. Finely sieved soil, especially
clay soils, will be more prone to compaction than a soil with small pebbles
scattered throughout. But the larger rocks are a nuisance.
Small rocks in your raised beds won’t interfere with vegetables but help prevent compaction of heavy soils.
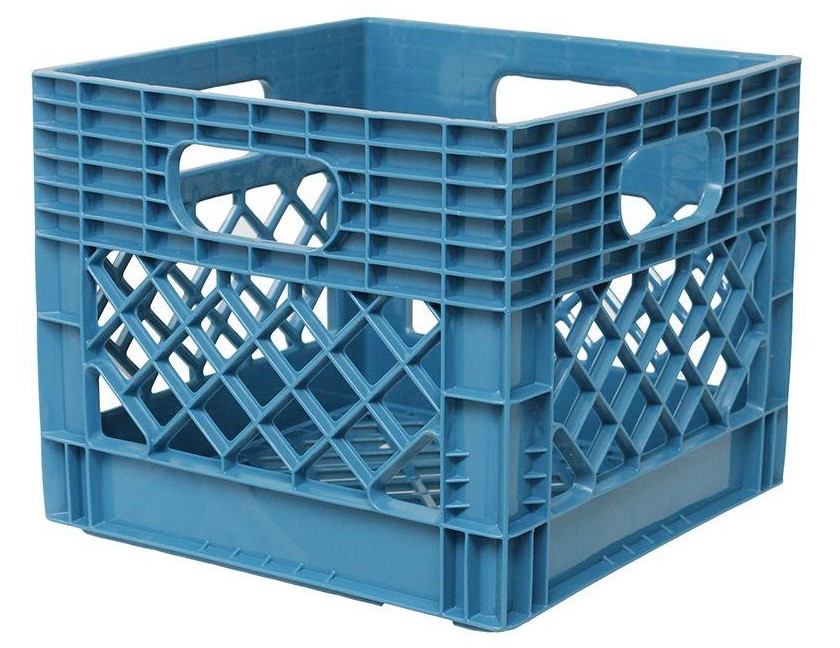
For the first pass through, I have found a plastic crate to
work really well. It’s lightweight and the holes are large enough to let soil
move through quickly, while retaining larger rocks. I like the milk crate size
as it’s easiest to handle. Just set the crate in a wheelbarrow or on a tarp,
fill it full of rocky soil, pick it up and shake.
These plastic crates are sturdy and easy enough to lift when filled with soil.
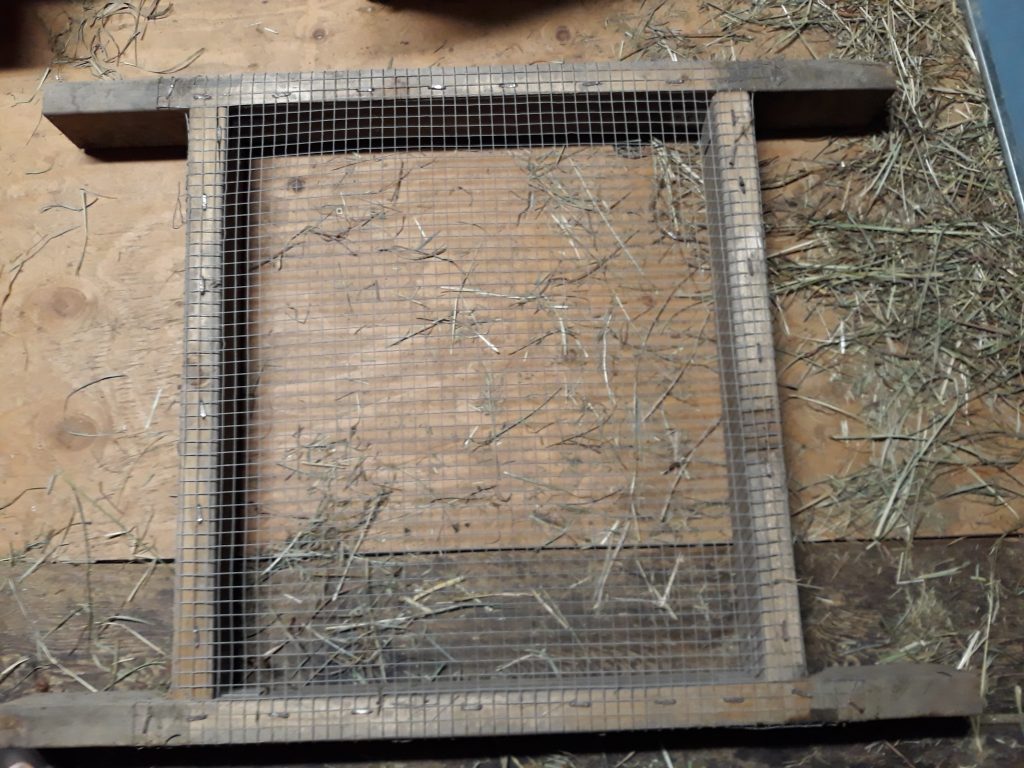
The rocks left in the soil for the most part are easy to
work around, and you can always pick out the larger ones as you go (my personal
choice). Or if you want to give it another screening, you can build wooden
frames with different gauges of hardware cloth, or chicken wire, to remove more
of the rocks.
This is a simple soil screen built with 2×4 boards and hardware cloth.
This is a time-consuming process, but the benefit is that
you don’t have to top off your beds every year. Your native soil will not be
subject to high levels of decomposition and subsidence as will many commercial
topsoils with their high organic content.
When you’re ready to fill your beds, be sure to add more
soil than you think you will need. It is going to settle, and you may need to
add a little more the second year to bring it back to your desired level. But
you shouldn’t have to add any more in the future.
Water and time will help soil settle to its final level.
Throughout the soil preparation process, be sure to work
when the soil is dry, or no more than just damp. Working wet soil is difficult,
and wet soil compacts.
But what about heavy clay soils?
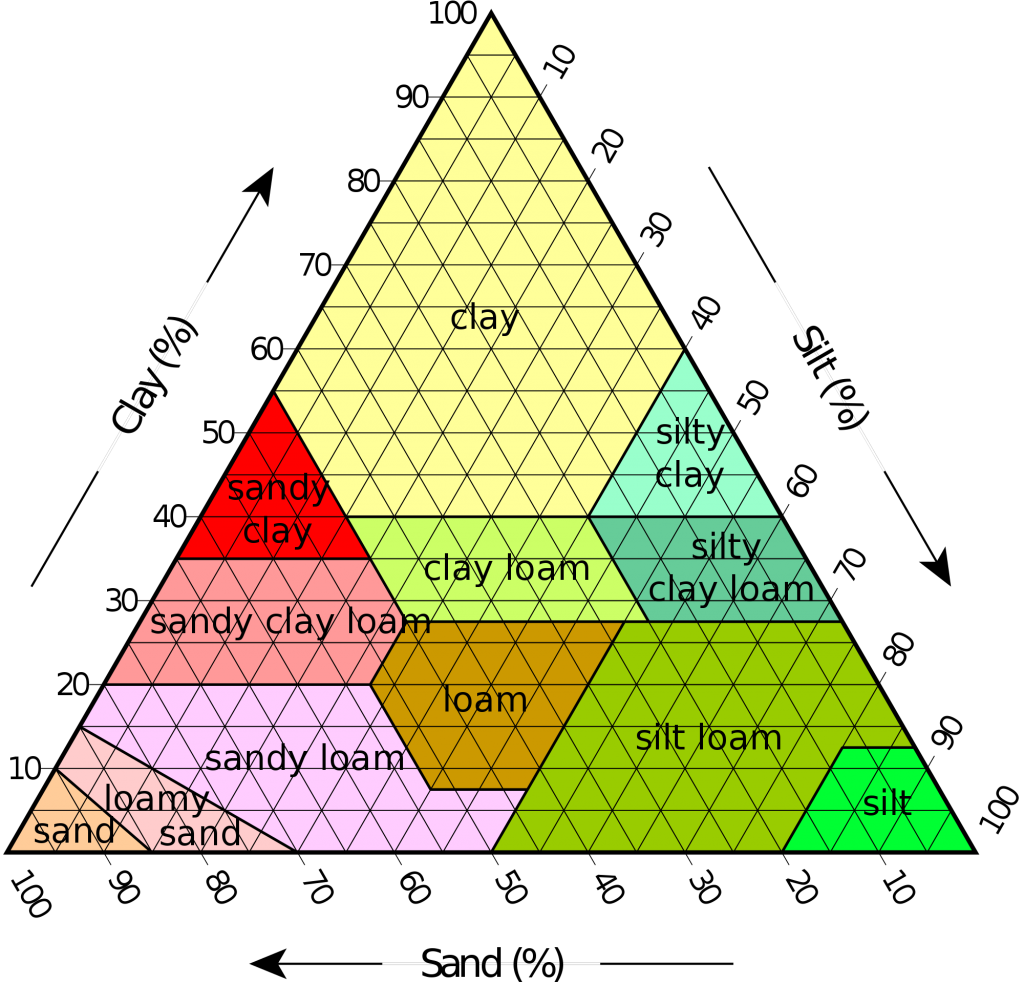
Unless you’ve done a soil texture test, you really don’t know what you have. So before you take another route, make sure you really have a heavy clay soil. If it’s just compacted, then proper mulching will solve that problem too. If it’s truly a heavy clay – let’s say over 40% – then yes, this soil might not be best for a raised bed. In that case, I would suggest finding a different topsoil mix, where clay is no more than 30%. Lay down a membrane to keep this soil separate from your native clay soil. Your raised beds will now function more like giant containers, and you will have to make allowances for drainage along the sides of the beds.
You can estimate how much clay you have in any soil type using this chart.
Your beds are ready – how to keep them that way before planting
Tools and materials:
coarse organic mulch, wheelbarrow, mulch fork or shovel, rake, soil temperature
probe
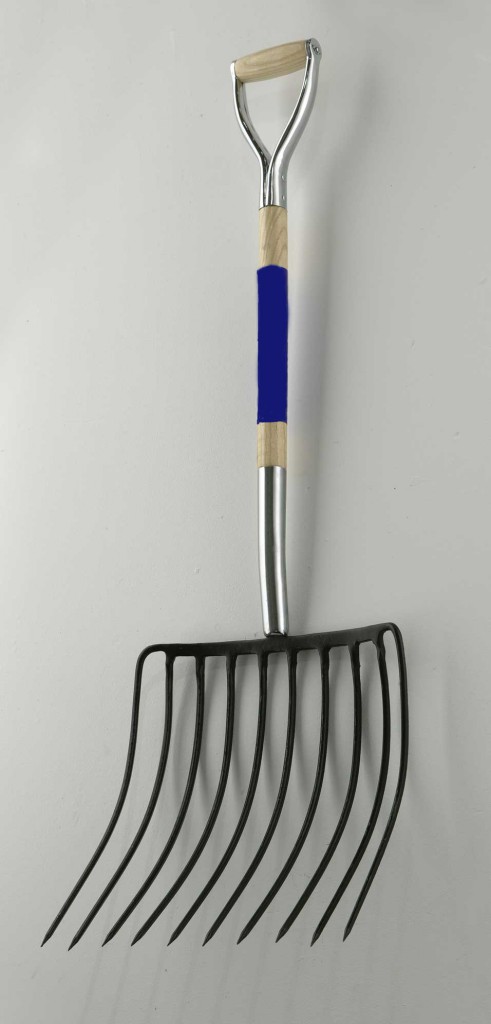
A mulch fork will make your life so much easier!
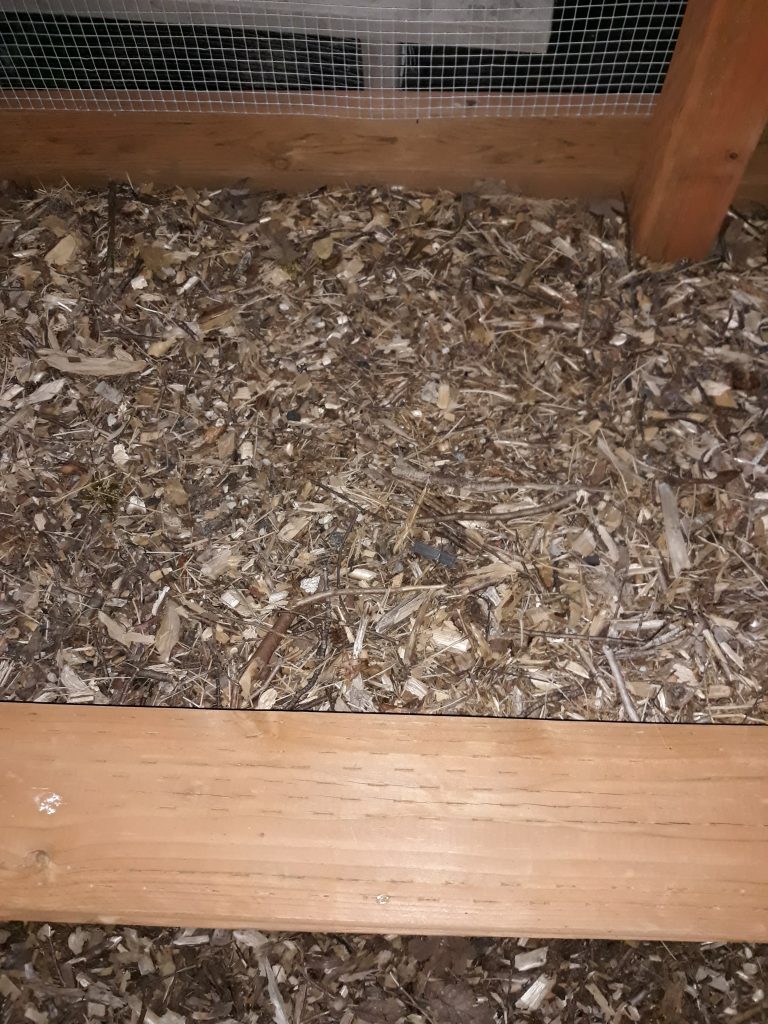
Once your beds are filled, it’s important to get them planted as quickly as possible to prevent continued erosion of that bare, loose soil by wind and rain. If you aren’t immediately planting, then you need to cover the soil with a protective mulch. The only choice you have, if you wish to keep your soil environment hydrated and aerated, is to use a coarse organic mulch. Sheet mulches are not advised since they will interfere with water and air movement. Even if you don’t have plants in the soil, there are microbes and beneficial animals that need a constant influx of oxygen and water. A coarse organic mulch, installed to a depth of at least 4 inches, will facilitate water and air transfer and also keep weed seeds from germinating.
Keep unplanted beds protected with coarse organic mulch.
If you’ve been following my posts over the years, you already know I’m going to recommend using a wood chip mulch. Its benefits to soils and soil life is well established and it is easily moved once it’s time to plant. But you can use pine needles, straw (not hay!), and other coarse organic materials for this purpose. Fine textured organic materials like compost should never be used as a mulch, as thick layers of compost are more restrictive to gas and water movement and also facilitate weed growth. Save compost for a thin topdressing when your soil anywhere on your property is in need of organic matter, and be sure to cover it with woody mulch to keep those weeds out.
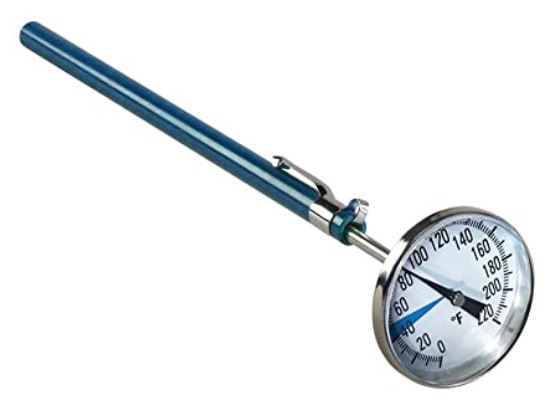
This thermometer will help you plant seeds at their optimum time.
While waiting for the right time to plant, consider
purchasing a soil thermometer. They are inexpensive and easy to use. Good publications on growing vegetables will
tell you what the soil temperature should be when you plant: planting too early
can lead to reduced seedling survival. And while you are waiting you can
install a rain gauge nearby, so you can monitor irrigation needs throughout the
growing season.
What’s next?
Next time we’ll discuss the dos and don’ts of raised bed
maintenance during the growing season and before planting the following year.
Most of these practices are adaptable to traditional vegetable gardens, so be
sure to check it out!
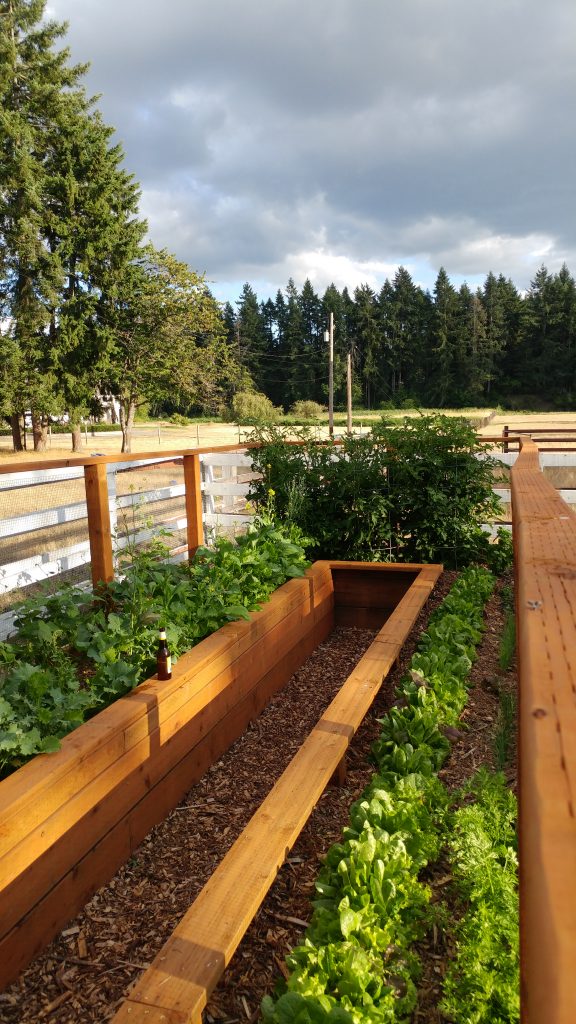
Raised beds a month after planting. Adult beverage not harvested here.
Many of us are sheltering at home during the COVID19 outbreak, and that might mean you’re spending more time in the garden. It certainly seems to be true based on my Facebook feed. And given that even more people are showing interest in growing their own food, I thought some practical posts on raised beds dos and don’ts might be fun. John Porter did a nice review of some of the misperceptions about raised beds last year, and that’s worth reading as well. This week’s post will be on siting and materials needed for building a raised bed. At the end of the post is a list of online resources with more information.
Trees to the south will shade vegetable gardens throughout the growing season.
Location
To grow most vegetables, you need direct sunlight at least
six hours per day, and more is better in terms of productivity. That means
full, unfiltered sunlight, so that your seeds and plants get the entire light
spectrum. You’ll need to take into account seasonal changes, like the sun’s
angle and the appearance of deciduous canopies, before choosing your site. If part of your bed will unavoidably be in the
shade, simply choose plants that will tolerate part- or full-shade conditions
for that location.
Building materials
Construction of raised beds. Carpenter contracting not available.
We use pressure-treated hemlock and Douglas fir for our beds, which measure 8′ by 22′ (at the outside dimensions.). Modern pressure treatment uses alkaline copper quaternary, which is nothing like the toxic chromium-arsenic cocktail from earlier times. You don’t have to use wood, of course – other materials will work but do educate yourself on any potential leaching issue into the soil.
Underneath the beds is….nothing. If our underlying soil was
contaminated with heavy metals or some other material, we would put down a
membrane first to keep our raised bed soil separate from the contaminated soil.
But we have no issues, so it’s soil next to soil, meaning we have great
drainage.
Planting media
Native topsoil stockpiled from construction project.
The best material for your raised bed is actual native
topsoil (if you can find it). If you don’t have enough of your own, see if
anyone locally is giving away “free dirt.” People who put in decks, ponds, and
other hardscape structures often don’t realize their discarded dirt is real
topsoil. Do be cautious with this potential windfall. Ask about pesticides or
other chemicals that may have been used in the original landscape. And you
should do an initial soil test to see your baseline nutrient values. It’s
easier to incorporate amendments BEFORE you fill your beds.
There are exceptions to the native topsoil recommendation –
for instance, if your soil is contaminated with heavy metals from industry or
agriculture, you shouldn’t use it for growing edibles. In this case, you need
to use a commercial topsoil, and isolate it from the underlying soil as
described earlier. Commercial topsoils can be heavily amended with compost and
other organic material, meaning you have much less actual soil and will
constantly need to refill your beds as the organic matter decomposes. Try to
find a mix with the greatest possible percentage of topsoil.
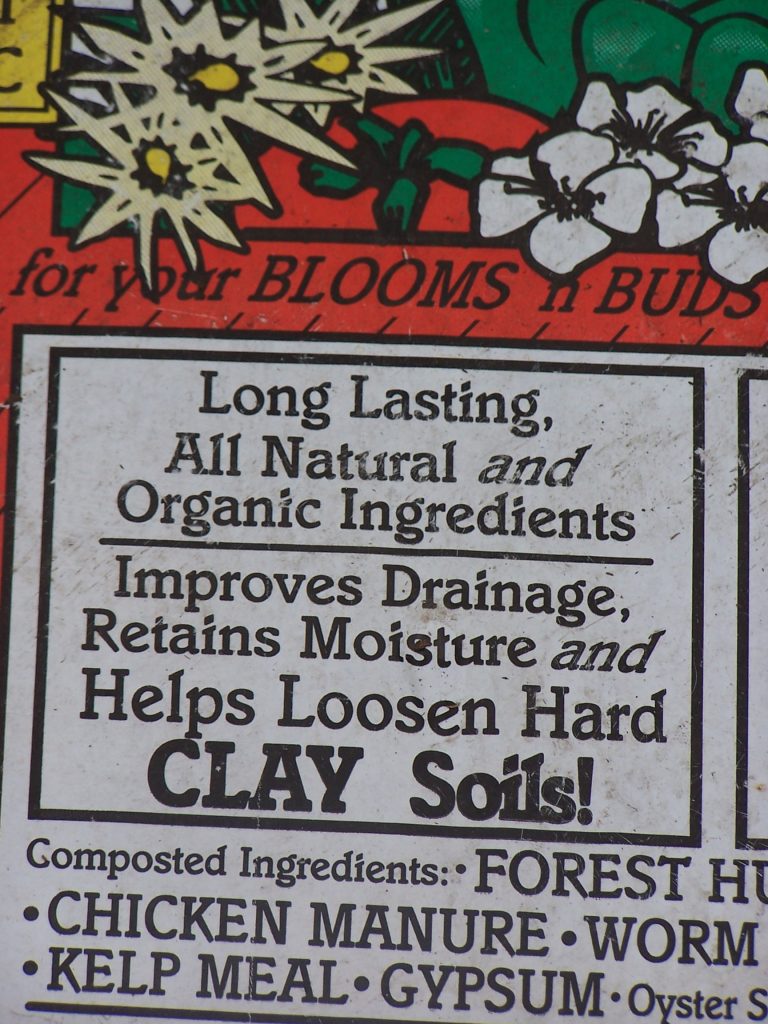
Read the label! Is there actually soil in potting “soil”?
The worst choice of all are soilless media. This includes nearly all bagged potting “soils” at garden centers. Read the contents panel carefully – does it say the word “soil” anywhere? If it’s all organic material, you are going to have to fill your beds every year. This is both expensive and time consuming. Plus you could very well have excessive levels of some nutrients that will build every year as you add more.
As you make your decision about what to fill your raised
beds with, consider what you will be growing, If you are only growing summer
crops, it will be easier to amend the bed every year. If you have a winter
crop, or perennial herbs, you can’t incorporate more material without
destroying the existing rhizosphere and your plants. Perhaps that means you
need two raised beds, or at least have a divided system.
Design
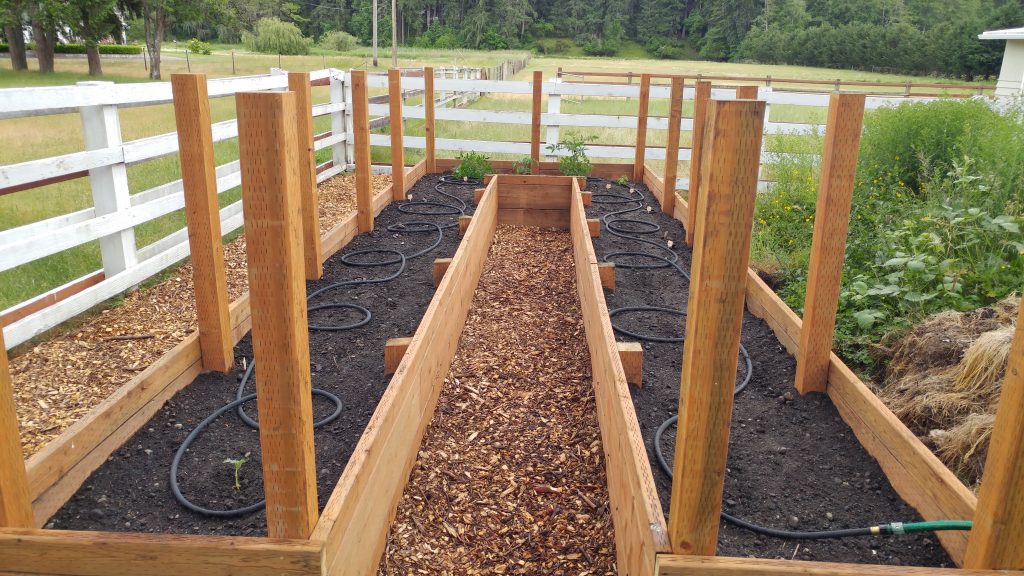
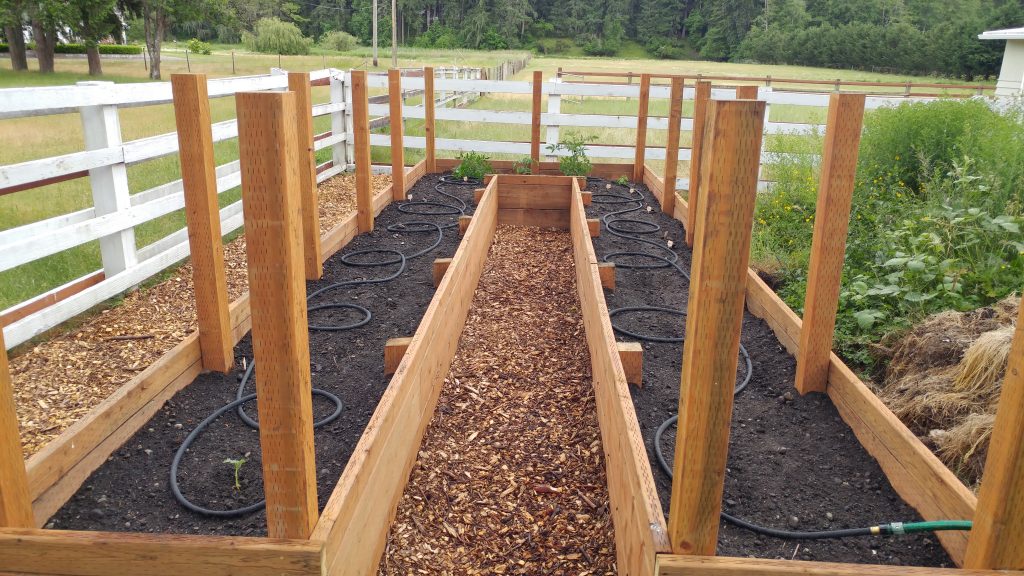
A U-shaped or keyhole design.
This part is really up to you! Raised beds should be high
enough to work comfortably, big enough to hold what you want to grow, and
narrow enough to be able to reach all the way across (for one-sided access) or
halfway across (two-sided access).
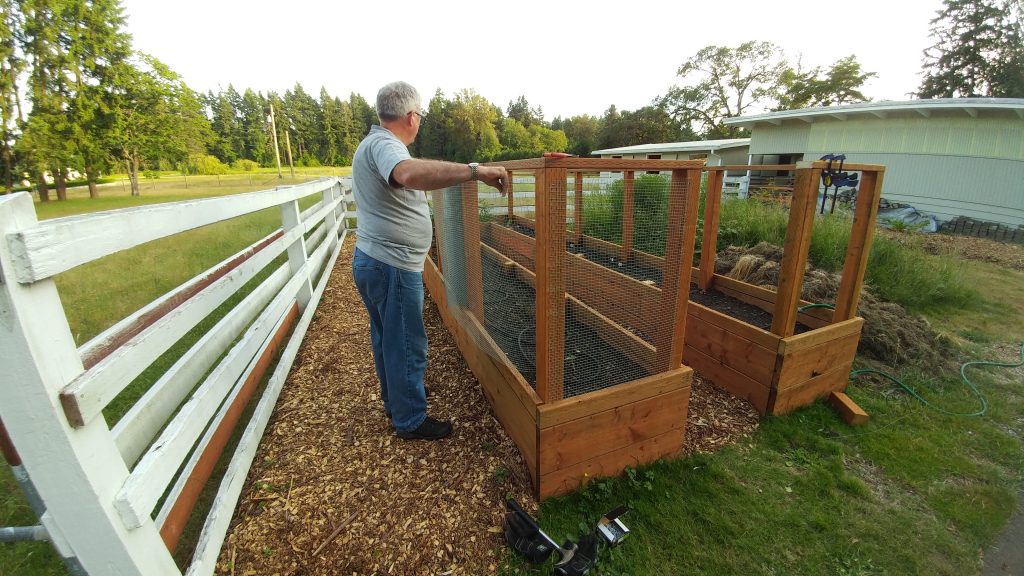
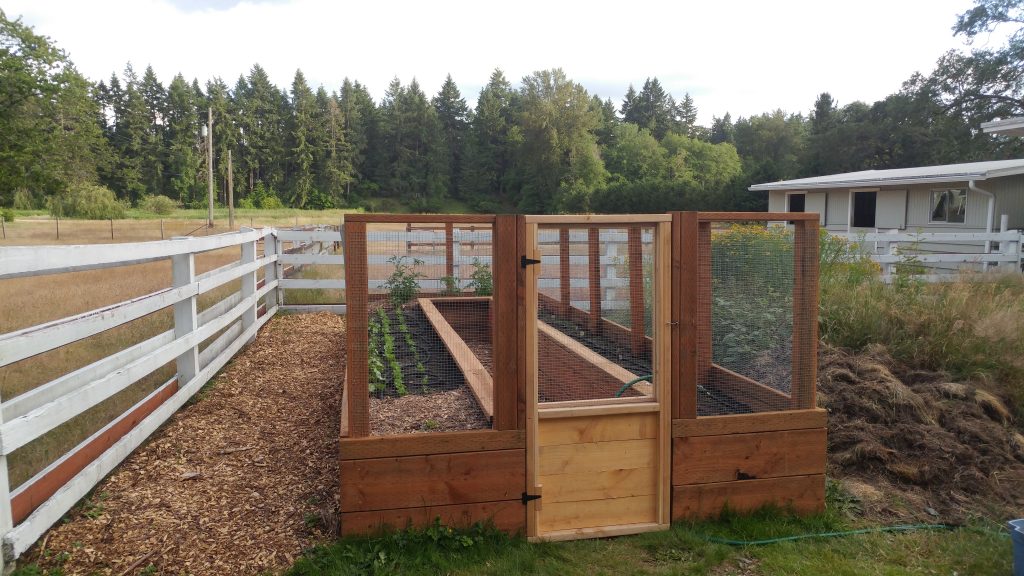
We wanted a design where we could include a critter fence.
Once in a while a deer might wander through our property, and rabbits certainly
do. The hardware cloth fence keeps larger animals out and also provides a great
trellis for beans and other climbers.
Gated garden and critter fence.
We opted for a U-shaped system, with a gate on one end. The
inside edges of the beds are topped with 2×6 boards that can be used as a
bench. We did run stabilizing boards between interior and exterior posts. They
are buried and don’t really interfere with the plants. (Note to self – next
time put those stabilizing boards in BEFORE filling with soil.)
What’s next?
Next time I’ll discuss some of my favorite tools for using in raised beds and possibly other places. And we’ll touch on the importance of soil testing before you add organic matter or other fertilizer to your beds. In the meantime, be sure to check out these resources:
If you’ve been reading this blog for a while, you might remember that I got rid of our lawn (getting rid of your lawn post) at our Seattle house . It took too much water to keep it green in the summer, and the resulting ornamental landscape was more ecologically diverse and aesthetically pleasing for such a small site.
On the way to replacing the lawn with landscapeAnd the same landscape a few years later.
But that was then, and this is now. In 2017 we moved back to
the family farm, which has a full acre of landscape – including lawn. Although
we are slowly reducing the vast expanse of lawn, we will keep part of it
because (1) we are on well water and there is an irrigation system and (2)
because we are allowing the lawn to become a diverse tapestry of different
plant species – an ecolawn, if you will.
Farmhouse landscape with an acre of lawn!
When I was growing up, my father fought unsuccessfully to keep the moss and weeds out. I happen to LOVE the moss and the fact that it grows here has nothing to do with poor drainage or anything else. It grows here because the environmental conditions support its growth. I love the spongy feel of the underlying moss, and it reduces the amount of mowing necessary because it’s limited in height. And no fertilizers or pesticides are needed.
Mossy lawns are lovely for walking…and laying down on.
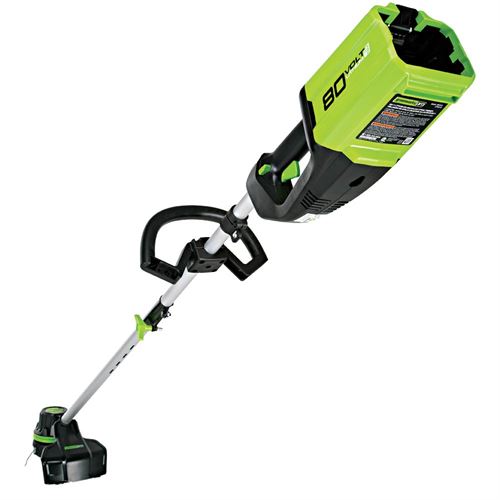
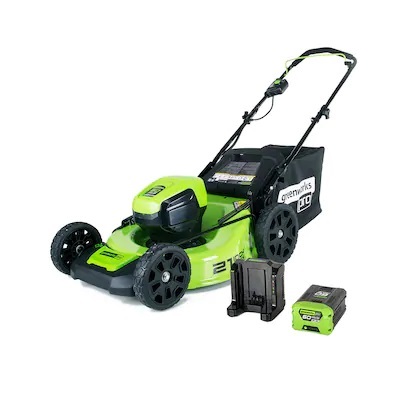
Speaking of mowing…I hate gas powered mowers. They’re smelly and noisy, they contribute to air pollution, and when something goes wrong you have to take it to small engine repair. These excursions are infrequently successful but always expensive. So imagine my delight is discovering newer battery-powered mowers! All you have to do is swap battery packs. They are quieter, there are no emissions, they don’t smell, and they have an electric engine! No small engine repairs, and they are also lighter for this reason.
A newer technology, battery-operated mower with rechargeable battery
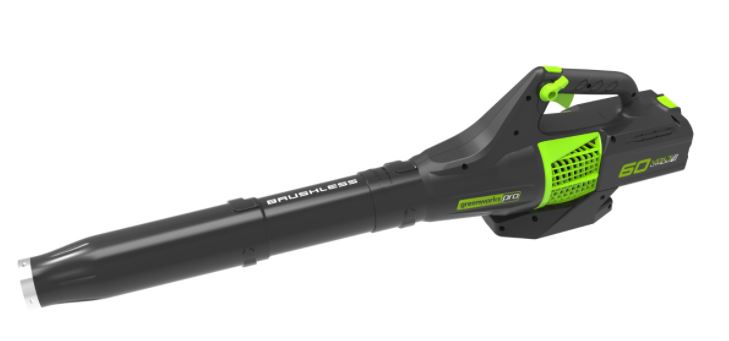
I was even more excited to find compatible leaf blowers. We
have tons of Oregon white oak leaves, and we blow them into the beds. We do NOT
leave them on the lawn, because they interfere with some of our non-grass lawn
inhabitants. They are perfect on the beds because their curly, rigid structure
prevents compaction and they keep weeds out while allowing water and oxygen to
penetrate.
Keep the leaves off the lawn and over the beds.Our container violets have escaped into the lawn; covering them with leaves could kill them.
Finally, our ecolawn allows me to see and appreciate the
reproductive structures of our mycorrhizal fungi. I don’t even pretend to know
the species and whether they are edible. I just love the fact that they appear
every fall after we’ve stopped mowing.
Some of our lawn mushrooms……and some others……and others.
Sometimes lawns aren’t appropriate, as we found in Seattle.
But sometimes they are – and as long as they are cared for in an
environmentally sustainable manner, they shouldn’t have to be something we
apologize for.
[This blog post has been provided by Bec Wolfe-Thomas, an administrator for the Garden Professors blog group on Facebook.]
Pileated woodpecker. Photo by Josh Laymon
Woodpeckers (Picidae) frequently get a bad rap from gardeners. It’s often their impression that the birds irreparably damage trees, but this is untrue. Most woodpeckers are insect eaters; they can hear insects under the bark and in the wood of trees. They then target their drilling with uncanny precision to get their meal. This removal of insect pests, such as emerald ash borer, benefits the tree.
Emerald ash borer larva. Photo by Pennsylvania Department of Conservation and Natural Resources.
And what about the feeding holes left in the tree? This is an exciting bit of tree physiology! Trees are able to compartmentalize or isolate the wounds. After the woodpecker has made a hole to retrieve the insects within, the tree starts compartmentalizing the wound. How long it takes for a tree to compartmentalize a wound and close it depends on species and climate factors.
Compartmentalization of decay in trees (CODIT). Photo from Wikimedia.
Below are photos of woodpecker holes in various states of compartmentalization, from freshly drilled to completely compartmentalized and closed holes. Woodpeckers help keep trees healthy by preventing large pest infestations. And while the small feeding holes might be an aesthetic concern to gardeners, they’re only temporary. They will eventually be compartmentalized and closed, and the tree will be healthier in the long run by having fewer pests.
Freshly drilled holes. Photos by Bec Wolfe-Thomas.
This woodpecker hole is partially compartmentalized; you can see the edges are rounded, no longer rough. Photo by Bec Wolfe-Thomas.
These wounds are almost completely compartmentalized with very little gap between the edges. Photos by Bec Wolfe-Thomas. This wound has fully compartmentalized and all that is left is a pucker on the trunk. Photo by Bec Wolfe-Thomas.
[Please note the larger holes excavated for nesting will compartmentalize but will not close over time.]