Tools, tips, and terrible traditions for raised beds – Part 3

Young vegetables thrive in mulched, weed-free raised bed.

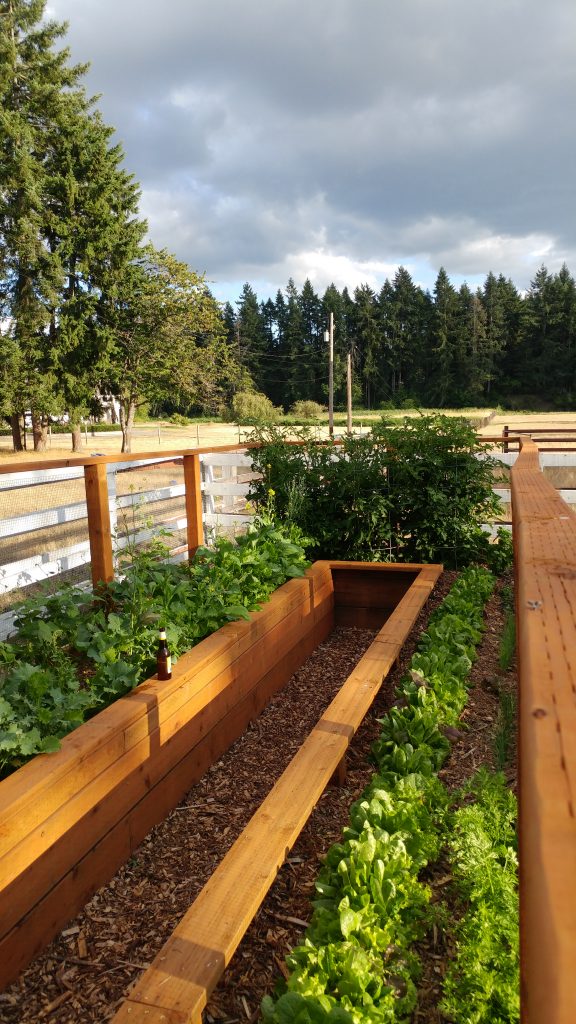
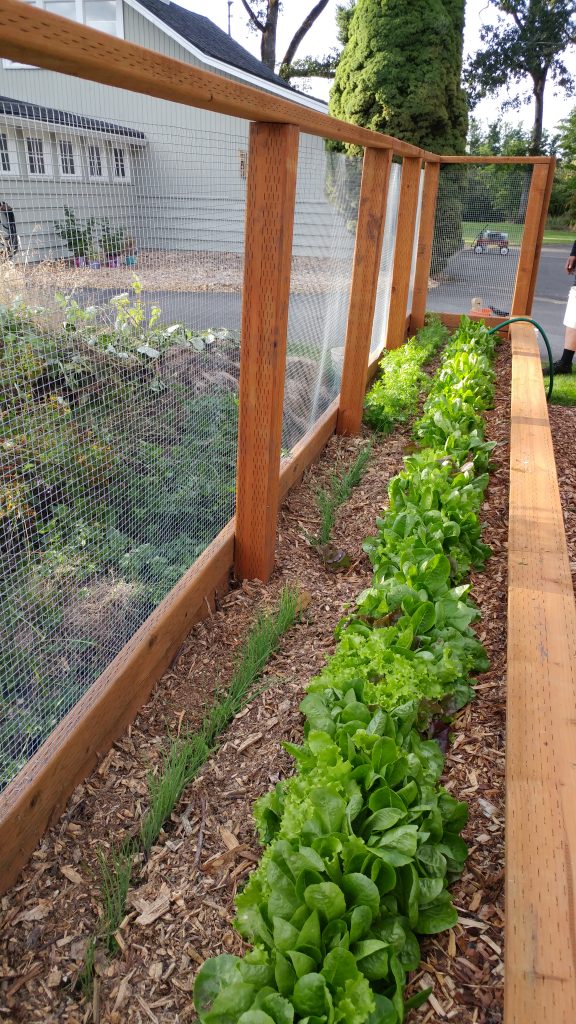
Over the last couple of months I started a series on raised bed gardens, focusing on materials and preparation. In this final installment, I’ll focus on maintenance activities to avoid in your raised bed systems and remind you of three things you should always do.

Terrible traditions

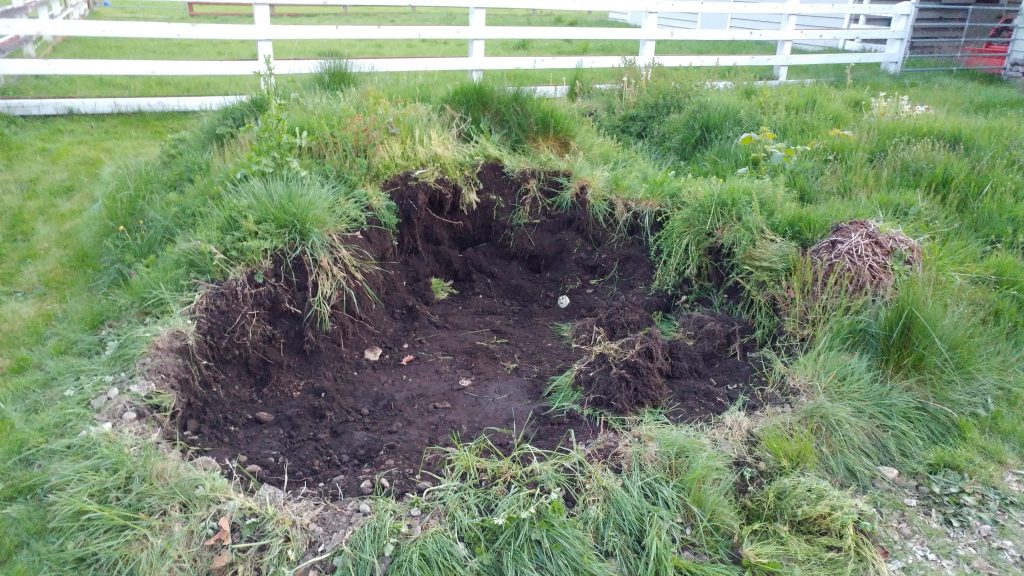
We’ll start with some practices that damage soil structure and function (GP John Porter discussed this in much detail a few years ago). Tilling, once the mainstay of soil preparation for crops, is increasingly found to cause more damage than good. Grinding the soil into a material with the texture of coffee grounds might look pretty, but it’s devoid of the ped structure that allows water and gas to move through easily. It also increases microbial activity by bringing up microbial spores, which release carbon dioxide to the atmosphere as they digest whatever organic material is there. And tilling will increase the likelihood of erosion and compaction.

Soil runoff from tilled, unprotected field. The same thing will happen in your garden. Photo from Wikimedia.

This is the opposite of what gardeners should want: an optimal soil has natural structure which might look messy but allows for good drainage. It’s also more resistant to compaction and erosion, especially when it’s protected with mulch (more on this later).

Speaking of drainage, don’t be tempted to add gravel or some other coarse material at the bottom of the bed. The change in soil texture creates a perched water table, which makes for a soggy planting bed and optimal conditions for soil-borne diseases.

Classic experiment that demonstrates water does not move easily through different soil textures.

While we’re talking about unnecessary or harmful additions to your raised beds, let’s not forget the annual addition of compost or other rich organic material. This is a holdover from old agricultural practices and is not warranted unless you have an organic material deficiency. Without a soil test, you don’t have a clue about what your soil has or what it needs. The problems associated with routine amendments are discussed in this peer-reviewed fact sheet, and are exacerbated by the tillage that is often the means to incorporate compost. Likewise, don’t add fertilizers and pesticides unless you have conclusively identified nutrient deficiencies or pest issues.

If your nutrients are off scale, don’t add any fertilizer!

The last tradition I’d like to see shelved is growing cover crops. This practice originated in the management of agricultural fields, which were otherwise left bare after harvest. Outside of producing some kale or other winter vegetables, what’s the point of planting a cover crop in your garden, when you can protect the soil in other ways? Cover crops require water and nutrients, which eventually will need to be pulled or incorporated. You are forcing your soil system to continue to support plant growth and be subjected to disturbance with the planting and harvesting of the cover crop. Why not let the soil rest over the winter with a nice blanket of mulch? Give it a chance to regenerate its nutrient load while being protected from unnecessary disturbance.

A great arborist chip mulch has leaves or needles as well as wood.

Three tips

Two of these tips have been discussed many times in this forum, so I’ll direct you to longer discussions of soil testing and mulching. Mulching is not just important for protecting the soil bed after the growing season, but should be used on actively producing beds. A deep, coarse organic mulch will promote water and air movement, moderate soil temperatures, reduce weeds, and provide a slow feed of nutrients throughout the season. You’ll have to wait until your seeds are up to apply it, of course, but try to avoid bare soil as much as possible.

Though you’ll need to leave the soil bare during seed germination, you can still protect unplanted areas of the bed with mulch.

Soil testing is really crucial for any garden, but perhaps most important in vegetable gardens where harvesting may decrease key nutrients over time. It will also guide you in identifying potential heavy metal problems. The money you will save in not buying unnecessary fertilizers and other amendments will pay for many soil tests.

There is so much great information in a soil test that will help you make decisions about what to add – and what to avoid.

Sometimes you will need to add material to your existing beds if you are not using a natural soil. Soilless media (deceptively marketed as “potting soil” though no soil is to be found) will decompose and settle over time, leaving you with a sunken soil system. You will need to add more of the same sort of media to the beds, making sure you mix it in thoroughly to prevent a perched water table. (This is why you might consider using a natural soil and avoiding this annual chore – because a natural soil will not subside over time.)

This recommended planting media will decompose down to the oyster shells and lime over time.

Tools, tips, and terrible traditions for raised beds – Part 2

Native topsoil – with native rocks.

Last month I started a series on raised bed gardens, focusing on materials and designs. Today I’ll mention some of my favorite tools and materials for putting everything together and getting ready to plant.

Getting your soil ready for raised bed use

Tools and materials: shovel, wheelbarrow, tarp, soil screens

If you’ll recall from my previous post, I like using native soil for raised beds (assuming it is not contaminated with heavy metals or other undesirable chemicals). We have glacial till soil, which means it has a LOT of rocks of various sizes. The bigger ones are easy enough to lift out, but what about all the other ones?

First, realize that SOME rocks are no big deal. In fact, they are important in reducing soil compaction. Finely sieved soil, especially clay soils, will be more prone to compaction than a soil with small pebbles scattered throughout. But the larger rocks are a nuisance.

Small rocks in your raised beds won’t interfere with vegetables but help prevent compaction of heavy soils.

For the first pass through, I have found a plastic crate to work really well. It’s lightweight and the holes are large enough to let soil move through quickly, while retaining larger rocks. I like the milk crate size as it’s easiest to handle. Just set the crate in a wheelbarrow or on a tarp, fill it full of rocky soil, pick it up and shake.

These plastic crates are sturdy and easy enough to lift when filled with soil.

The rocks left in the soil for the most part are easy to work around, and you can always pick out the larger ones as you go (my personal choice). Or if you want to give it another screening, you can build wooden frames with different gauges of hardware cloth, or chicken wire, to remove more of the rocks.

This is a simple soil screen built with 2×4 boards and hardware cloth.

This is a time-consuming process, but the benefit is that you don’t have to top off your beds every year. Your native soil will not be subject to high levels of decomposition and subsidence as will many commercial topsoils with their high organic content.

When you’re ready to fill your beds, be sure to add more soil than you think you will need. It is going to settle, and you may need to add a little more the second year to bring it back to your desired level. But you shouldn’t have to add any more in the future.

Water and time will help soil settle to its final level.

Throughout the soil preparation process, be sure to work when the soil is dry, or no more than just damp. Working wet soil is difficult, and wet soil compacts.

But what about heavy clay soils?

Unless you’ve done a soil texture test, you really don’t know what you have. So before you take another route, make sure you really have a heavy clay soil. If it’s just compacted, then proper mulching will solve that problem too. If it’s truly a heavy clay – let’s say over 40% – then yes, this soil might not be best for a raised bed. In that case, I would suggest finding a different topsoil mix, where clay is no more than 30%. Lay down a membrane to keep this soil separate from your native clay soil. Your raised beds will now function more like giant containers, and you will have to make allowances for drainage along the sides of the beds.

You can estimate how much clay you have in any soil type using this chart.

Your beds are ready – how to keep them that way before planting

Tools and materials: coarse organic mulch, wheelbarrow, mulch fork or shovel, rake, soil temperature probe

A mulch fork will make your life so much easier!

Once your beds are filled, it’s important to get them planted as quickly as possible to prevent continued erosion of that bare, loose soil by wind and rain. If you aren’t immediately planting, then you need to cover the soil with a protective mulch. The only choice you have, if you wish to keep your soil environment hydrated and aerated, is to use a coarse organic mulch. Sheet mulches are not advised since they will interfere with water and air movement. Even if you don’t have plants in the soil, there are microbes and beneficial animals that need a constant influx of oxygen and water. A coarse organic mulch, installed to a depth of at least 4 inches, will facilitate water and air transfer and also keep weed seeds from germinating.

Keep unplanted beds protected with coarse organic mulch.

If you’ve been following my posts over the years, you already know I’m going to recommend using a wood chip mulch. Its benefits to soils and soil life is well established and it is easily moved once it’s time to plant. But you can use pine needles, straw (not hay!), and other coarse organic materials for this purpose. Fine textured organic materials like compost should never be used as a mulch, as thick layers of compost are more restrictive to gas and water movement and also facilitate weed growth. Save compost for a thin topdressing when your soil anywhere on your property is in need of organic matter, and be sure to cover it with woody mulch to keep those weeds out.

This thermometer will help you plant seeds at their optimum time.

While waiting for the right time to plant, consider purchasing a soil thermometer. They are inexpensive and easy to use.  Good publications on growing vegetables will tell you what the soil temperature should be when you plant: planting too early can lead to reduced seedling survival. And while you are waiting you can install a rain gauge nearby, so you can monitor irrigation needs throughout the growing season.

What’s next?

Next time we’ll discuss the dos and don’ts of raised bed maintenance during the growing season and before planting the following year. Most of these practices are adaptable to traditional vegetable gardens, so be sure to check it out!

Tools, tips, and terrible traditions for raised beds – Part 1

Raised beds a month after planting. Adult beverage not harvested here.

Many of us are sheltering at home during the COVID19 outbreak, and that might mean you’re spending more time in the garden. It certainly seems to be true based on my Facebook feed. And given that even more people are showing interest in growing their own food, I thought some practical posts on raised beds dos and don’ts might be fun. John Porter did a nice review of some of the misperceptions about raised beds last year, and that’s worth reading as well. This week’s post will be on siting and materials needed for building a raised bed. At the end of the post is a list of online resources with more information.

Trees to the south will shade vegetable gardens throughout the growing season.

Location

To grow most vegetables, you need direct sunlight at least six hours per day, and more is better in terms of productivity. That means full, unfiltered sunlight, so that your seeds and plants get the entire light spectrum. You’ll need to take into account seasonal changes, like the sun’s angle and the appearance of deciduous canopies, before choosing your site.  If part of your bed will unavoidably be in the shade, simply choose plants that will tolerate part- or full-shade conditions for that location.

Building materials

Construction of raised beds. Carpenter contracting not available.

We use pressure-treated hemlock and Douglas fir for our beds, which measure 8′ by 22′ (at the outside dimensions.). Modern pressure treatment uses alkaline copper quaternary, which is nothing like the toxic chromium-arsenic cocktail from earlier times. You don’t have to use wood, of course – other materials will work but do educate yourself on any potential leaching issue into the soil.

Underneath the beds is….nothing. If our underlying soil was contaminated with heavy metals or some other material, we would put down a membrane first to keep our raised bed soil separate from the contaminated soil. But we have no issues, so it’s soil next to soil, meaning we have great drainage.

Planting media

Native topsoil stockpiled from construction project.

The best material for your raised bed is actual native topsoil (if you can find it). If you don’t have enough of your own, see if anyone locally is giving away “free dirt.” People who put in decks, ponds, and other hardscape structures often don’t realize their discarded dirt is real topsoil. Do be cautious with this potential windfall. Ask about pesticides or other chemicals that may have been used in the original landscape. And you should do an initial soil test to see your baseline nutrient values. It’s easier to incorporate amendments BEFORE you fill your beds.

There are exceptions to the native topsoil recommendation – for instance, if your soil is contaminated with heavy metals from industry or agriculture, you shouldn’t use it for growing edibles. In this case, you need to use a commercial topsoil, and isolate it from the underlying soil as described earlier. Commercial topsoils can be heavily amended with compost and other organic material, meaning you have much less actual soil and will constantly need to refill your beds as the organic matter decomposes. Try to find a mix with the greatest possible percentage of topsoil.

Read the label! Is there actually soil in potting “soil”?

The worst choice of all are soilless media. This includes nearly all bagged potting “soils” at garden centers. Read the contents panel carefully – does it say the word “soil” anywhere? If it’s all organic material, you are going to have to fill your beds every year. This is both expensive and time consuming. Plus you could very well have excessive levels of some nutrients that will build every year as you add more.

As you make your decision about what to fill your raised beds with, consider what you will be growing, If you are only growing summer crops, it will be easier to amend the bed every year. If you have a winter crop, or perennial herbs, you can’t incorporate more material without destroying the existing rhizosphere and your plants. Perhaps that means you need two raised beds, or at least have a divided system.

Design

A U-shaped or keyhole design.

This part is really up to you! Raised beds should be high enough to work comfortably, big enough to hold what you want to grow, and narrow enough to be able to reach all the way across (for one-sided access) or halfway across (two-sided access).

We wanted a design where we could include a critter fence. Once in a while a deer might wander through our property, and rabbits certainly do. The hardware cloth fence keeps larger animals out and also provides a great trellis for beans and other climbers.

Gated garden and critter fence.

We opted for a U-shaped system, with a gate on one end. The inside edges of the beds are topped with 2×6 boards that can be used as a bench. We did run stabilizing boards between interior and exterior posts. They are buried and don’t really interfere with the plants. (Note to self – next time put those stabilizing boards in BEFORE filling with soil.)

What’s next?

Next time I’ll discuss some of my favorite tools for using in raised beds and possibly other places. And we’ll touch on the importance of soil testing before you add organic matter or other fertilizer to your beds. In the meantime, be sure to check out these resources:

Are raised beds for you? This comprehensive fact sheet goes into more detail. https://pubs.extension.wsu.edu/raised-beds-deciding-if-they-benefit-your-vegetable-garden-home-garden-series

Home vegetable gardens – an overview. https://pubs.extension.wsu.edu/home-vegetable-gardening-in-washington-home-garden-series

How much organic material is too much? Don’t overdo – read this first! https://pubs.extension.wsu.edu/organic-soil-amendments-in-yards-and-gardens-how-much-is-enough-home-garden-series