Rooting around – the differences between taproots and mature roots

A seedling with green cotyledons and emerging radical

Most of us have witnessed dicot seed germination at some point in our lives – watching the coytledons transform from seed halves to green, photosynthetic structures, while the radicle developed into the seedling root system. This seedling root – or taproot – is important to seedling survival as it buries itself in the soil to provide structural support and to give rise to fine roots for water and nutrient absorption. But that’s where much of our visual experience ends – because we don’t see what’s happening underground. Without additional visual information we imagine the taproot to continue growing deep into the soil. And while this perception is borne out when we pull up carrots, dandelions, and other plants without woody root systems, the fact is that woody plants do not have persistent taproots – they are strictly juvenile structures. Understanding the reality of woody root systems is critical in learning how to protect and encourage their growth and establishment.

Mature carrots have taproots. Mature trees do not. Photo courtesy of Pixnio.

Trees, shrubs, and other woody perennials all have juvenile taproots just like their herbaceous counterparts. But these long-lived plants develop different morphologies over time, which are primarily determined by their soil environment. Water, nutrients, and oxygen are all requirements for sustained root growth. Gardeners always remember the first two of these needs, but often forget the third. And it’s oxygen availability that often has the biggest effect on how deeply root systems can grow.

Roots grow where they can. Sometimes that zone can be very shallow, as this coastal forest photo shows.

Whole-plant physiologists have known for a long time that “roots grow where they can” (Plant Physiology, Salisbury and Ross, 1992). But this knowledge has become less shared over time, as whole-plant physiologists at universities have been largely replaced by those who focus on cellular, molecular, and genetic influences (and can bring in large grants to support their institution). Sadly, many of these researchers seem to have little understanding about how whole plants function. Simply looking at the current standard plant physiology textbook (Plant Physiology and Development, Taiz et al., 2014) reveals as much. (To be fair, there is now a stripped-down version of this text called Fundamentals of Plant Physiology, [Taiz et al., 2018] but even this text has little to do with whole plants in their natural environment.) If academics don’t understand how plants function in their environment, their students won’t learn either.

The Table of Contents for Plant Physiology and Development. You won’t find a discussion of woody root ecophysiology in here.

Well. Time to move on from my soapbox moment on the state of higher education.

Roots grow where oxygen is plentiful. It becomes a limiting factor as soil depth increases. Photo courtesy of Wikimedia.

Let’s look at what happens with a young tree as it develops. The taproot grows as deeply as it can, but eventually runs out of oxygen so vertical growth stops. At the same time, lateral root growth increases, because the levels of oxygen closer to the soil surface are higher. These lateral roots, and their associated fine roots, develop into the adult root system, continuing to grow outwards like spokes on a wheel. When pockets of oxygen are found, roots dive down to exploit resources. These are called sinker roots and they can help stabilize trees as well as contribute to water and nutrient uptake.

Gardeners and others who work with trees and other woody species would do well to remember that woody root systems, by and large, resemble pancakes rather than carrots. These pancakes can extend far beyond the diameter of the crown – so this means protecting the soils outside as well as inside the dripline.

Typical root structure of a mature tree in its natural environment. No taproot here!

Leave your lawn alone!

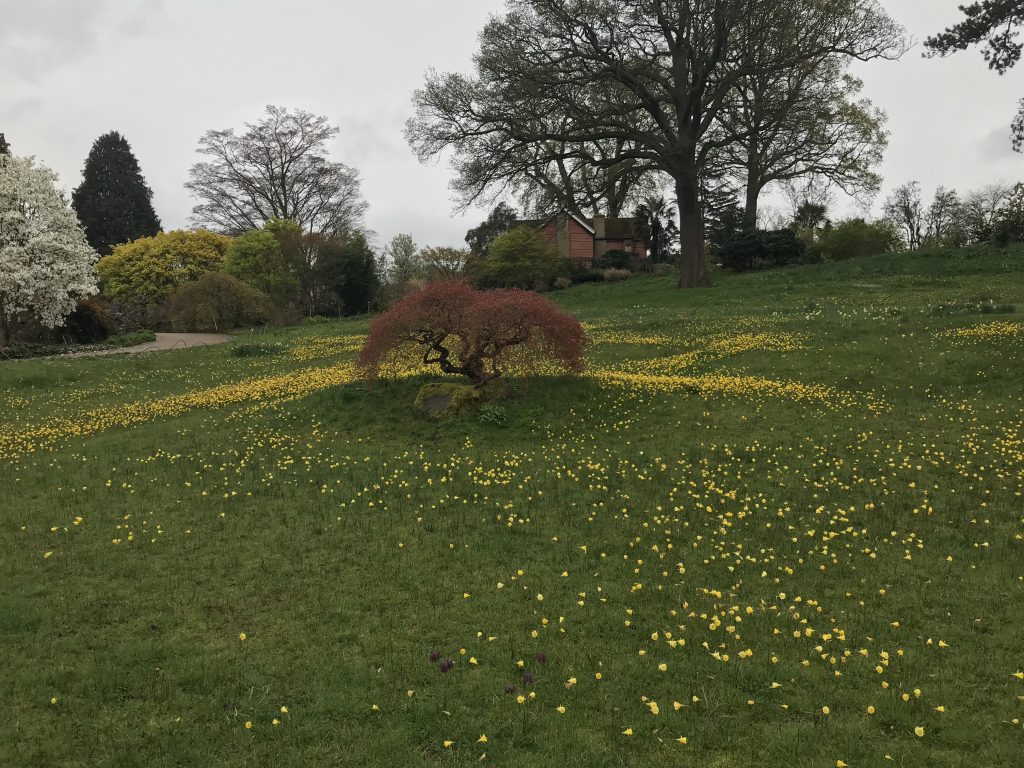
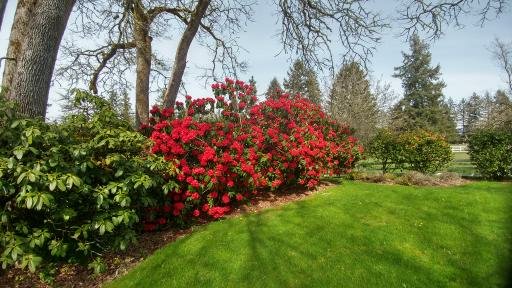
Masses of spring bulbs transform this lawn. Photo by Charlotte Scott.

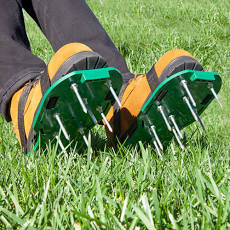
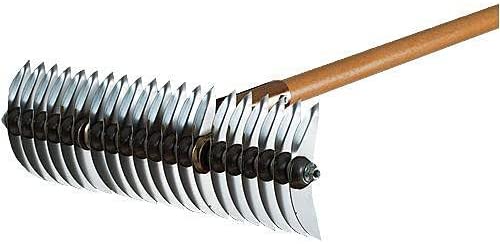
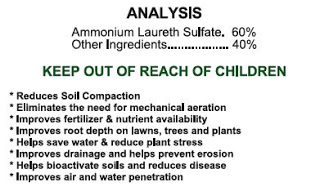
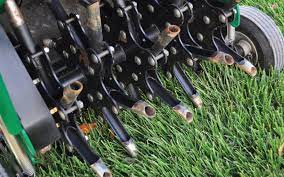
Nothing seems to take homeowners more time, or generate more frustration, than maintaining their lawns. In addition to mowing, fertilizing, and applying pesticides for weeds, insects, and diseases, gardeners fret about removing thatch and aerating the soil. Commercial interests have taken note and pedal various “aerifying” products like soap (cunningly described in non-soap terminology), spiked sandals, and thatching rakes. Previous posts (here and here) have addressed ways to decrease fertilizer and pesticide use. This post will look at the science behind aeration of home lawns.

First, let’s acknowledge that most research has focused on maintaining turf on golf courses and playing fields. Neither of these are good models for home lawn management because home lawns have different functions. The turf that one might find on a putting green, for instance, is devoid of most life except for closely mown monocultural (or oligocultural) grasses. The management of these grasses is chemically and physically intensive to preserve a completely unnatural system. Yet these management techniques, including core aeration and vertical mowing (aka verticutting), have seeped into the lucrative home lawn maintenance market, especially to address the dreaded thatch layer common in many home lawns.

What is thatch?

Briefly, thatch is caused by organic material accumulating at the base of grass plants. (It is NOT caused by lawn clippings, which are small and nitrogen rich – they are broken down quickly.) Accumulation of thatch is said to lessen lawn resilience and increase disease, but this appears to be a classic CCC (correlation conflated to causation) error. I’ve seen nothing in the literature to suggest that thatch causes these problems. Instead, I see evidence that thatch is yet one more negative result of poor lawn management. Removing thatch, without addressing the CAUSE of thatch, is an exercise in futility.

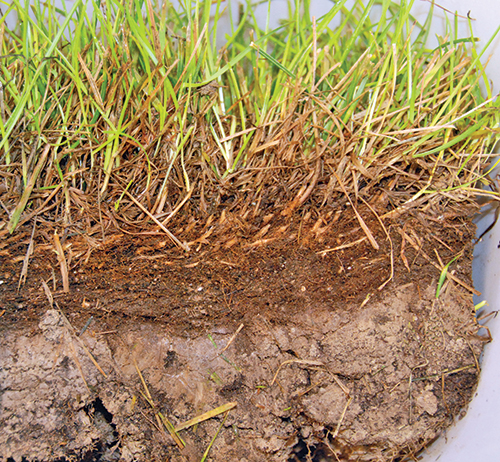
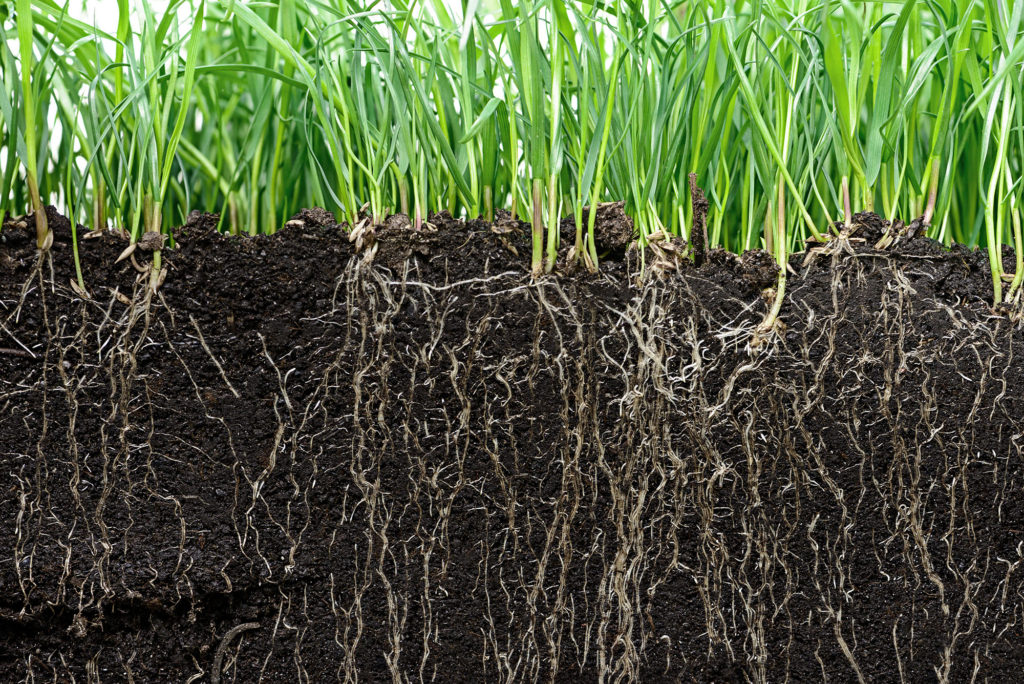
Look at these two images of grass-covered soil: one is a typical lawn, and the other is a natural grassland. There are no roots extending below the “thatch” layer in the lawn, while grassland soils support deep and extensive root systems. The problem with the lawn is that the system is not well aerated, meaning that the grass roots are shallow and contribute to the buildup of thatch. Lack of aeration also inhibits a robust community of microbes, which are necessary to decompose the organic material that makes up thatch.

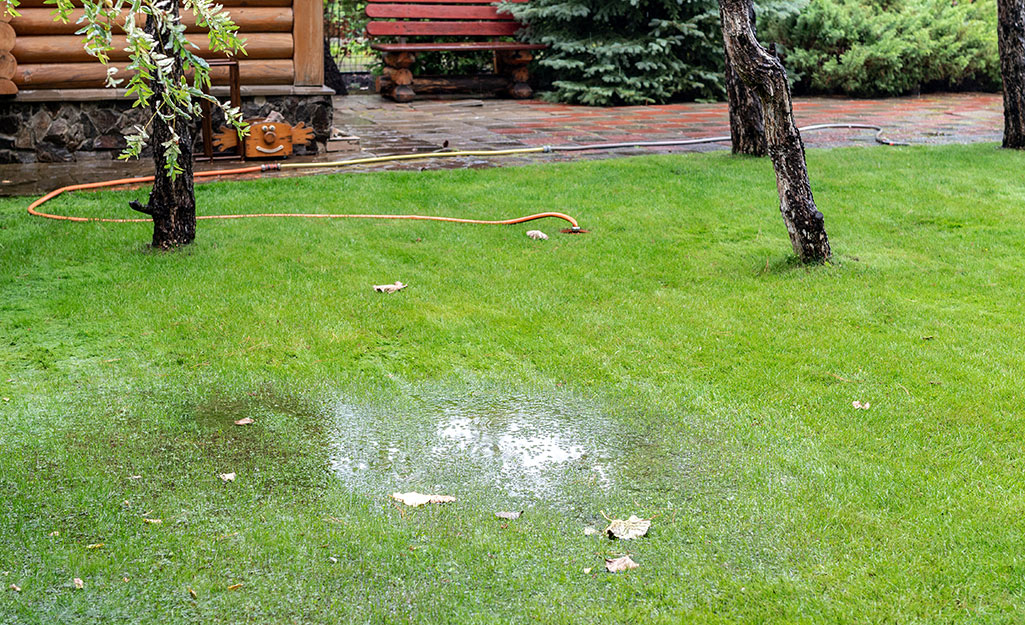
If you have standing water on your lawn, there is no oxygen in the soil beneath.

So, lack of poor oxygen and water movement between the grass layer and the underlying soil creates a dead zone in that soil, with life restricted to those few inches of soil where oxygen and water can penetrate. Thatch accumulates and underlying roots from nearby trees and shrubs are forced upwards into the lawn to obtain water and oxygen. This is where lawn maintenance companies promise to fix the problem through core aeration or verticutting.

Does core aeration and verticutting improve home lawns?

While there is scant research on home lawns, the results are fairly uniform: core aeration does not reduce thatch accumulation and does not improve grass coverage. Verticutting can decrease thatch slightly but decreases grass coverage and reduces turf quality. Several quotes from published research stand out:

  • “All cultivation practices [which included core aeration and verticutting] resulted in some quality loss at various times during the spring transition period compared to the control.”
  • “Thus, under homelawn conditions, core aeration and vertical mowing should only be used if a specific problem exists and not as routine practices to prevent thatch accumulation.”
  • “After two years, no treatments consistently reduced thatch accumulation compared to the non-cultivated control.”

There is no published research, anywhere, that supports these techniques in maintaining healthy home lawns. So, it’s time to stop using these heavily promoted products and practices and instead focus on why lawns accumulate thatch in the first place.

It’s all about the oxygen!

There’s no question that lawns can be heavily compacted, but it’s not because grasses can’t tolerate foot traffic. Think about those hundreds of thousands of bison that use to roam the Great Plains grasslands. Even modern cattle ranching, done sustainably, does not damage pastureland by compacting the soil. There’s something else going on in home lawns that creates compacted conditions and the cascade of negative effects that follow; it’s improper soil preparation and management.

Pastureland dosen’t become compacted despite the significant pressure cattle exert on the soil.

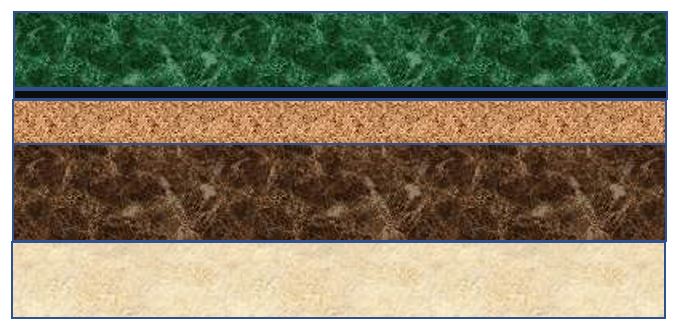
When sod is laid for home lawns, several inches of compost are tilled into the soil bed. The tilled soil is then flattened with a roller, and then a layer of sand is applied. Then the sod (which consists of grass and growing media and a mat of some sort) is arranged. And voilà! You have a turfed landscape that more closely resembles a five-layer dessert than a functional grassland. Those layered materials restrict the movement of water and oxygen, and this restricts root growth into the underlying native soil. Not only do these barriers create a shallowly-rooted turf, they compound the problem by stimulating ethylene gas production in grass, further inhibiting root growth. To top it off, the anaerobic conditions in the lower layers restrict microbial decomposition. As decomposition and root growth slow, thatch accumulates. And homeowners despair.

So, thatch serves as a warning sign that soil conditions are poor – and any attempts to permanently remove thatch without addressing poor soil preparation and management are going to fail. Possible corrective actions to improve soil structure and function are beyond the scope of this column; over the years we’ve had blog posts touching on this topic and I encourage readers to explore our blog archives.

To mulch or not to mulch? It shouldn’t even be a question.

There’s wood chip mulch peeking out of all of our landscape beds

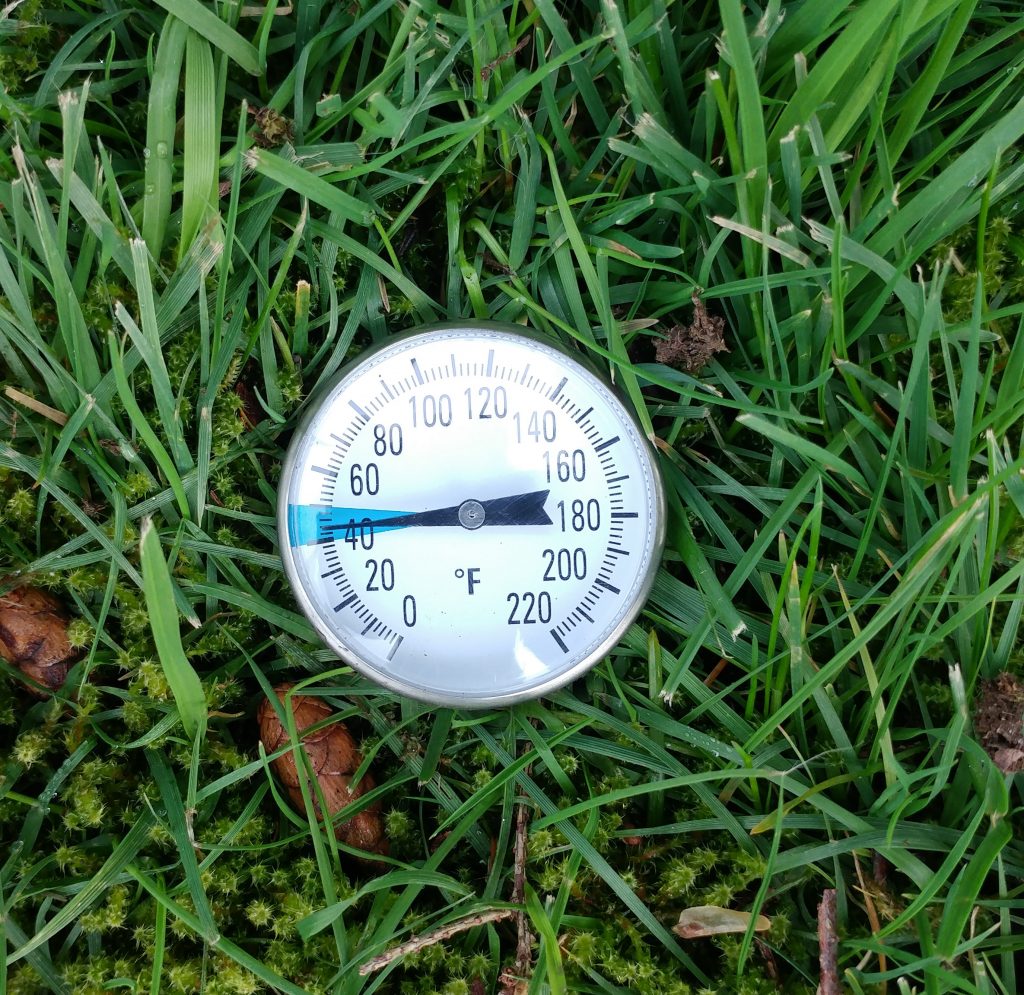
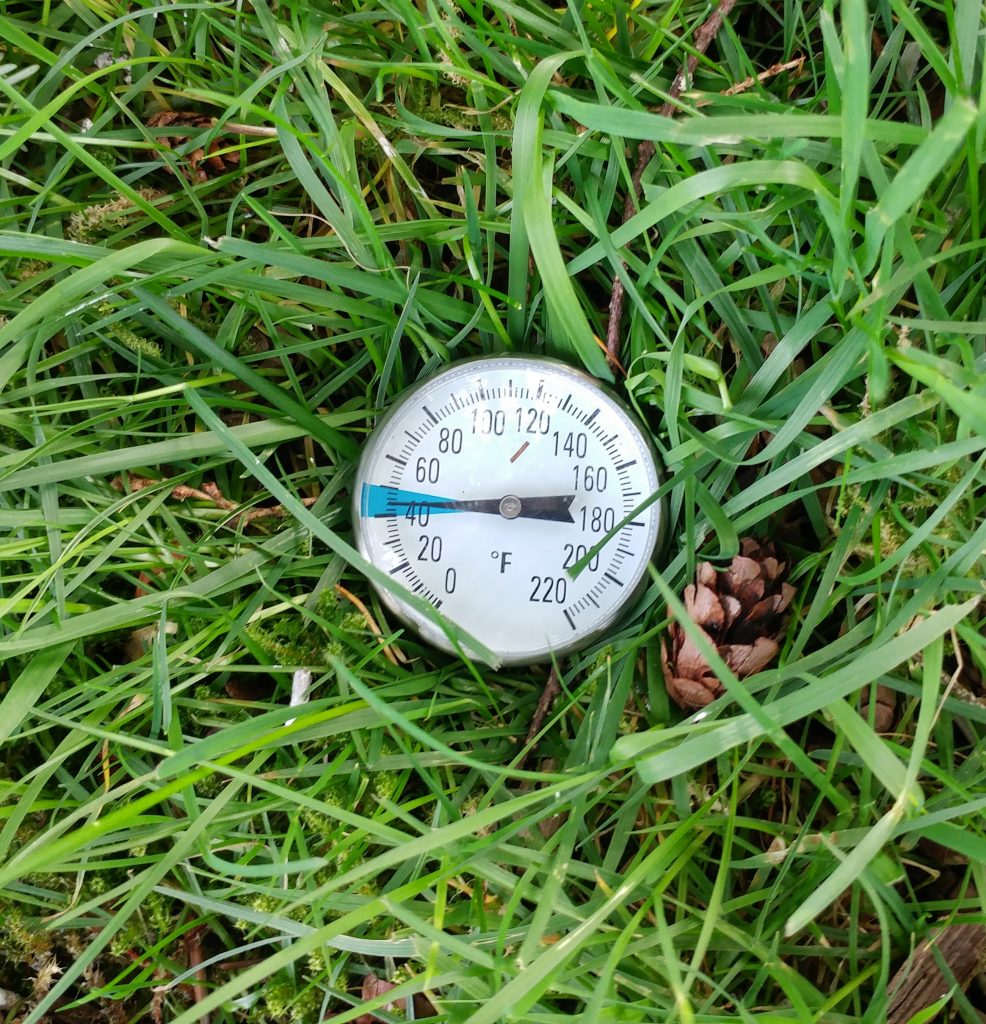
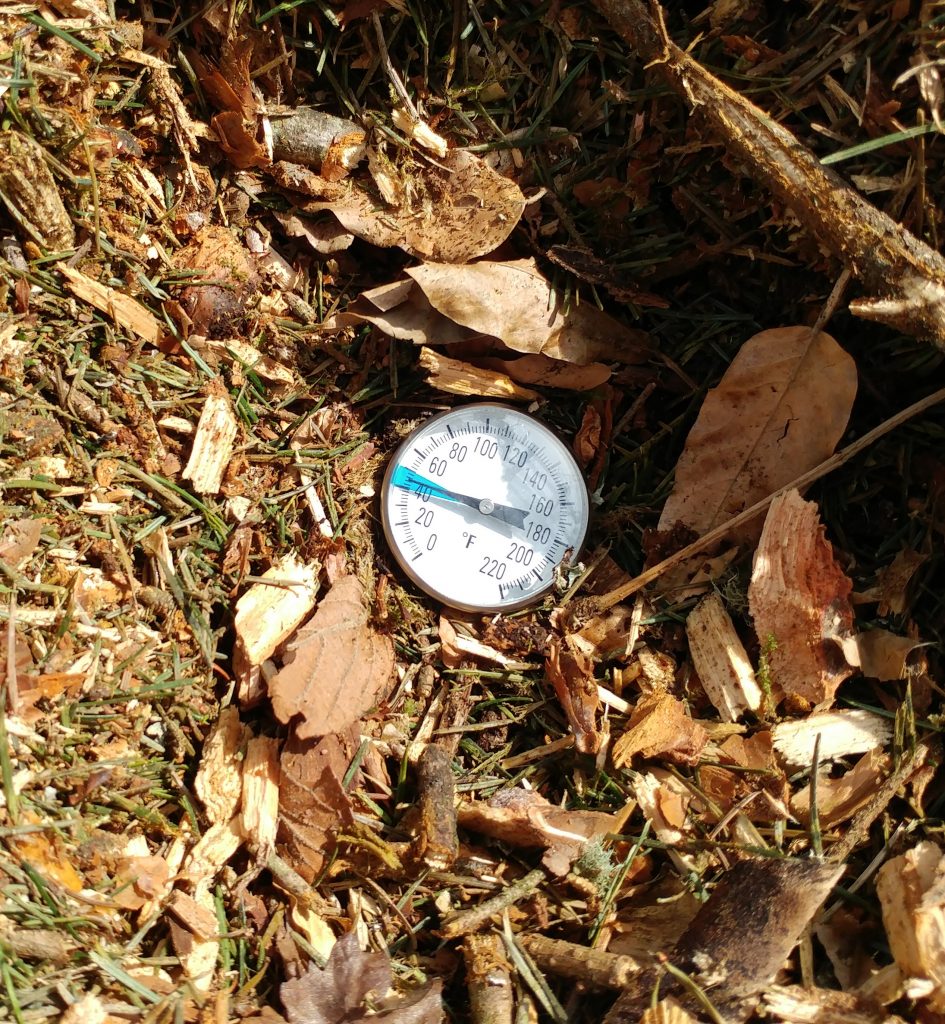
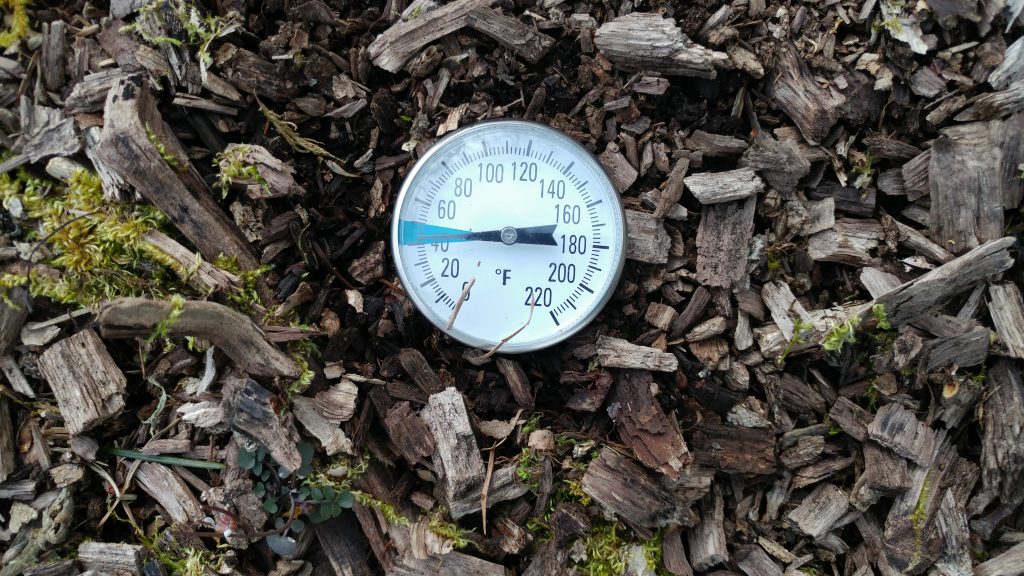
One of the popular arguments against mulching landscape and garden soils is that mulch delays soil warming and thus retards plant growth. Given that a well-chosen mulch will moderate temperature extremes – both hot and cold – is this an argument supported with evidence? In today’s post, I’m reporting the data I collected in visiting various parts of my home landscape and gardens and measuring soil temperatures.

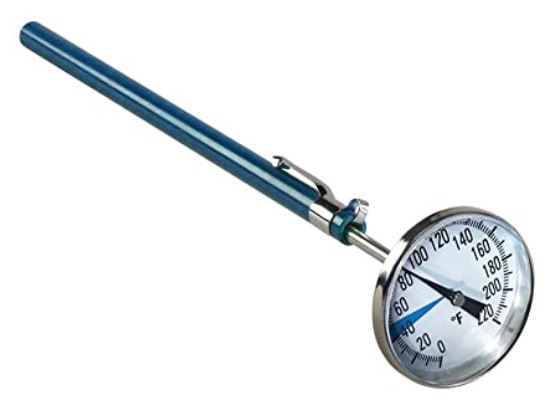
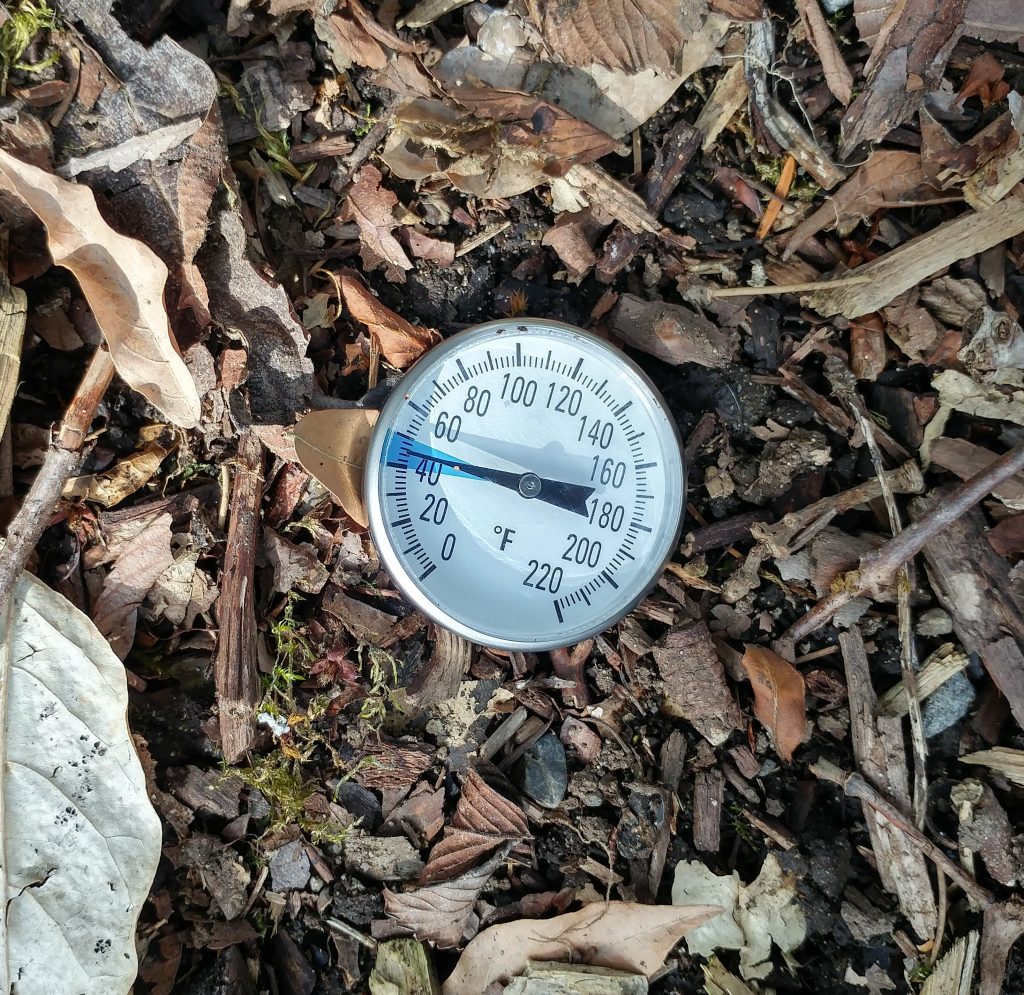
My trusty soil thermometer

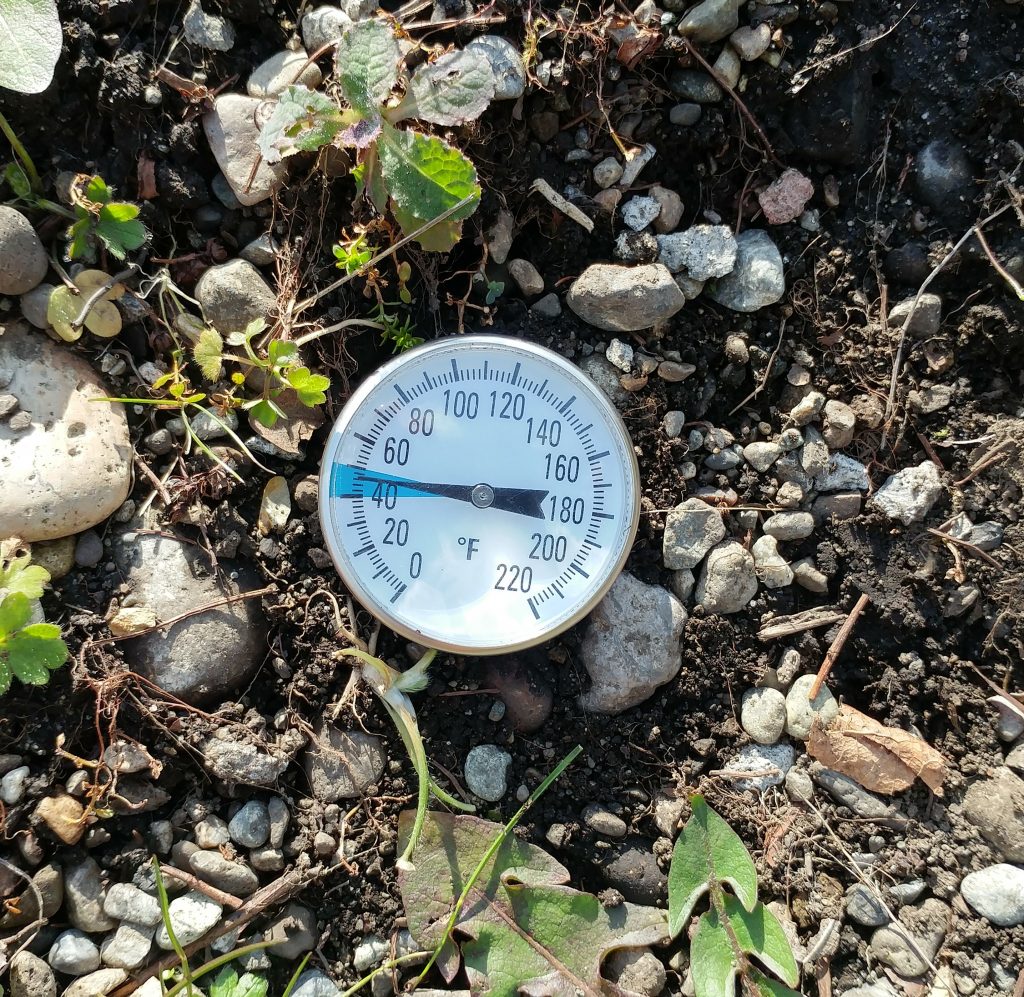
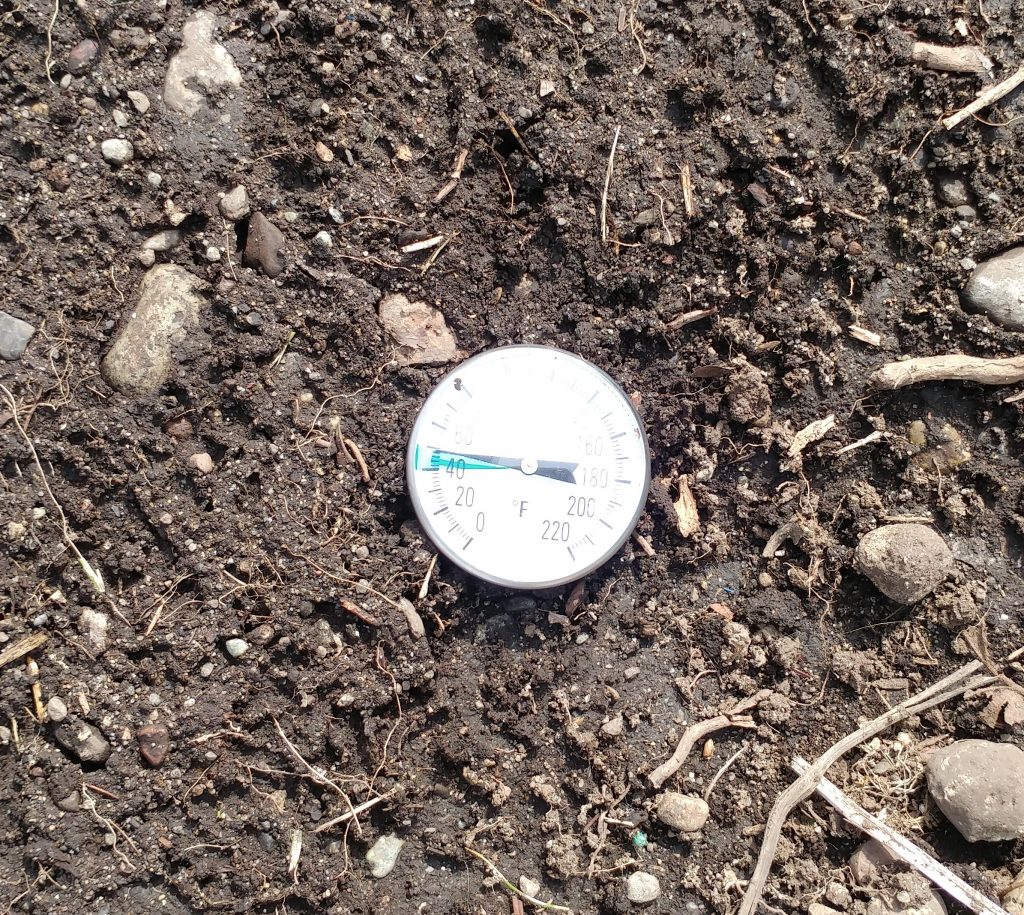
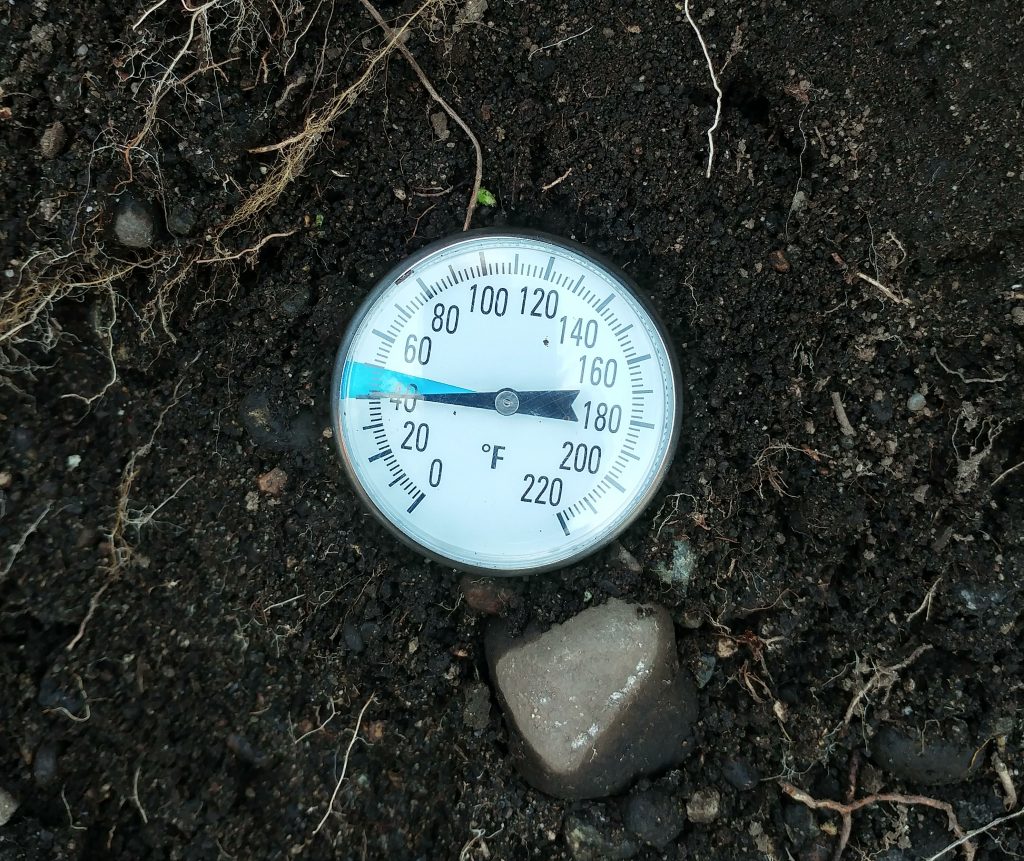
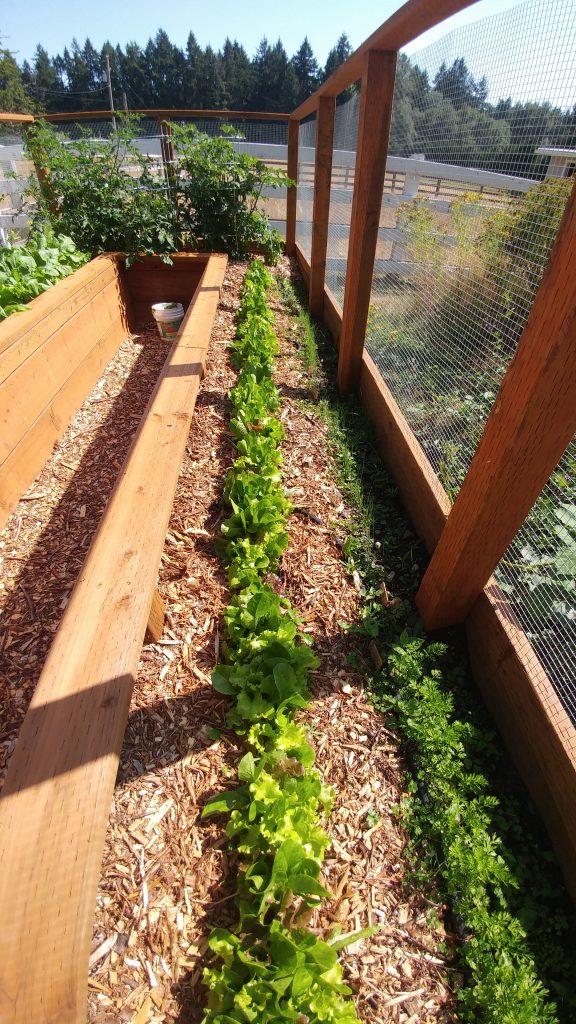
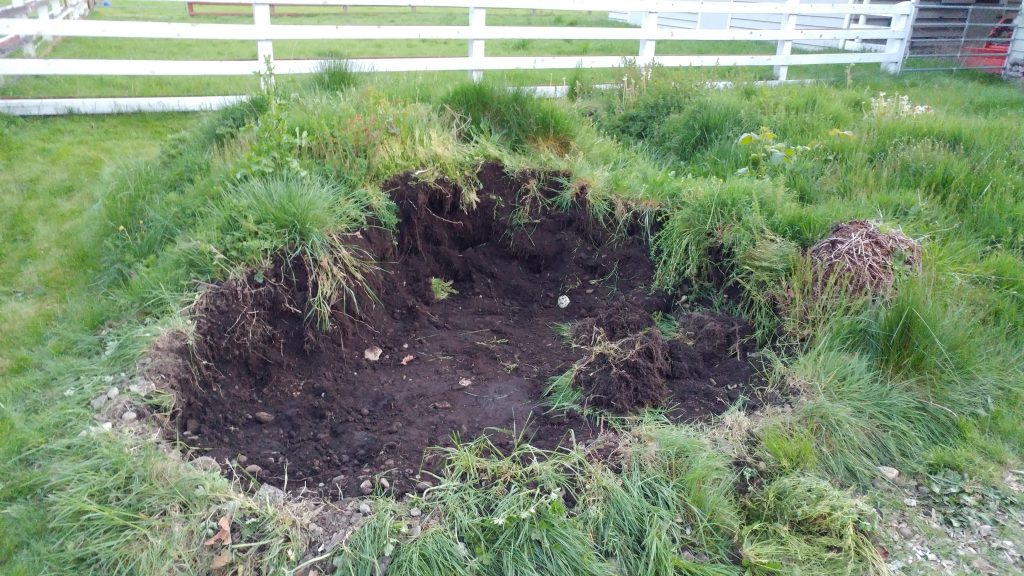
For measurements, I used a soil thermometer placed at the same depth in every soil tested. This required movement of mulch if mulch was present, so that thermometers were inserted completely into the soil. These thermometers read the entire length of the probe, so readings represent the average temperature in the top 5” of soil. I took close-up photos of each of the areas tested. I took 5 measurements for each location.

Our evening temperatures have been near or below freezing, but the past several days have been sunny and the air temperatures are well into the 50F range. On March 17, it was 68F at 2 pm in the sun, though it was 27F that morning. The morning after (March 18), it was 35F.

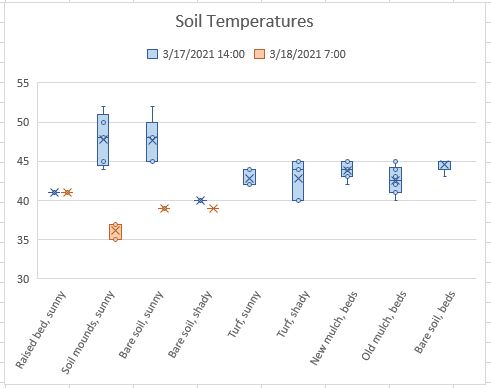
There are several interesting trends to see on the box-and-whisker graph:

The variation of soil temperatures is most extreme in unprotected soils
  • Mulched raised beds have the most consistent temperatures, with no differences seen at any time or in any location measured.
  • Unmulched soil mounds have extreme changes, mirroring air temperatures.
  • Bare soil in beds under sunny conditions have extreme changes mirroring air temperatures, but not as great as that in raised beds. They are warmest during the day and coldest during the night.
  • Bare soil in beds under shaded conditions are the coldest soils during the day and even colder at night.
  • Soil under living mulch (turf) and beds with varying depths of wood chip are cooler during the day than bare soil in sunny conditions, but warmer at night.
  • Bare soil in beds that were newly mulched are much warmer than bare soils not near mulched areas.
  • The soil temperature under turf or in beds at least partially mulched did not change at night (data not shown on graph).

Extreme temperature swings can result in the death of germinating seeds, seedlings, expanding buds, and other tissues that aren’t cold hardy. This is especially true of tissues near the soil surface, where temperature are colder than they are at increased depths. Unprotected soil mounds show huge daily vacillations; comparative raised structures under mulch are cooler during the day but warmer at night. And bare soil in the shade is colder than any mulched soils. Consistency is important for young tissues, as they have few protections against environmental extremes.

What my little experiment demonstrates is what mulch research has consistently shown: appropriate mulch materials will moderate soil temperature extremes due to air temperature fluctuations. Just because a bare soil is 55F in the daytime doesn’t mean it won’t be 35F at night.

The dirt on rock dust

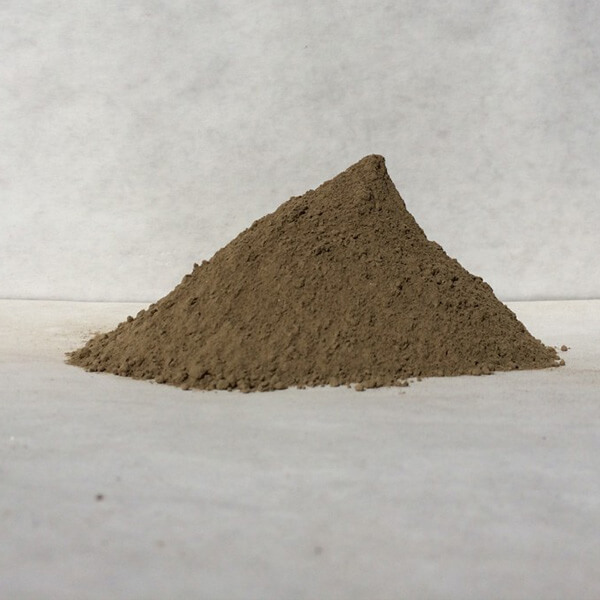
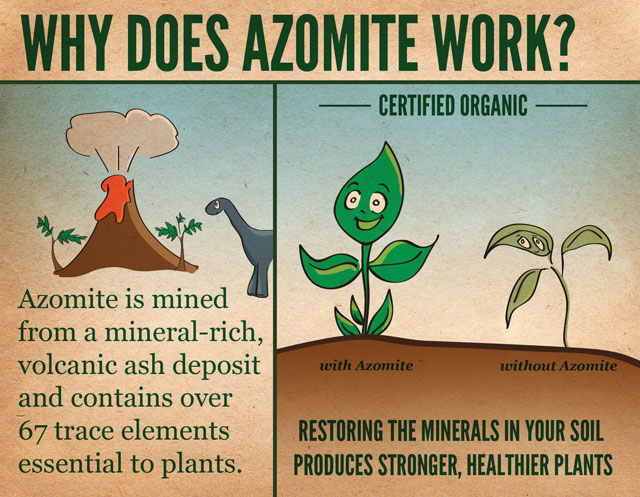
One of the newer “miracle products” targeted to gardeners is rock dust. Rock dust (also called rock flour or rock mineral powder)  is exactly what it sounds like. It is a byproduct of quarry work and is generally a finely pulverized material that resembles silt. It’s heavily promoted as a way to provide macro- and micronutrients to your soils and plants. Is it worth adding to your gardens?

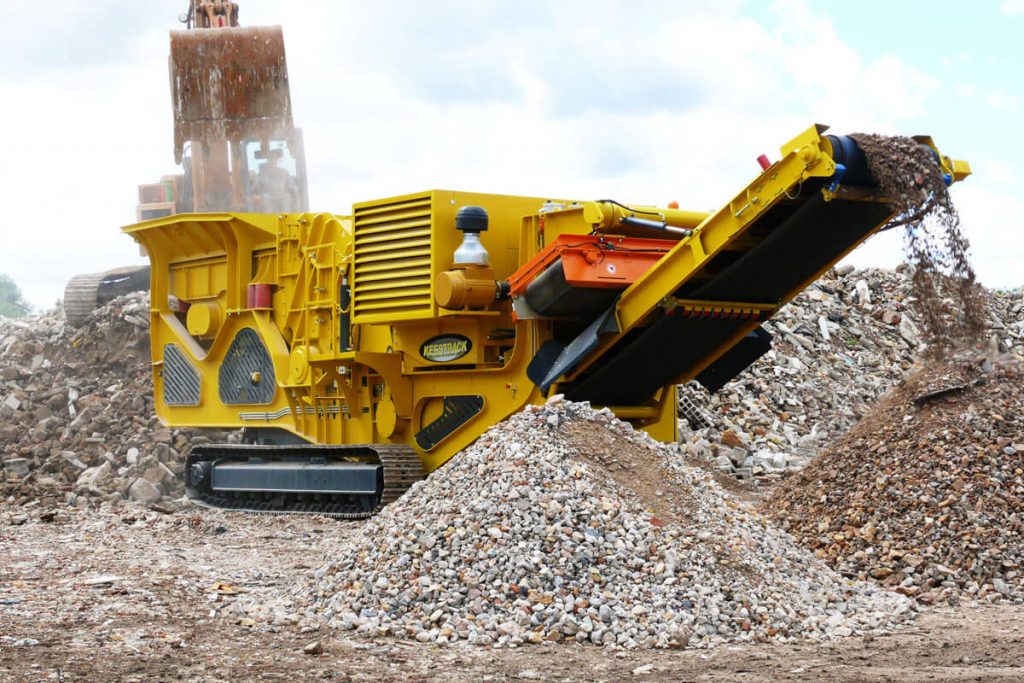
Rock crushing at a quarry

First, it’s worth acknowledging that repurposing an industry byproduct is always preferable to throwing it away. Fortunately, the last few years have yielded some peer-reviewed research that we can use to make informed recommendations.

What’s in rock dust?

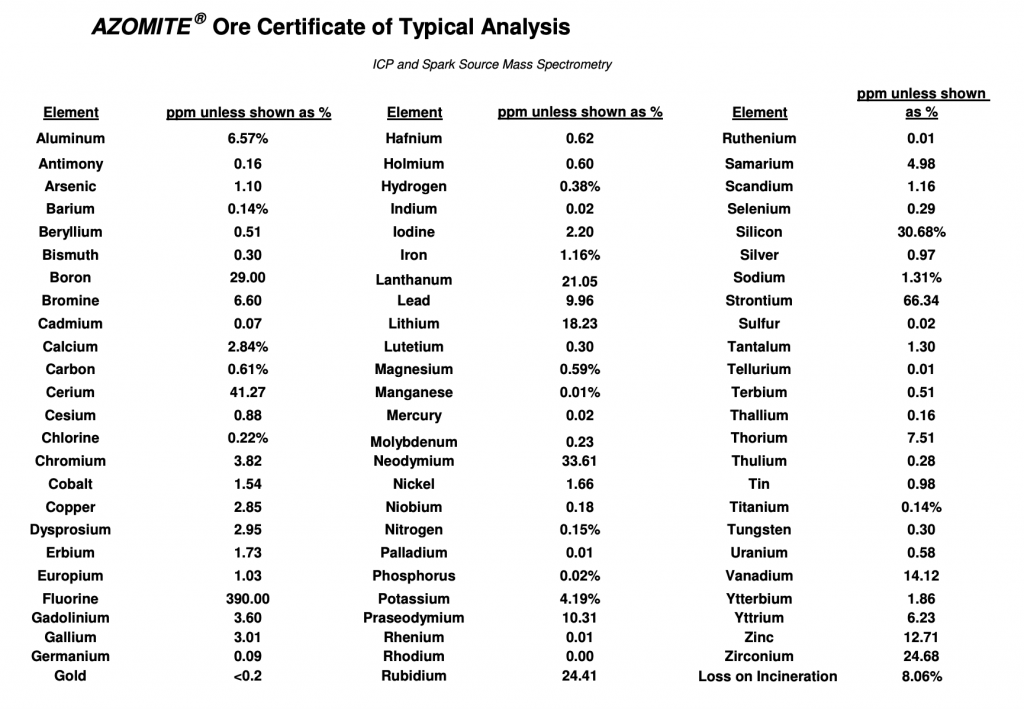
Obviously, the mineral content of rock dust is dependent on the rocks used to make it. This means the mineral content varies considerably, but in general rock dusts contain:

  • Large amounts of silicon, aluminum, and sometimes iron
  • Lesser amounts of calcium, copper, magnesium, manganese, potassium, sulfur, and zinc.
  • Potentially toxic levels of aluminum, arsenic, cadmium, chromium, copper, lead, nickel, and sodium.

I’ve added some tables from a few research articles that analyzed their rock dust mineral content below. Note the high silcon, aluminum, and iron content. (LOI = loss on ignition, meaning some materials were burned off during analysis.)

How is rock dust used as a mineral source?

Rock dusts must be solubilized to release minerals. There are some criteria that can speed mineral release:

  • Decreasing the particle size of rock dust.
  • Blending the rock dust with nutrient-rich organic matter like manure. This provides an acidified environment for mineral solubilization.

When is it beneficial to use rock dust?

There are documented benefits to using rock dusts – but only in agricultural production systems:

  • Rock dusts can contribute minerals to nutrient depleted soils, such as agricultural soils that have been overworked for decades.
  • Organic farmers can use specific rock dusts to supply micronutrients, rather than commercial fertilizers which are not certified for organic crop production.
  • Cereal crops – members of the grass family – require silica as a micronutrient (though silica is rarely if ever deficient in field conditions).

What’s the bottom line for gardeners?

As one article states, “…there is a potential for using [rock flour]…where there is a lack of these nutrients and where conventional chemical fertilizers are either not available or not desired.”

And how do you know if you have a lack of a certain nutrient? Why, by having your soil tested, of course! There is no point in adding anything to your soil unless something is missing. It is MUCH harder to treat a nutrient toxicity than to add a deficient nutrient. Iif  a soil test reveals a lack of a particular nutrient,  a carefully chosen product could supply this mineral. But you would have to know what else was being supplied and possibly creating a mineral toxicity.

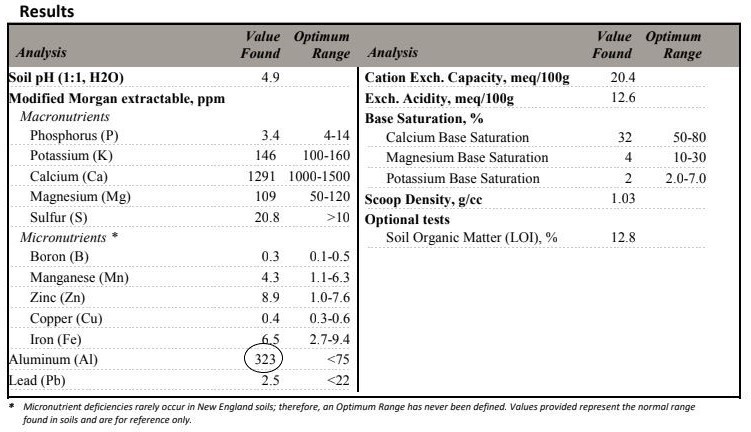
At this point, there is no evidence to suggest that rock dusts are of any value to a home garden or landscape.  And adding these products can easily contribute to aluminum and heavy metal toxicities. I would never add it to this soil, for instance, as it already has excessively high aluminum levels.

Aluminum is already at potentially toxic levels in this soil. No need to add more.

This blog is full of great ideas on how to manage your soil naturally, sustainably, and safely. Rock dusts are just the latest garden product with lots of marketing but little benefit.

Not all Extension publications are created equal

(A friendly caveat – this post does not lend itself well to images. So the pictures here are simply eye candy from my 2019 trip to London to reward you for considering this visually drab but important topic.)

The actual “whomping willow” in Kew Gardens

I’ve been involved in Extension education for 17 years and one of the most important things I’ve learned is that Extension audiences want information that’s easily understood and has obvious practical use. Most peer-reviewed research articles are written for academic audiences, so only the most persistent nonscientists will slog their way through pages of dense, technical writing.  It’s up to Extension educators to accurately translate and summarize technical scientific information for use by the public.

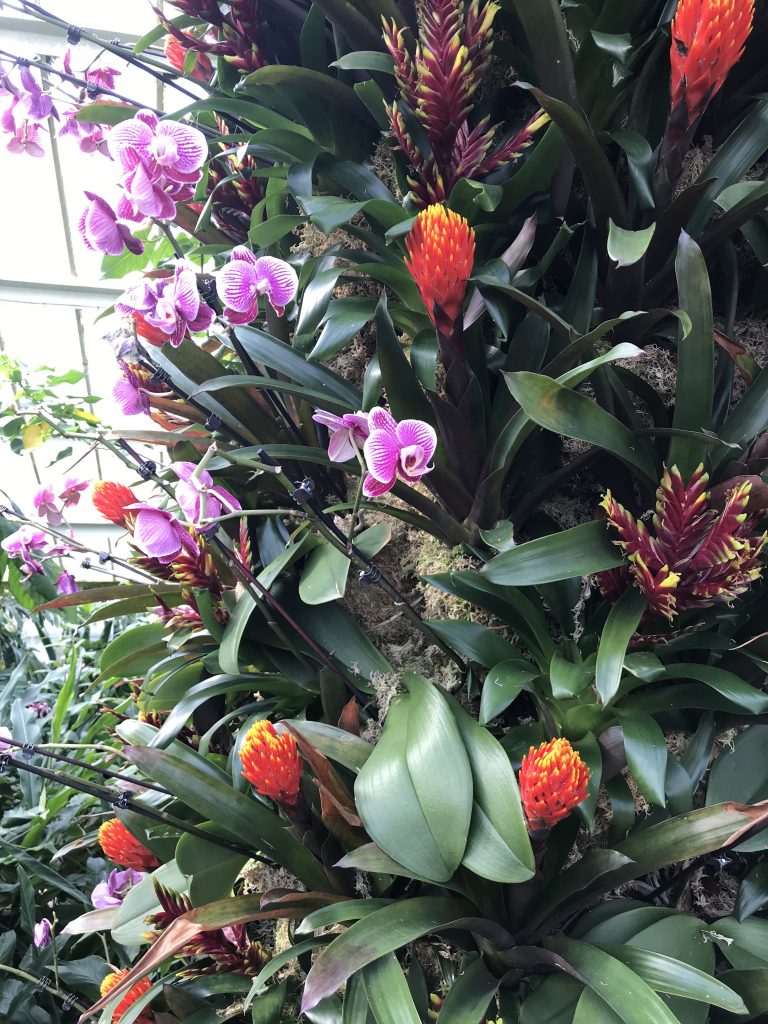
Epiphyte “tree” in Kew Gardens glasshouse

Extension is part of the American land-grant university system and extends traditional academic teaching to citizens statewide (hence the term “extension”). In addition to providing seminars and workshops to interest groups, Extension publishes educational materials in-house and provides them at low or no cost to their clientele.

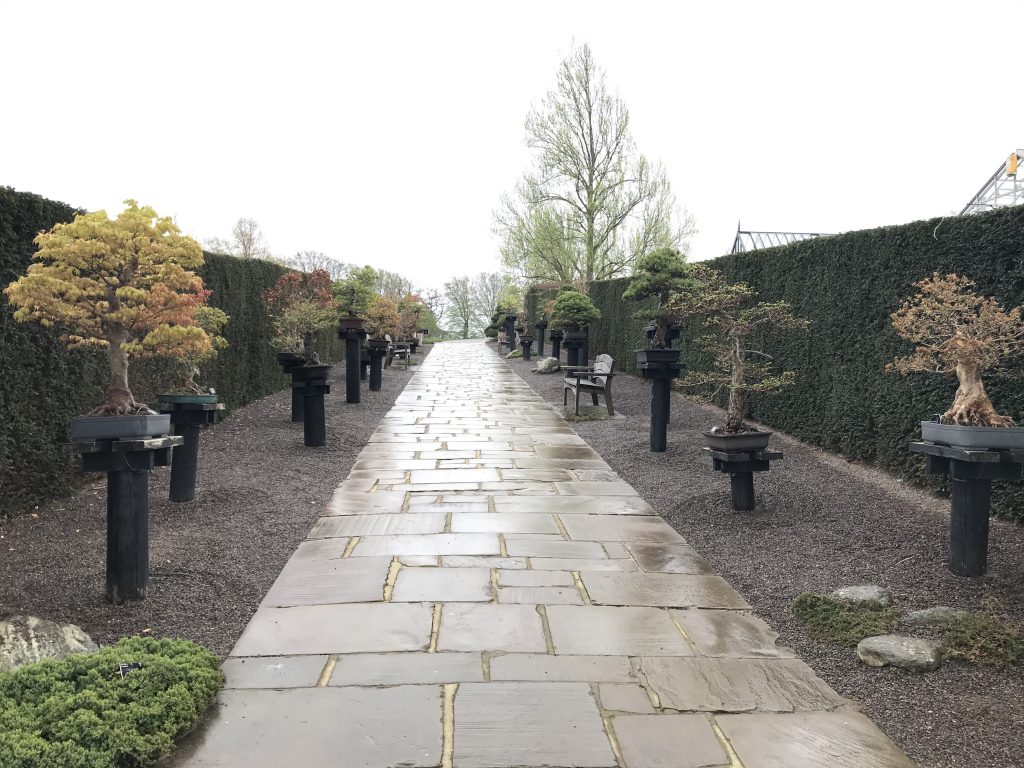
The Bonsai Walk at RHS Wisley Gardens

But here’s the problem: the standards for Extension publications are set by each university. Unlike the peer-review system adopted by reputable journal publishers, Extension publications can vary widely in quality. Some universities have adopted a system that parallels that of scientific journals in that they require double-blind peer review. But many universities have not – and this means that looking for Extension publications on a particular topic results in a collection of materials with contradictory messages. This is incredibly frustrating to confused nonscientists and to Extension faculty who have to sift through the mess to find publications that are relevant and science-based. As a result, Extension publications are often regarded with suspicion by both nonscientists and academic faculty (who often do not have the disciplinary expertise to sort through the mess). Since I was a traditional academic before entering Extension, I have a foot in both camps.

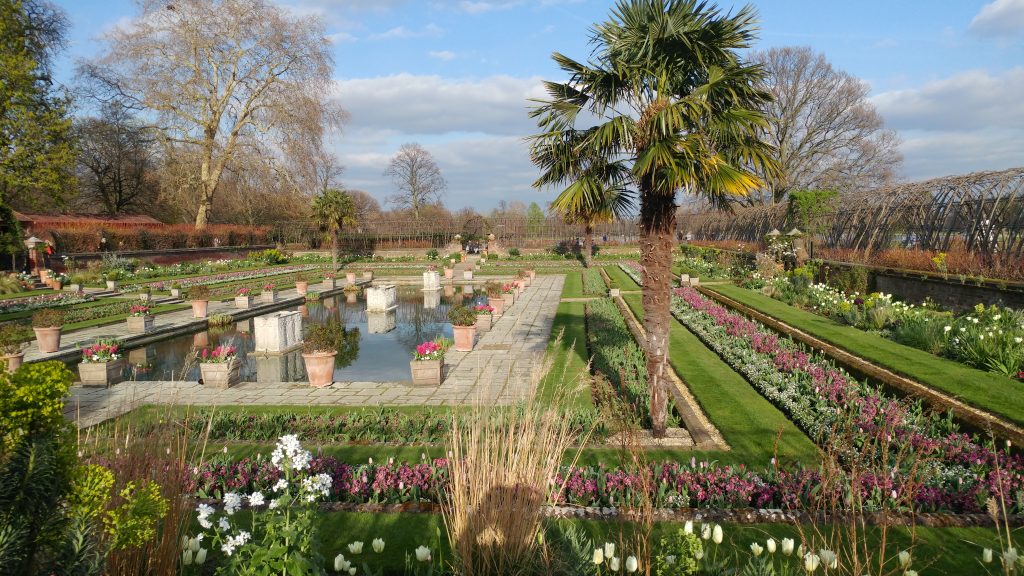
Sunken gardens at Kensington

Nonscientists are probably not going to have the disciplinary expertise to tease out the good stuff from the dreck. But they can look for some indicators that will help them identify the most reliable publications. Here’s a checklist to start the process: the more “yes” answers you have, the better the chances are that the information is reliable.

  1. Is the author identified? Anonymous publications are not reliable.
  2. Is the author an expert? Expertise is determined by advanced degrees (at least a Master’s degree) in the subject matter.
  3. Is the publication peer reviewed? There should be a logo or a statement on the publication that says so.
  4. Is the publication relevant? High-quality Extension publications targeted towards commercial agricultural production are usually inappropriate for use in home gardens and landscapes.
  5. Is the publication current? Information relative to urban horticulture and arboriculture is rapidly changing. Publications over 10 years old likely do not contain the newest information.
  6. Are there scientific references included, either as citations or as additional readings?

As necessary as this process is for identifying reliable information, there can also be negative outcomes. Universities that do not have a rigorous process for publishing Extension materials put their Extension faculty into the uncomfortable position of having to defend their work when it’s questioned. It would benefit all parties for every land-grant university to institute a rigorous, peer-reviewed process for their Extension publications.

My favorite ad at the tube station

The complicated issue of heavy metals in residential soils. Part 3: How can we garden safely in the presence of heavy metals?

This is the last part of our discussion on gardening in soils that contain heavy metals (you can catch up on part 1 and part 2 if you need to). Today we’ll focus on the strategies you can use in your gardens and landscapes to reduce your exposure to soil-borne heavy metals.

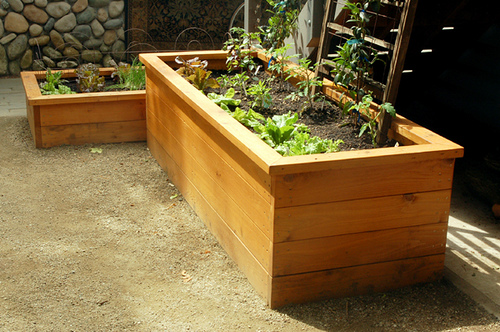
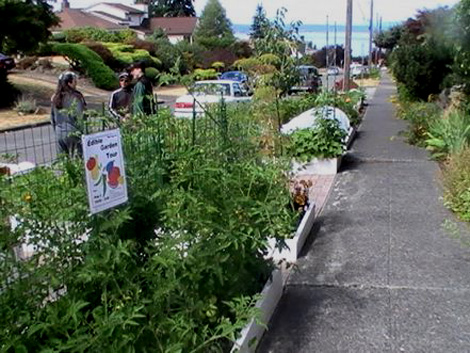
Raised beds can be an easy solution for gardeners with contaminated soils

Test your soil!

First – and this should really go without saying – you must test your soil to determine if it contains heavy metals of concern. The COVID19 pandemic provides the perfect comparison: you can’t assume you don’t have the virus just because you don’t have symptoms, and you can’t assume your soil doesn’t have toxic heavy metals just because you don’t think it does. The only way to know for sure, in either case, is through testing.

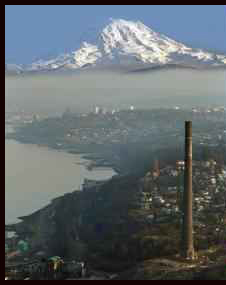
This eyesore did more than spoil the view.

Most soil tests routinely report aluminum, lead, zinc, and aluminum. Other metals, such as arsenic, cadmium, and chromium, may not be part of a basic soil test and you will need to request additional tests if these metals are likely to be present. Often, county health offices will provide free soil testing if you live in a region where there are known contaminants. For example, I live in the Tacoma area where large amounts of arsenic were deposited for decades downwind of an aluminum smelter. Residents of Pierce County can get free soil testing because of the potential danger.

The aluminum is higher than we would like to see, though everything else looks fine.

Even if you don’t live in an area where industrial or agricultural activity may have added toxic heavy metals to your soils, your soil may naturally contain high levels of some metal of concern. As I’ve mentioned in a previous post, our soils have high levels of aluminum. Because we are not downwind of the smelter site mentioned above, I would not have assumed we had any metals of concern, given the rural location of our land, but knowing this informs my choice of vegetables to plant.

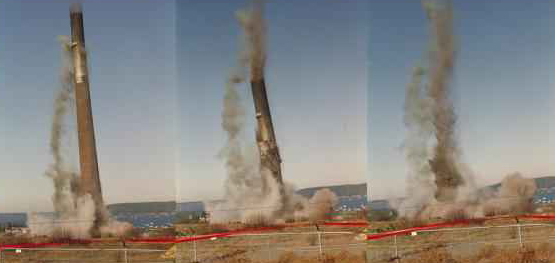
The demolition of the Tacoma smelter. Finally.

Avoid adding more heavy metals

Fortunately, many of the consumer products that contained heavy metals are now gone and no longer will add to existing levels of soil metals. But there are still sources out there that gardeners are well-advised to avoid.

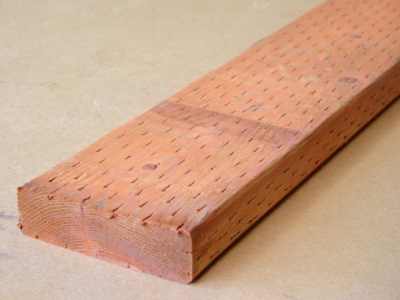
  • Older treated timbers. As mentioned in my first post, landscape timbers were once treated with a chemical preservative containing arsenic and chromium. Even though gardeners love reusing materials (we are a thrifty bunch!), these older timbers should be removed if they are still on your property. New timbers are treated with a copper-based solution, which is a more environmentally friendly preservative.
  • Kelp-based fertilizers and amendments. While these products are wildly popular with gardeners, they aren’t very effective fertilizers. Moreover, some kelp species accumulate heavy metals, like arsenic, in seawater and these metals will become a permanent part of your soils. Take a look at this fact sheet for more information.
  • Recycled rubber mulch. This product should be avoided for many reasons (you can read more about the problems in this fact sheet). As it disintegrates it releases high levels of zinc into the soil. And while zinc is an essential micronutrient in plants (and people!), high levels are toxic.
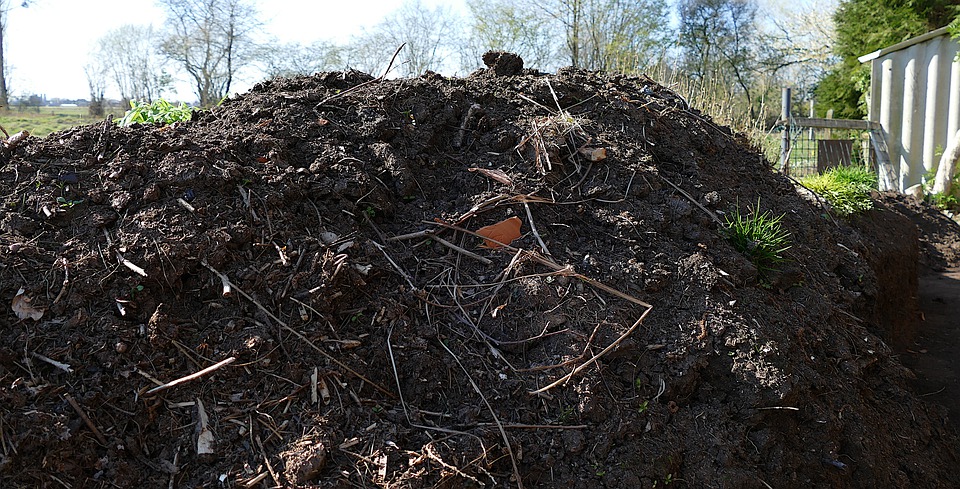
  • Unregulated composts and organic products. Certified composts and other organic products have been tested for pesticide residues and heavy metals: unregulated products have not. Unless you are making your own compost from materials you know to be free from contamination, your safest bet is to purchase certified products.

If you have materials like old timbers, you should never burn them or throw them away. They need to be disposed of as a hazardous waste, much like old cans of paint, mercury-containing thermometers, etc. Eventually, we may be able to use these hazardous discards for biofuel production through pyrolysis, or extract the heavy metals from them for reuse. For now, just dispose of them in a legal and environmentally responsible way.

Cedar is naturally decay-resistant and can be a good choice for rasied beds

Suggestions for safe gardening

If soil testing reveals high levels of metals of concern, there are work-arounds to allow you to still enjoy growing vegetables safely. If your soil tests reveal that your soil is safe for growing edibles, congratulations! You may still benefit from some of the suggestions below.

  • Cover exposed soil with ground covers and mulches (coarse organic or inorganic materials) to eliminate metal-laden dust.
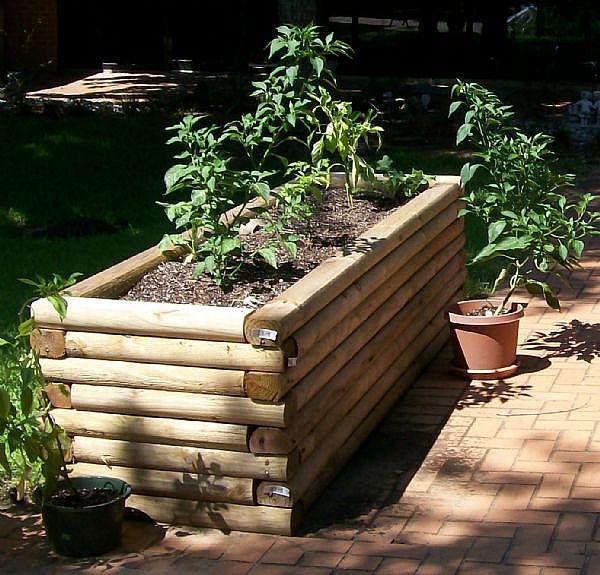
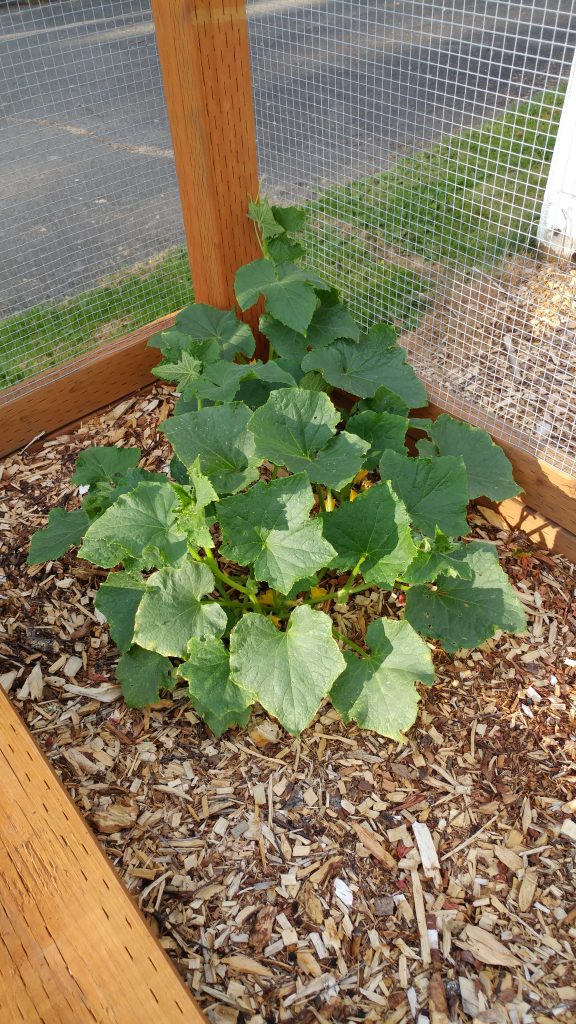
  • Create raised beds for edibles using untreated wood or other metal-free materials. Line the bottom of the bed with an impermeable membrane to prevent movement of soil-borne metals into the beds.
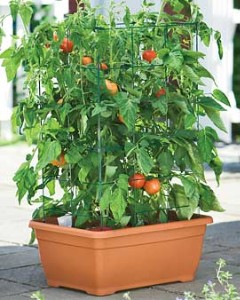
  • If raised beds are not possible, use large containers to grow edibles.
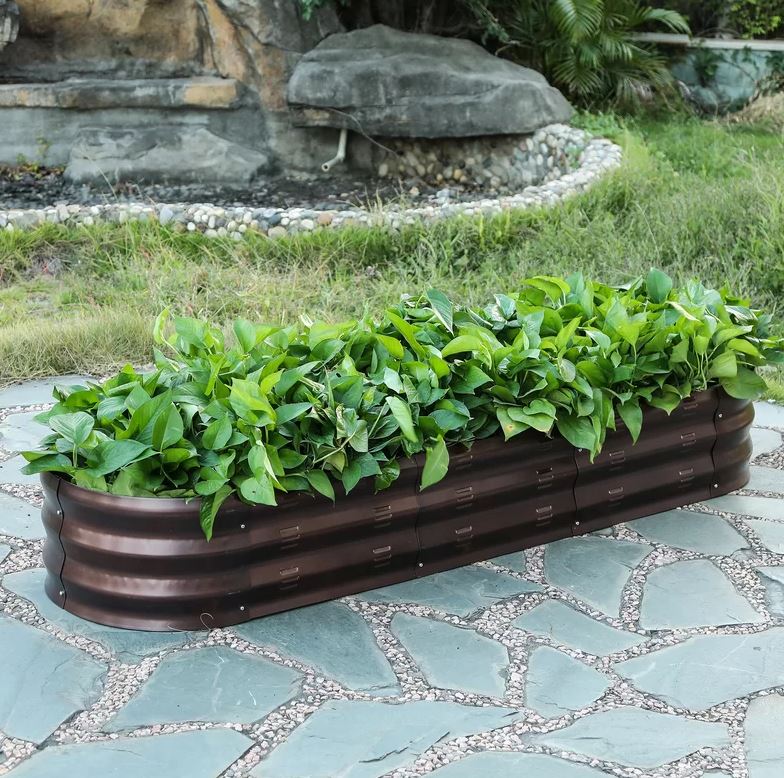
  • Avoid using galvanized tubs, as they will leach zinc (and sometimes chromium) into the soil.
  • Fill beds and containers with clean (i.e., tested) soils or potting media.
  • Don’t plant vegetables near roadways, which are a source of airborne lead.

The complicated issue of heavy metals in residential soils, part 2: How plant species and environmental variables complicate the issue

Last month we discussed the various heavy metals that might end up in your garden and landscape soils. Today we’ll consider how different factors can alter heavy metal uptake by plants.

Parking strips can contain high levels of lead after decades of car exhaust

First of all, let’s consider plant uptake. Plant roots can either accumulate a particular metal or exclude it. If they exclude it, that’s the end of the story, (though it’s still a soil contaminant). If plants take it up, they can either store it in their roots, or they can transport it to some other part of the plant – stems, leaves, flowers, and fruits are possible destinations for metals in accumulator plants. Accumulation varies with plant species and life stage; in other words, seedlings may have different uptake abilities than later life stages. And of course, whether a plant accumulates or excludes a particular heavy metal does not mean the same uptake pattern holds for other heavy metals.

Clay soil will bind heavy metals tightly

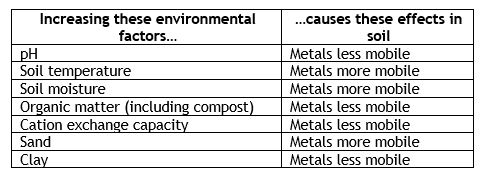
Secondly, soil conditions will influence heavy metal mobility. Heavy metals are positively charged, so anything in the soil that carries a negative charge – like clay particles and organic matter – will tend to hold heavy metals in place. That can either be good or bad, depending on your use of the landscape. If you are growing edibles, metals that are tightly bound to the soil are less likely to be taken up. But this also means that they are pretty much there to stay. Sandy soils don’t hold metals well, since sand particles carry no charge, so heavy metals are free to move elsewhere – into the air, into bodies of water, or into plant roots.

How soil variables affect heavy metal uptake

Additions of fertilizers, like those that contain phosphate or that chelate metals, will also increase the ability of plants to take up heavy metals. Likewise, earthworms ingest metals and bind them to other compounds that can be taken up by plant roots. And microbes associated with the roots (and the roots themselves) can acidify the rhizosphere, solubilizing metals and making them easy to incorporate.

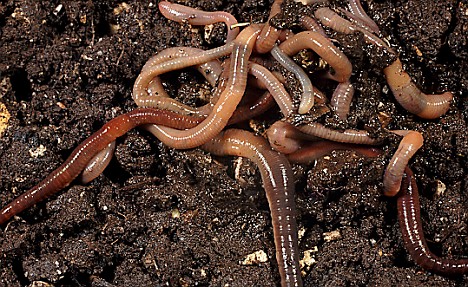
Earthworms make all kinds of things available to plants – including heavy metals

It’s apparent that many factors are at play in determining whether plants will take up heavy metals, thus making it impossible to come up with lists of “safe” plants. There are hundreds, if not thousands, of studies on heavy metal uptake of vegetable and other crop plants worldwide, and the variability among their results is a direct reflection of the complexity of soil environments and plant physiology. Nevertheless, there are some very general observations about accumulator species that can be gleaned from the research:

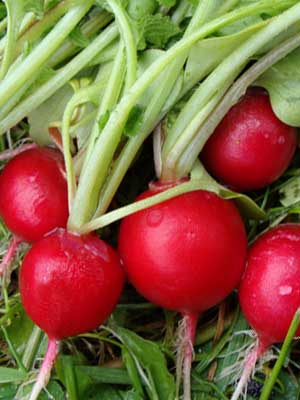
  1. Roots are the most likely tissue to contain heavy metals, since they are the point of uptake; arsenic can accumulate in carrots and lead has been found in carrots and potatoes;
  2. Stems are much less likely to accumulate heavy metals, as they are basically just a straw connecting roots to leaves and other terminal tissues;
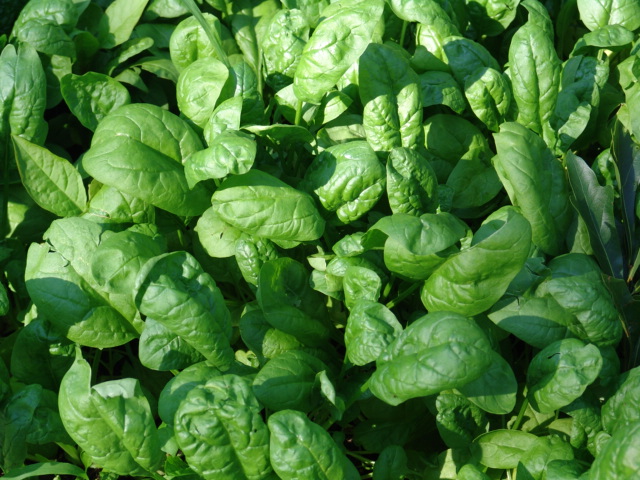
  3. Leaves, including basil, lettuce, and spinach, can accumulate heavy metals. Moreover, it appears that red leafed cultivars may accumulate more than those that are green leafed;
  4. Flowers and fruits, including vegetable tissues that produce seeds, are less likely to accumulate heavy metals. For plants that depend on animals to spread their seeds by ingesting the surrounding fruits and then excreting their seeds, it would be an evolutionary disadvantage to have those tissues carrying toxic heavy metals. That being said, there are vegetables, like beans, broccoli, and zucchini, that can accumulate heavy metals such as lead and arsenic.
Red leaves may contain more heavy metals than green ones.

By this point, I think we can agree there will never be a “one size fits all” approach to gardening safely when heavy metals are part of the soil, water, or air environment. Next month I’ll provide suggestions on how to navigate the confusion and design your own approach to creating gardens and landscapes that work around heavy metal contamination.

The complicated issue of heavy metals in residential soils, part 1: What are toxic heavy metals, and where do they come from?

The popularity of home gardens is exploding as we wait out the COVID pandemic

So many of us are growing our own vegetables – either as experienced home gardeners or as COVID19-isolated novices. There is a lot of effort in figuring out garden beds, vegetable choices, and growing medium – but one of the issues rarely considered is whether there are heavy metals present in the local soil and/or growing medium. We can’t see heavy metals, or smell them, so we need to have a way of assessing their presence before we plant edibles.

In the next few months, I’ll tackle the complicated science behind this invisible threat. Today, let’s look at the heavy metals that are commonly found in garden soils and where they might come from.

What heavy metals do gardeners need to monitor in their soils?

Heavy metals are exactly that – they are dense elements that have certain chemical properties that define them as metals. In fact, most known elements are considered to be heavy metals. Fortunately, there are only a handful of heavy metals that are commonly found in residential soils. Some of these heavy metals are necessary for life – iron, manganese, and zinc, for example – but others have no known biological function. Arsenic and lead, for instance, can interfere with enzymatic activity and effectively poison biochemical pathways. There is no “safe” level of heavy metals that are not essential nutrients.

Here’s a table of the most common toxic heavy metals that might be found in your soil, and possible anthropogenic sources:

Heavy metal Sources of contamination
Aluminum* Smelting
Arsenic Pesticides, smelting, treated timbers (old)
Cadmium Paint
Chromium Fly ash, metals industry, paint, leather tanning, treated timbers (old)
Lead Gasoline (leaded), paint, pesticides, plumbing, smelting, solder
Nickel Plumbing, smelting

*Aluminum is a light metal, not a heavy metal, but has similar biochemical poisoning activity as toxic heavy metals

Some of these sources of contamination are not relevant to where I live – why do I need to test my soil?

Gardeners may be tempted to look at the chart above and feel relieved, because pesticides and paint no longer contain heavy metals, they don’t use old treated timbers, and they know that leaded gasoline is a thing of the past. What many don’t consider, however, is that heavy metals are elemental – they don’t break down, though they may change their chemical form. They are a permanent part of soil chemistry unless they are removed by physical or biological means.

The underlying soil in housing developments built on old agricultural land often contains high levels of arsenic – because that was the active ingredient in pesticides many decades ago. If the topsoil was removed during construction, it may have been taken to a commercial soil facility where it would have been used to create landscape fill mixes for new landscapes elsewhere. The same is true for land near older roadways where lead from gasoline was released from vehicles over many decades. Not only are lead, arsenic, and other heavy metals in the soil, they also end up in the air when soil is disturbed by erosion or tilling.

Nearly all soils contain some level of some heavy metals. They are naturally occurring, after all, so their presence is not necessarily from anthropogenic activities. Regardless of the source, it’s important to know whether any of these harmful elements are in your garden soils, especially if you are growing edibles. A soil test is the only way to find out.

Here is a soil test of my own raised bed system. While my nutrient levels are optimum, and lead is very low, the aluminum level is quite high. What should I do?

Why aren’t there guidelines on heavy metal uptake in vegetable gardens?

It would be ideal if there was a list of “safe” and “dangerous” vegetables to plant when heavy metals are present. Unfortunately, real life rarely fits into lists and there are numerous sources of variability. Next month I’ll discuss the complications that arise when we consider plant species, heavy metals, and environmental variables.

When littering is a good thing

Dried leaves shred easily (photo from needpix.com)

I’ll be the first to admit it: I am a neat freak. I work best on desks with little clutter and feel calm and relaxed in spaces that are well-organized. But outdoors, it’s a different story. Dynamism is in charge and it’s refreshing and exhilarating to be surrounded in nature’s chaos. So this time of year can bother me when I see gardeners putting their neatness imprint on their gardens – especially onto their soils.

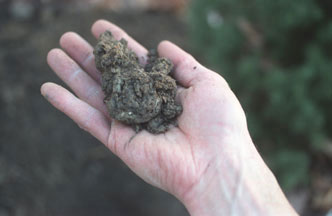
It may look neat, but it’s not really soil (photo from freeimageslive.com)

If you Google the word “soil” and look at the images that pop up, nearly all of them look the same. Nice, dark brown, granular stuff, often lovingly cradled in a pair of hands, that really looks more like coffee grounds than soil. In fact, the only realistic picture in the first page of images comes from the Soil Science Society of America. THAT’S actual soil.

One of these things is not like the others….
This one.

So gardeners must discard the “tidiness ethic” that seeps out of the house and into the soil. Soils are living ecosystems, and living ecosystems are messy. A living soil will have some sort of organic topdressing (mulch) resulting from dead plant and animal material that accumulates naturally. In temperate parts of the world, this happens every autumn, when leaf fall blankets the soil with a protective and nutrient-rich, organic litter. And what do we do? Why, we rake it or blow it and bag it and toss it. Then we turn around and buy some artificial mix of organic material and spread it on top – because it looks nice and tidy.

Keep the leaves out of the landfill!

Let’s stop this nonsensical cycle. Stop buying plastic bags for leaf disposal. Stop buying organic matter for mulch. Instead, use what nature provides to protect and replenish your soils. This doesn’t mean you have to leave messy piles of leaves that blow around rather than staying put. Instead, shred them! They look nicer, they stay in place better, and they break down faster. The easiest way to do this is to either run a lawnmower over them, or to put them into a large plastic garbage can and plunge a string trimmer into them. (Bonus – if you use a battery-operated mower or string trimmer you reduce your fossil fuel use.)

Likewise, if you have twigs, prunings, and other woody material, save these too. A chipper is a useful, though expensive, purchase. But those woody chips are the best mulch you can use over your landscape and garden beds. Most plants rely on mycorrhizal fungi, and these fungi require a source of decaying wood to function optimally. The chips can go right on top of your leaves to keep them in place and add a slow feed of nutrients.

Lovingly cradled fresh wood chips

So this fall, see how much of your garden’s refuse can stay on site. Compost soft materials; shred dead leaves; chip woody material. You’ll reduce your contribution to the landfill, and improve the health of your soils and plants alike.

Making your landscape fire resistant during wildfire season

Wildfires are increasingly threatening urban areas. Photo from Wikimedia.

This topic may have no relevance to where you live – but it’s very much front and center here in western Washington this summer. Our naturally droughty summers have gotten longer, hotter, and drier thanks to climate change. Wildfires are ravaging all of the west coast, on both sides of the Cascade mountains. And one of the recommendations I see for fire-proofing your landscape is to remove all wood-based mulch. While this might seem logical, it’s not. And here’s why.

Not all wood mulches are equal. Wood chip mulches, which readily absorb water, are different than bark mulches, which can be quite impervious to water based on the type of bark and how fresh it is. The waxy components of bark not only make it resistant to water movement, they also more likely to burn. Likewise, pine needles, cones, straw, and other coarse organic mulches absorb little water and easily ignite. They should be avoided in fire-prone areas.

Pine needles and pinecones are a natural mulch layer in pine forests – but they burn readily. Photo by Pxfuel.

Wood chips are one of the least flammable mulches, and if landscape plants are properly irrigated, the wood chip layer is going to be increasingly moist as you work your way down to the soil. This reduces flammability, while maintaining plant health. And healthy plants are more likely to survive fires than water-stressed plants – because they are full of water. (Oh, and those “flammability lists” of plants you might see? Dr. Jim Downer has already debunked that approach.)

Rubber mulches are the very worst choice you can make for a wildfire-resistant landscape. They burn readily and they burn hot.

The best way to reduce wildfire damage to your planted landscape is to keep it irrigated. Bare soil is a no-no in planted landscapes, regardless of what you might see recommended elsewhere. A well-hydrated landscape with green lawns and healthy trees and shrubs is not going to catch fire from a spark or ember. And it might even survive a fast-moving wildfire.

Yes, it takes water to protect a planted landscape from fire. If consistent irrigation isn’t feasible, you might want to rethink your plantings.

We saw this in eastern Washington this week, where the small town of Malden was 80% destroyed by a fast-moving fire. But some homes were spared – why? Whitman County Sheriff Brett Meyers pointed out “those people that had some green and some buffer around their home were able to maintain their homes.”  

Did these houses survive because of a green buffer?

So while it may seem counterintuitive to keep woody debris on your soil, look at the whole system – not just a piece of it. If you don’t have plants anywhere near your house, then bare soil is the way to go. But for planted landscapes, wood chip mulch is part of the solution – not the problem.