
Given the growing (haha) popularity of vegetable gardening over the last several years, which has gone into overdrive during the pandemic, more and more people are looking for innovative ways to grow in all kinds of spaces. Container vegetable gardening can be as simple as popping a tomato into a bucket, but there are lots of different ways to successfully grow crops in small, mobile containers. It is possible to grow full sized crops in containers, given a large enough container and space to grow.… Continue reading this article “Contain Yourself: Vegetable gardening in containers and small spaces”
Author: John Porter
John Porter is a horticulturalist located in Omaha, NE. He is a former extension educator with UNL Extension and county agent with WVU extension. In addition to using his horticulture and extension skills in his home garden, he is a sometimes garden writer and lecturer, a trial judge for All-America Selections, and mentor for local school horticulture and agriculture programs.
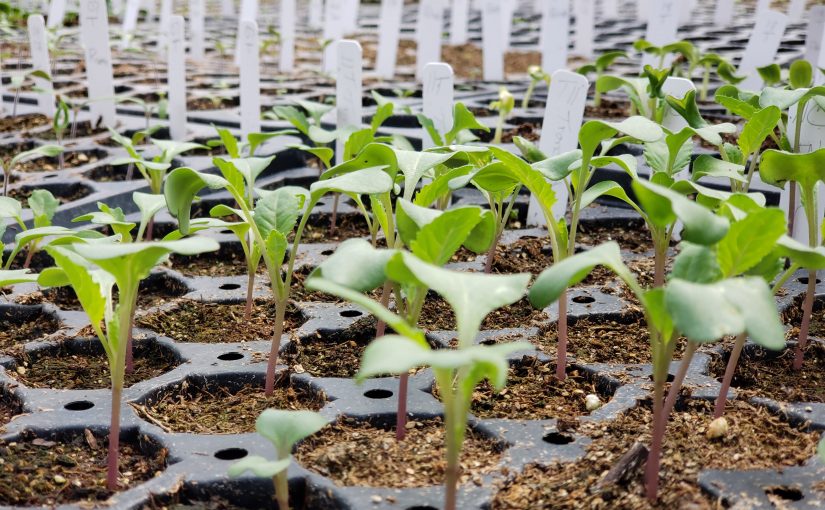
To (direct) sow, or not to sow, that is the question: whether ’tis nobler in the garden to transplant
Most experienced gardeners will tell you what should be started indoors (or purchased) as transplants and what should be direct sown into the garden, but this can often be confusing for new gardeners. Add to the confusion the fact that some plants have a gray area when it comes to what is best, sometimes it depends on the time of year, and sometimes it depends on where you are as to whether what is possible. So if you forget to start your favorite tomato or begonia indoors in time to transplant, do you have options? … Continue reading this article “To (direct) sow, or not to sow, that is the question: whether ’tis nobler in the garden to transplant”
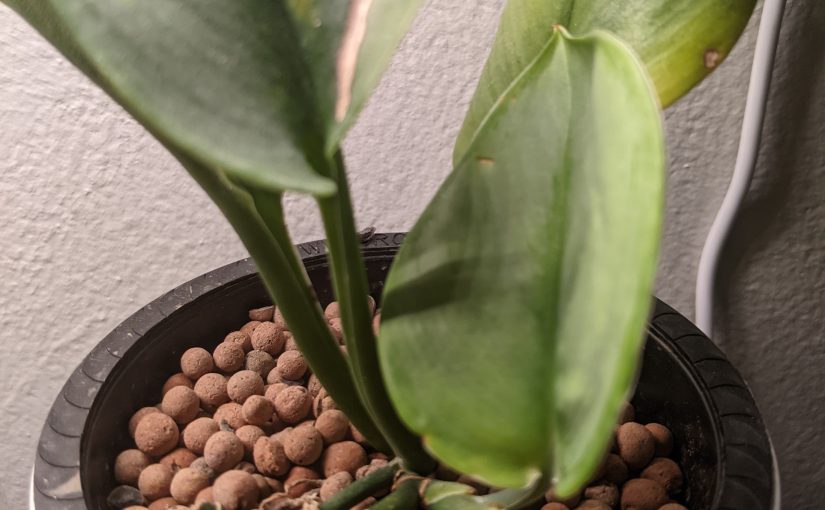
Holy Hydroponic Houseplants, Batman!: Can you grow houseplants without soil? Yes!
Just when you thought you got the hang of growing houseplants in potting soil (or if you’re a doting plant parent, a special homemade mix someone on the internet told you to use) comes a new trend – hydroponic houseplants! Or, “semi-hydroponic” to use the more technical term that is used when describing the trend. How do you grow houseplants semi-hydroponically? Do they grow this way? But first, maybe we should ask the question – why? … Continue reading this article “Holy Hydroponic Houseplants, Batman!: Can you grow houseplants without soil? Yes!”
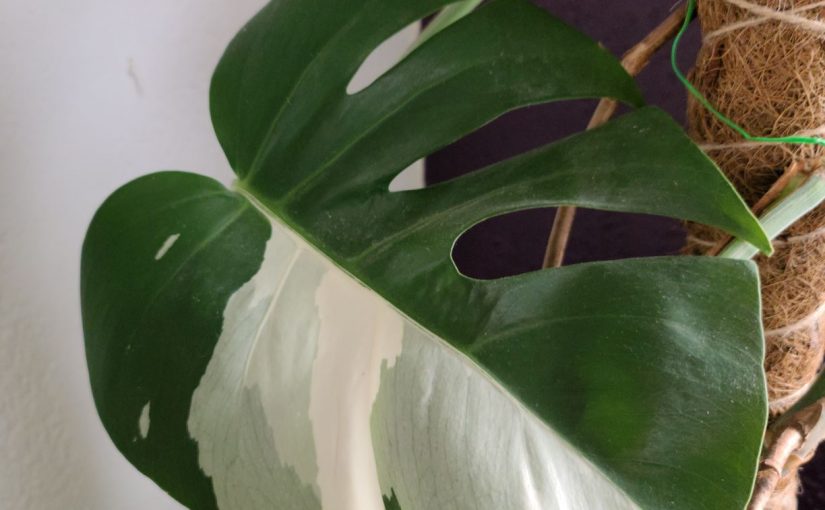
Houseplant Hubub: The rage about variegation
It is no secret that houseplants are hot right now. Interest was growing before the pandemic, especially with millennials and younger folks. Then the pandemic hit. Houseplant interest skyrocketed since people were stuck at home and wanted to bring a little bit of nature indoors to make their spaces a little more cozy for 24/7 habitation.
This has caused the demand, and price, of many houseplants to increase, especially if they are on the rarer side. … Continue reading this article “Houseplant Hubub: The rage about variegation”
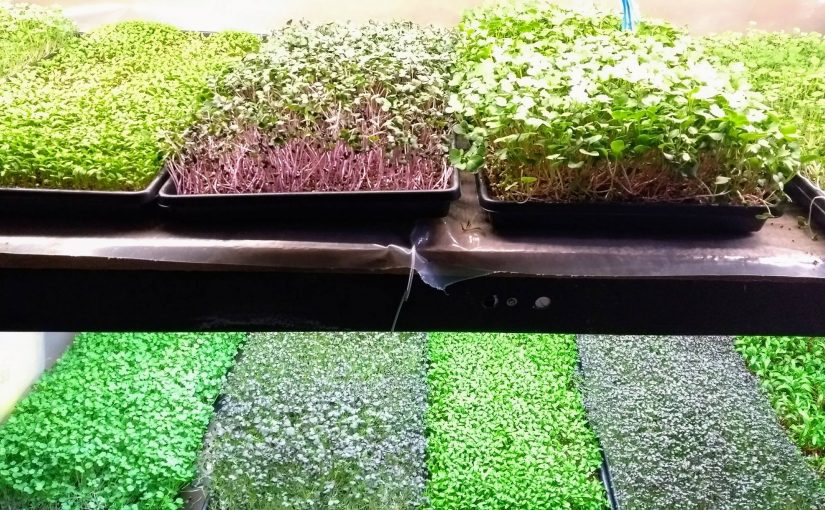
Tiny plants that pack a flavor and nutrition punch: getting in on the microgreen trend
If you do any searching for gardening (or even think about the color green), you’re likely bombarded with adds on social media and search engines about all stuff gardening. One of the recent trends is microgreen production. There’s all kinds of fancy little systems and gizmos that will help you grow microgreens for a price. But what are microgreens? Are they the same thing as sprouts? And do they have the same food safety issues as sprouts? … Continue reading this article “Tiny plants that pack a flavor and nutrition punch: getting in on the microgreen trend”
Planning Ahead (in a pandemic) for Vegetable Garden Success
Looking back to January 2020, most of us would have never imagined the year we’ve had. All of our best laid plans went away and instead we socially distanced, scavenged for toilet paper, and canceled events and vacations. But one thing that wasn’t canceled was gardening. By June, garden retail sales had increased 8.79% over the average, a big jump for a trend that was already showing increased gardening over the last few years. Wanting to grow food to ensure a safe food supply was one reason gardening increased this year, but it also served as away for people break the boredom of being stuck at home. … Continue reading this article “Planning Ahead (in a pandemic) for Vegetable Garden Success”
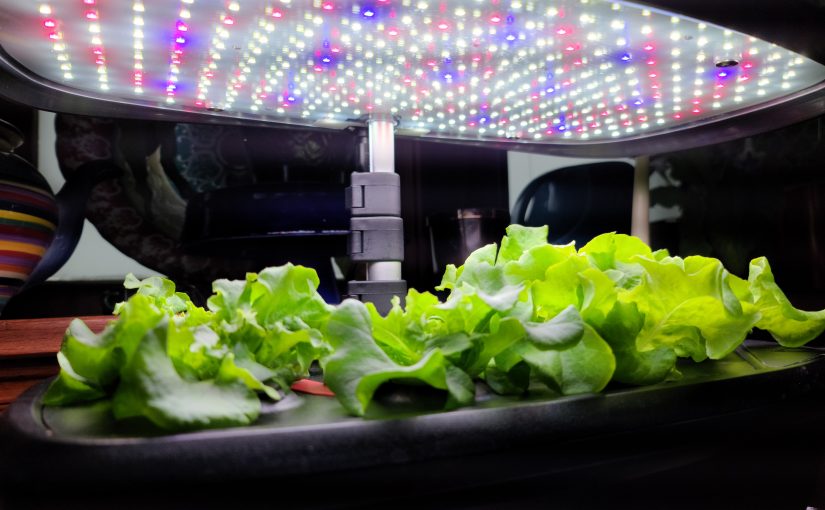
Hydroponics for the Holidays? Home Systems are a hot holiday gift list item
Systems to grow fresh produce in your home using hydroponics or other automatic processes have been popular for several years but seem to be even more popular this year with more folks home and looking for something to do and hoping to produce their own food. As a result, these systems are popping up on holiday wish lists and gift buying guides all over the internet. But are they worth it? And if so, what should you look for in a system? … Continue reading this article “Hydroponics for the Holidays? Home Systems are a hot holiday gift list item”

Smashing Pumpkin Myths: Bleaching to extend shelf (and porch) life
Scrolling through social media in September and October and you may see those basic signs of the season: scarves, pumpkin spice lattes, sweaters, and Halloween ideas galore. One of those Halloween ideas is to extend the life of your pumpkins, carved or otherwise, by giving them a treatment with household bleach. Keep scrolling and you might see another post decrying the use of bleach as inhumane and poisoning for wildlife. So which is it? Is bleach safe to use as a sanitizer on your jack-o’-lantern or are you poisoning the neighborhood squirrels? … Continue reading this article “Smashing Pumpkin Myths: Bleaching to extend shelf (and porch) life”
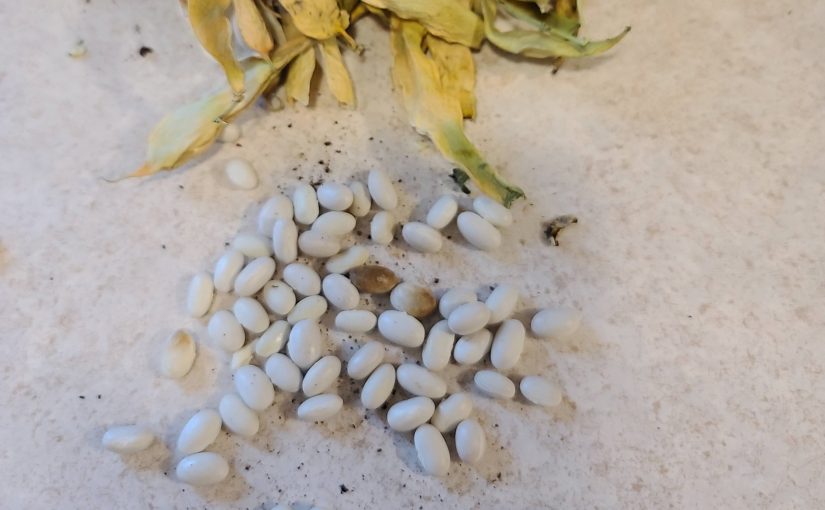
Saving for the Future: Seed Saving Tricks and Tips
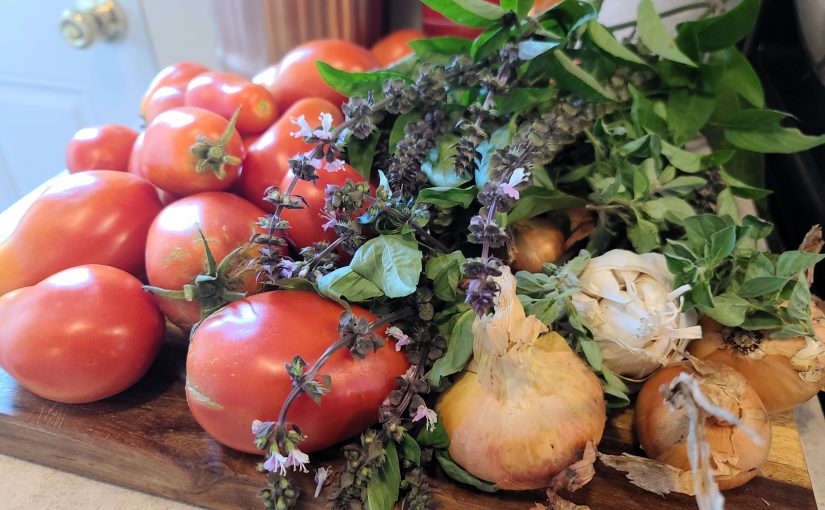
As summer winds down and the summer crops and flowers start to slow down many gardeners start thinking about saving seeds. Who doesn’t love saving seeds from that favorite tomato or beautiful coneflower? Not only do you have some for next year, but you can also share with your friends! There are definitely some things to consider and some myths out there when it comes to seed saving, so let’s talk about how to do it right. … Continue reading this article “Saving for the Future: Seed Saving Tricks and Tips”
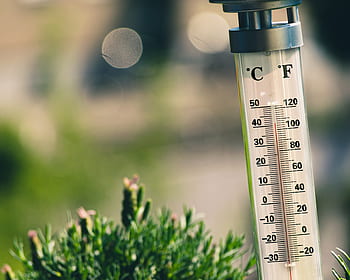
Some like it hot… but most do not: How high temperatures delay pollination and ripening
Ah, summer – vacations (pre-COVID), swimming pools (pre-COVID), ice cream, vegetable gardens, and, in many places, really high temperatures. These things all go hand-in-hand (or at least they did before the pandemic). Many gardeners feel that the heat of mid-summer goes hand in hand with garden production; those high temps driving production on those fruiting plants like tomatoes and peppers. But…..could they be wrong?
We’ve had lots of extra hot days this summer in Nebraska, so it stands to reason that we should have really great production on those garden favorites like tomatoes, right?… Continue reading this article “Some like it hot… but most do not: How high temperatures delay pollination and ripening”