If you follow national news, you may have noticed that Sudden Oak Death disease caused by Phytophthora ramorum has been found again in a new state and has escaped into retail commerce and thus into gardens. This is news because the disease is a killer of rhododendron, oak, camellia and many other ornamental plants. Yesterday I was measuring trees in a research plot here in California and I found that one of my subjects had turned brown and lost all its leaves.… Continue reading this article “Is there a “Deathstar” in your garden?”
To Fertilize, or Not to Fertilize, that is the question
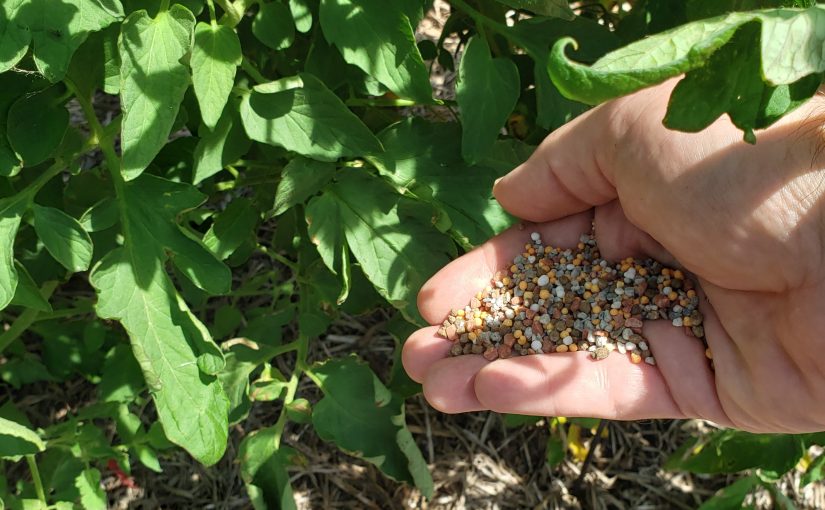
You see a bright shiny package at the garden center saying that it can help you have the most bountiful garden ever, the greenest lawn in the neighborhood, your plants will have miraculous growth, or it will supply every element on earth to make sure that your plants are living their best life. It’s got what plants crave….It’s got electrolytes! You reach out to grab that package and ……. Woah! Pump the brakes! Do you know if your plants even need to be fertilized? … Continue reading this article “To Fertilize, or Not to Fertilize, that is the question”
Give me your huddled root masses yearning to breathe free
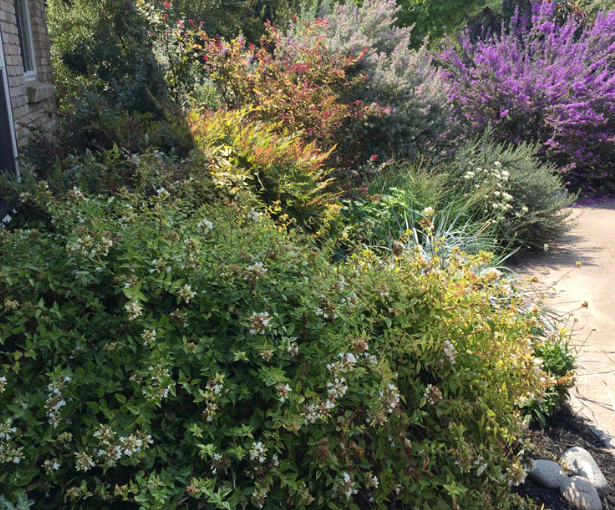
About this time last year I posted photos of the installation of my new pollinator gardens (all perennials). As you can tell from the photos below, all of these plants have not only survived but thrived with their midsummer rootwashing.
The only ones that didn’t make it were the six Lavandula stoechas ‘Bandera Purple’ (see above). They did fine through the summer and well into winter. But with our surprise snowstorm in February (along with a 20-degree temperature drop in one night – from 33 to 14F), all but one of these marginally hardy plants (USDA zones 7-10) gave up the ghost.… Continue reading this article “Give me your huddled root masses yearning to breathe free”
Urban Gardening Considerations
Along with the trends of buying local food, buying organic, etc., there seems to be an increasing interest in the ultimate local food source – a garden. This includes in urban areas. Urban gardening is a great way to save money on food, a great source for fresh vegetables – especially in “food deserts”, and an easy way to introduce kids to where the food on their plate comes from. However, there are a couple potential obstacles you should consider first before starting your urban garden.… Continue reading this article “Urban Gardening Considerations”
The Dog Days are here
The dog days of summer are here and as we approach the longest day of the year (summer solstice is June 21st), we are also feeling the advance of high summer temperatures. Long days mean more evapotranspiration and water withdrawal from the soil. During these long days, plants photosynthesize more, grow more, and use the most water during the month of June. In fact evapotranspiration looks generally looks like a bell shaped curve when plotted by month (figure 1). … Continue reading this article “The Dog Days are here”
Ripe for the picking: Which fruits keep ripening after harvest?
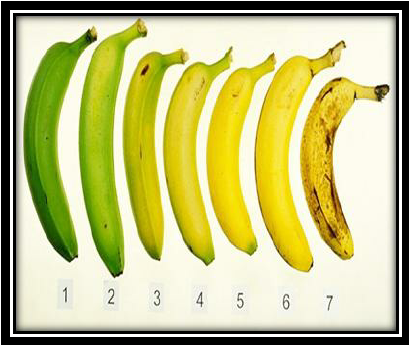
“Will my peppers continue to ripen? How about my eggplants?” It is common knowledge to most gardeners (and home cooks) that tomatoes will ripen on the kitchen counter, as will bananas and several other fruits. You know that one day your bananas look perfectly ripe and the next they’re a brown mush But does this work for all fruits? We often get questions about whether specific fruits will continue to ripen after picking. And the answer is…..… Continue reading this article “Ripe for the picking: Which fruits keep ripening after harvest?”
Cornmeal magic – the myth that will not die
Way back in 2010 (and then again in 2012) I wrote about a bizarre belief that cornmeal could be used to treat fungal diseases, from lawn spot to athlete’s foot. Rather than rehash what’s already been written, I’ll invite readers to read those posts for background. And of course look at the comments, which are…interesting.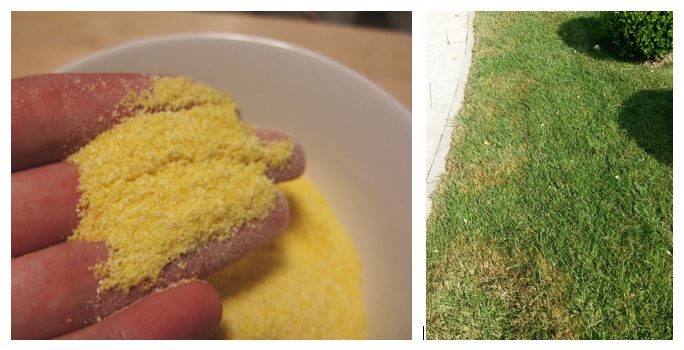 The weird thing is that this post from 2010 is the single most popular post on the blog. (Our stats are only for the last two years since we migrated the web site – who knows how many there were before May 2017?)… Continue reading this article “Cornmeal magic – the myth that will not die”
Bare Rooting – a guest post from a commercial landscaper
Today’s blog post is courtesy of Mary Blockberger of Sechelt, BC. As you’ll see, Mary and I go way back. I thought it was important to our ongoing discussion to see how the industry can use the root-washing technique effectively and economically. Here’s Mary:
“Before I began managing the Sunshine Coast Botanical Garden in Sechelt, BC I had a small residential landscaping company. By small, I mean that I was the employee of the month every month of the year! … Continue reading this article “Bare Rooting – a guest post from a commercial landscaper”
Amending Soils—Why??
I think the blog and garden professors web page is pretty full of research and benefit descriptions of mulching, particularly with arborist chips. A little less clear is the role of amendments in garden soils. I always like to ask the “why” questions for gardening practices. Like “why” prune trees? Why fertilize, etc? Ideally gardening practices should be founded on a basis of science and inquiry as to their necessity. Poor structure early structural training or a damaged canopy may prompt tree pruning, mineral nutrient deficiency symptoms may suggest
fertilization.… Continue reading this article “Amending Soils—Why??”
Plant Control to Major Tom(ato): The Art of Spacing Out Your Plants
“Why don’t you just plant it up against the house,” piped my mother-in-law. She was talking about a run-of-the-mill “old fashioned lilac” that we had received in the mail for our donation to Arbor Day. While I don’t necessarily think of the organized tn as a source of high-quality or novel plants, I felt beholden to make a donation since it was founded and is still located in Nebraska (and we have visited the Arbor Lodge, home to founder J.… Continue reading this article “Plant Control to Major Tom(ato): The Art of Spacing Out Your Plants”