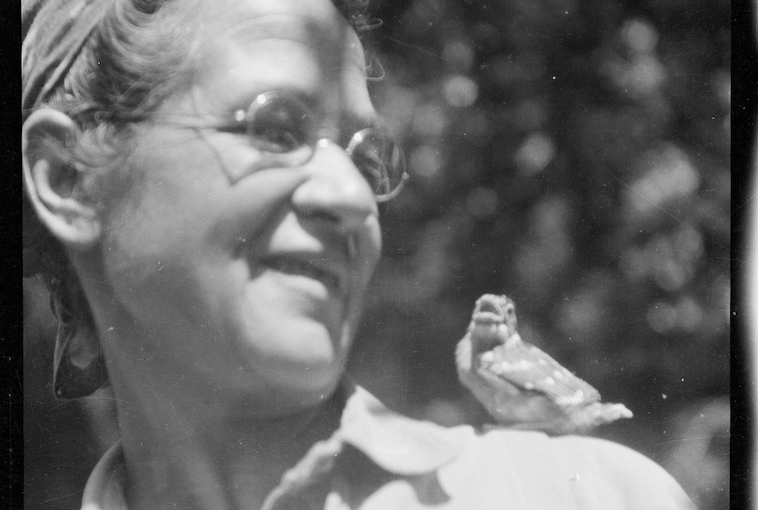
In this edition of P&P we’ll explore the travels and adventures of Ynés Mexía, a late-blooming botanist.
Ynés Enriquetta Julietta Mexía was born May 24, 1870, in Washington, D.C., to Enrique Mexia, a Mexican diplomat, and Sarah Wilmer Mexía. Between birth and when she began her botanizing at the age of 50 she moved around a lot living in Texas, Pennsylvania, Canada, Maryland, and Mexico. She finally settled in San Francisco, California about 1909 where she became involved with several nature conservation organizations and was a strong advocate for saving redwood trees which were being heavily harvested for timber in the early 1900s.… Continue reading this article “People and Plants”
Author: Sylvia Thompson-Hacker
Sylvia Thompson-Hacker is a Doña Ana Co. New Mexico Extension Master Gardener. She is also an admin on the Garden Professor's Facebook page and the Garden Professor's Facebook blog group.
People and Plants
Once again we wander down the path of botanical history.
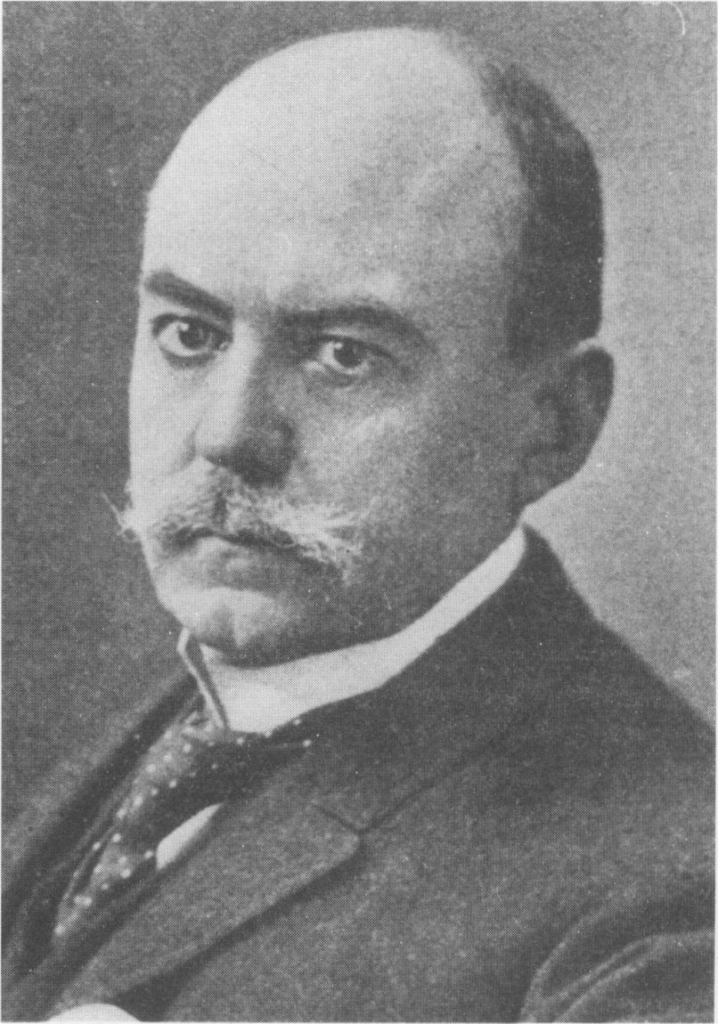
George Julius Engelmann was a botanist, physician, and meteorologist, but is remembered primarily for his botanical monographs. George, also known as Georg, was born Feb. 2, 1809 in Frankfurt am Main, Germany, the oldest of thirteen children, nine of whom reached maturity. Unusual for the time, his parents established and ran a successful school for young women there in Frankfurt.
Like most privileged young men of the time, George attended gymnasium.… Continue reading this article “People and Plants”
People and Plants
I thought this would be a fairly straightforward individual to research and write about. But no, talk about a rabbit hole.
Have you ever known someone that makes you ask, “They did what?” or “They’re where?” or “What are they up to now?”
If so, then you’ll recognize the type in this installment of People and Plants.

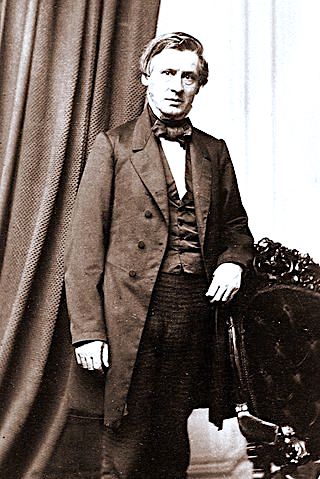
Friedrich/Frederick Adolph Wislizenus was a German-born American medical doctor, explorer and botanist. The name Wislizenus traces its etymological roots back to Poland, specifically the town of Wislicza.… Continue reading this article “People and Plants”
Landscape Malpractise Cases
…Or “When to Fire Your Landscaper”
We have a guest writer for this week’s GP blog post, Teresa Watkins! She’s a professional landscaper and garden consultant in Florida (her bio is at the end of the column). As a professional she has seen “landscaper results” that will astound, scare, shock, or otherwise perturb you to no end. She has graciously shared photos and input for this blog post.
We hope this will be a series highlighting what to watch for when hiring a landscape company.… Continue reading this article “Landscape Malpractise Cases”
People and Plants
It’s time for our Spring edition of People and Plants. This time we’ll be taking a look at the life and accomplishments of Asa Gray.
CC image
Asa Gray (November 18, 1810 – January 30, 1888), now considered the most important American botanist of the 19th century, had very humble beginnings. He was born in the back of his father’s tannery in Sauquoit, New York, the eldest of eight children. From childhood Asa was an avid reader.… Continue reading this article “People and Plants”
People and Plants
In this late fall edition of People and Plants we’ll take a look at an early American female botanist, Martha Daniell Logan.

She was born in 1704 in St. Thomas Parish, South Carolina, the second child of Robert Daniell and his second wife Martha Wainwright. After her father died in 1718 she inherited his land along the Wando River. In 1719, Martha married George Logan, Jr.… Continue reading this article “People and Plants”
A Toast to Agaves
Agaves, those bat pollinated, succulent, strong leaved, slow-growing, xeric- and heat-loving Western Hemisphere plants, are literally the heart of the tequila and mezcal industry. As fascinating as the bat pollinator aspect is we’re going to focus on the how agaves are used to produce liquor.
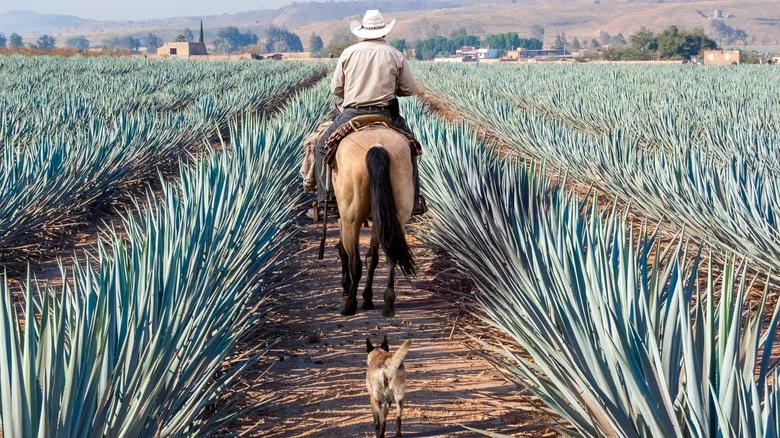
Let’s start with the differences between mezcal and tequila. These include region of origin, plants used and production methods.
We’ll start with regions and plants.
The name “mezcal” comes from the Nahuatl word “mexcalli” which means “oven-cooked agave.”… Continue reading this article “A Toast to Agaves”
People and Plants
In this edition of P&P we’ll be exploring the life of the “Father of Texas Botany”, Ferdinand Jacob Lindheimer.
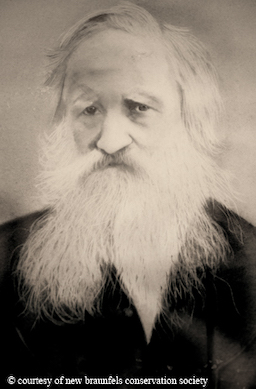
On May 21, 1801, Herr and Frau Lindheimer of Frankfurt, Germany welcomed little blue-eyed Ferdinand to the family. After schooling at the Frankfurt Gymnasium and a Berlin prep school, Ferdinand spent the next 30 years studying at universities in Bonn, Jena, and Wiesbaden.
In 1833, for political reasons, Ferdinand decided it was best for him to leave Germany.… Continue reading this article “People and Plants”
It’s all Greek to me…
Tulips for the desert?
Spring bulb planting time is on across North America! Many types of bulbs do well in desert and xeric gardens: hyacinths, ranunculus, iris, narcissus, crocus, alliums can all be happy. One bulb that’s often left off the list are tulips. Why is that?
The tall flashy hybrid or Darwinian tulips that fill the catalog photos are usually considered an annual in most desert gardens. They require more chilling than the our desert winters can usually provide and can be a little fussy about soil and water.… Continue reading this article “Tulips for the desert?”