SUPER Thriving Lettuce?

The Garden Professors have previously written about the ubiquitous garden center product, SUPERthrive, here and here. The manufacturer claims a plethora of beneficial uses for SUPERthrive —everything from Christmas tree care to turf to hydroponics. They claim SUPERthrive will “revive stressed plants and produce abundant yields” and that it “encourages the natural building blocks that plants make for themselves when under the best conditions” thus “fortifying growth from the inside out,” but I know of no body of rigorous, peer-reviewed literature to support any of those claims (1, 2, 3, 4). In fact, I’m not entirely sure what those claims really mean, but I’m encouraged on their website and bottle to use it on every plant, every time I water, to receive these amazing benefits!

A test case

The hydroponics claim intrigued me because during the winter months I grow plants hydroponically under lights. One of the benefits the manufacturer claims is “restores plant vigor” and “works with all hydroponics systems.” As a plant scientist, and knowing something about the ingredients, I was skeptical to say the least, but I thought that if SUPERthrive was going to show any beneficial effect it would surely be in hydroponics since that is a more uniform environment than outdoors. So, I shelled out my $11 for 2 oz (the things we do for science!) and set off to design a simple experiment.

The hypothesis

A typical experiment like this starts with what we call the null hypothesis (denoted “H0”). The null hypothesis is defined prior to the experiment and often states that we think there will be no difference between the treatment and control. In this case, my null hypothesis is that the SUPERthrive treatment will have no effect on the mean fresh weight of the harvested lettuce relative to the control lettuce. Note that I haven’t made any hypotheses about other parameters that might be important, e.g., flavor, compactness, number of leaves, color, disease incidence, survival rate, etc. For this experiment I am interested in only one thing: total harvested weight as a signifier of healthier plants.

After the data is collected and analyzed, we decide whether to accept or reject the H0 by running an appropriate statistical test. If there is no statistically significant difference, then we cannot reject the H0—that is, we accept the H0 that there is no difference between treatment and control. If there is a statistically significant difference between treatment and control, then we say we reject the H0 and conclude that the treatment did have an effect. Keep in mind, sometimes no difference between treatment and control is a good thing, e.g., in toxicity studies.

Experimental design

With my skeptical spectacles on, I set up my experiment to test my hypothesis. I made a six-gallon batch of hydroponics nutrients suitable for leafy greens. I split the batch in half and added SUPERthrive, per the manufacturer’s dilution recommendation, to one of the three-gallon aliquots as the treatment. I then divided the control and SUPERthrive treatment each into six individual, identical, two-quart containers. I thus had six independent replicates of a treatment and a control. (See Figure 1 below for a schematic of the experimental design.)

Figure 1. Outline of experimental design

To further avoid any experimenter bias, I had my wife assign numbers randomly to each container, record which were SUPERthrive treatment and which were untreated control, and then re-sort all the containers. I had no idea which containers contained which nutrient mix. I did not open the “secret decoder envelope” until after all measurements were complete!

Figure 2. Identical 2 quart containers randomized on day 1 in the hydroponics solutions. This kind of hydroponics is called “Kratky” or passive. Enough nutrient solution is supplied at the beginning to last the plant for its entire life-cycle.

Into each of the 12 containers I placed a 12-day-old lettuce seedling, taking care to select plants that were of equal size and leaf number. The containers were then placed under my lights (cool white T8 fluorescent) for the remainder of the experiment. I rotated the rows of plants several times to try to control for any edge effects in my grow area. After 30 days in the containers, I harvested and weighed each plant.

Figure 3. Plants after 30 days of growth.

What did my experiment show?

The graph below is a box and whisker plot that shows the spread of the data and the mean for each group in grams of harvested fresh weight of the plants (roots were removed). In my experiment, the SUPERthrive treatment showed a clear drop in harvested fresh weight! In fact, the heaviest SUPERthrive plant weighed less than the smallest control plant, and the SUPERthrive set was much more variable in harvested weight. These results surprised me a bit.

Figure 4. Box and whisker plot of lettuce plant fresh weight. Master Blend: Master Blend nutrients; Master Blend + ST: Master Blend nutrients plus SUPERthrive (0.9 ml/gal.)

A standard statistical test (Student’s T-test, unpaired, two-tailed) was performed to show that that there was in fact a statistically significant difference (p<<0.01) between the two groups. Thus, we can reject the H0 (remember our null hypothesis is that there will be no treatment effect) and conclude that there is a difference between treatment and control harvested weights, with the treatment mean plant weight being significantly smaller than the control mean plant weight.

What can we make of this experiment?

Well, we need to keep in mind a few things.

1) Six replicates is a very small sample size; this could be a spurious, unlucky result. There is always some distribution of growth rate, even in a uniform genotype. Did I get unlucky and happen to put six plants that would always be on the smaller end of that distribution into SUPERthrive?

2) After analyzing the data, I discovered that four of the SUPERthrive plants ended up in the same row and were the smallest heads in the experiment (sometimes you flip a coin and get four heads in a row!). Could this be the reason for the unexpected results? The other two treated plants were in the other two rows, but neither was as large as the smallest control plant.

3) I do not have a perfectly controlled environment like one would find in a lab or even in a larger growing facility. However, something marketed with such aggressive claims of amazing plant health benefits and vigor should give a noticeable effect under a variety of imperfect, real-world conditions, such as those one would find in a home garden situation, don’t you think?

4) Perhaps my plants were already growing at their maximum potential and there was nothing for SUPERthrive to “improve.” Afterall, hydroponics indoors is already a relatively stress-free environment, as the SUPERthrive manufacturer also points out. Then what do they think their product is improving in hydroponics? Would I have seen an effect under less-than-ideal or more stressful conditions then? This could certainly form the basis of other testable hypotheses.

Conclusions

What I think we can conclude is that in this experiment, with this genotype of lettuce, and under these hydroponics conditions and environment, SUPERthrive had no positive effect whatsoever and may have even had a negative effect. Under other conditions would one see a positive effect? Possibly. Would different plants or genotypes respond to the SUPERthrive differently? Possibly. We must always be careful of over-extrapolating both positive and negative results from a single experiment.

But, because the individual ingredients have not been shown to provide any beneficial effect, and no plausible mode of action is given by the manufacturer for their broad general claims, we should remain highly skeptical. As pointed out in the previous post, the SUPERthrive manufacturer has certainly had plenty of time to scientifically demonstrate efficacy of their product, since they proclaim to be “always ahead in science.”

Because the results showed a clear and unexpected negative effect, the experiment surely needs to be repeated. Repetition is a central tenet of science. I hope to share additional results with you in a post later this spring—after all, I have a whole bottle of SUPERthrive and we love salad!

References

  1. Banks, Jon & Percival, Glynn. (2012) Evaluation of Biostimulants to Control Guignardia Leaf Blotch (Guignardia aesculi) of Horsechestnut and Black Spot (Diplocarpon rosae) of Roses. Arboriculture & Urban Forestry. 38(6): 258–261
  2. Banks, Jon & Percival, Glynn. (2014) Failure of Foliar-Applied Biostimulants to Enhance Drought and Salt Tolerance in Urban Trees. Arboriculture & Urban Forestry 40(2): 78–83
  3. Chalker-Scott, Linda. (2019) The Efficacy and Environmental Consequences of Kelp-Based Garden Products.
  4. Yakhin Oleg I., Lubyanov Aleksandr A., Yakhin Ildus A., Brown Patrick H. (2017) Biostimulants in Plant Science: A Global Perspective. Front. Plant Sci., 7:249
Where to find spring frost dates and the mystery of Southeastern frost trends

Most gardeners this time of year are thinking about the last frost dates for their locations and how soon they can get out into their garden plots. Here in the Southeast, many areas have already passed their last frost or will soon, while in other parts of the country, it may be many weeks before the threat of frost is over. In this week’s column, I want to describe a way to get frost dates for your location and discuss the mystery of why the date of the last spring frost is getting later in the Southeast in spite of temperatures that are rising across the country.

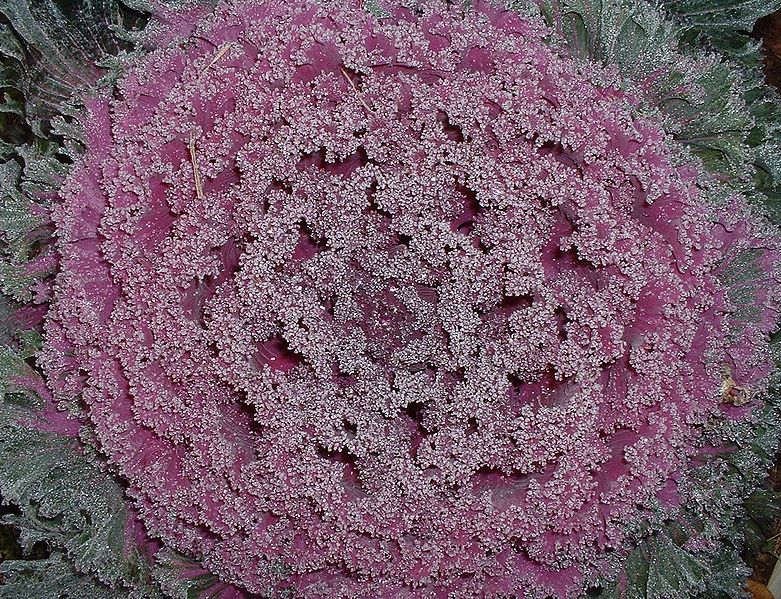
Frosted kale. Source: Tracey from North Brookfield, Massachusetts, USA, Commons Wikimedia.

Resources for finding your frost date

There are many places that you can go to find information on the average date of the last spring frost. Many gardening guides publish them, and John Porter had an excellent discussion of last frost and planting dates a year ago, including a number of sources of information and a map for the continental United States.

You can also look at frost dates for individual locations using xmACIS, an online free database that allows you to list yearly last spring and first fall frost dates and the growing season length. This database contains observations taken by National Weather Service cooperative observers and is incorporated into the NOAA 30-year averages (normals) that John mentioned in his posting. You might find it helpful to see not only the average but also the variability from one year to the next at whatever station is closest to you. (Here is a quick reference sheet for xmACIS.) Of course, there are other places to get this data in a variety of formats, but xmACIS is quick and easy and works for the whole country, which is an advantage for all our readers.

To access data near you,

  1. Go to the top under Single Station and choose “First/Last Dates.”
  2. Under Options Selection choose:
    1. your preferred output, (Graph, table or CSV)
    1. Year range (POR is period of record, which will vary depending on which station you choose)
    1. Under Criteria set minimum temperature at less than or equal to 32 F (or another threshold for a special crop)
    1. Period beginning (for spring frost dates, usually July or August)
    1. Pair results (for spring frost dates, usually by Calendar year)
  3. Under Station Selection, you can find a station by ID if you know it, by choosing from the list or searching by zip code. Or change your CWA (National Weather Service County Warning Area) to your local region and available stations in that area will be listed. A map of the CWAs is shown below. Pick the station that is closest to you to get the best data for your location.
  4.  Hit “Go” and you will get a list of the yearly last and first frosts of the growing season. The average date is at the bottom.

National Weather Service office identifiers.

Climate change and frost dates

With increasing temperatures due to global warming, you might wonder how these frost dates are changing over time. As temperatures get warmer, you might expect that the average date of last spring frost would be getting earlier in the year over time and the average date of first fall frost would be getting later. And this is generally true in most of the US, with the exception I will discuss in a minute.

I did some work with Melissa Griffin of the South Carolina State Climate Office in the past, and we determined that a 1-degree F rise in average temperature over time corresponded roughly to a 1-week increase in the length of the growing season. That is an important statistic for farmers, who plan what to plant depending in part on how long the growing season is. If the temperature in the US goes up 4 F by the year 2100, then we can expect that the growing season would increase by generally four weeks or one month, although that will vary from place to place.

Southeast frost date mystery

In most places in the US, the date of last spring frost is getting earlier in the year, as expected. But there is one regional exception, and that is the Southeast, especially in Georgia and to a lesser extent, Alabama. You can see this in the once-again public EPA climate change page.

It is not clear why this trend towards a later spring frost date is occurring in the Southeast. One theory is that perhaps a local weather phenomenon we call “the wedge” is changing due to alterations in weather patterns across the region as the global temperature increases. “The Wedge” is a thin, dense layer of cold air which moves southeast along the eastern edge of the Appalachian Mountains, bringing cold air and cloudy conditions to that region.

A group of University of Georgia students and I looked at this “wedge theory” in 2020. We tried to identify where the wedge of cold air was most likely to be occurring in the Spring and correlate those areas with changes in frost date. So far, the results have been inconclusive. More research will be needed to figure out why this odd pattern is occurring now and whether it will continue in the future. 


Air temperature on February 20, 2019, from the University of Georgia Weather Network, showing the cold “wedge” of air in northeastern Georgia.

Implications for home gardeners

Knowing your average spring frost date can be an important brake on most gardeners’ eagerness to get back out in the garden in spring. Who hasn’t wanted to start planting on the first warm and sunny day? But if you know that more frosts are likely based on the local climate, you may be willing to wait to get started until your plants are safe from cold damage. Then the real growing season can begin!

To mulch or not to mulch? It shouldn’t even be a question.

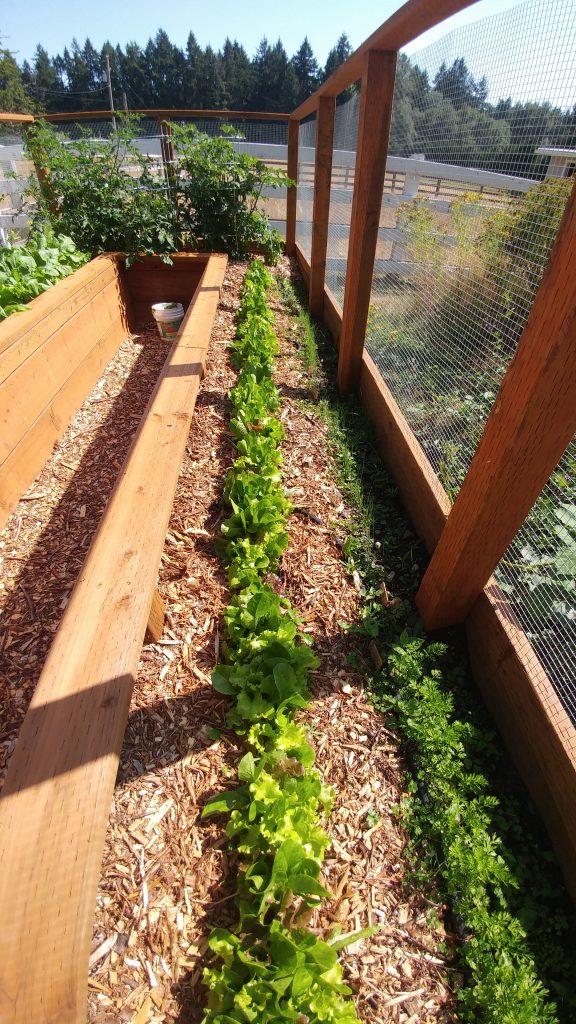
There’s wood chip mulch peeking out of all of our landscape beds

One of the popular arguments against mulching landscape and garden soils is that mulch delays soil warming and thus retards plant growth. Given that a well-chosen mulch will moderate temperature extremes – both hot and cold – is this an argument supported with evidence? In today’s post, I’m reporting the data I collected in visiting various parts of my home landscape and gardens and measuring soil temperatures.

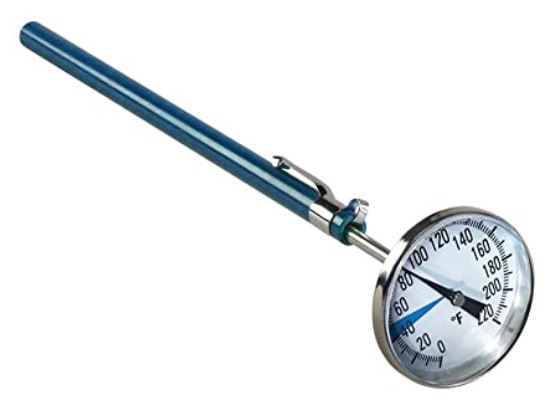
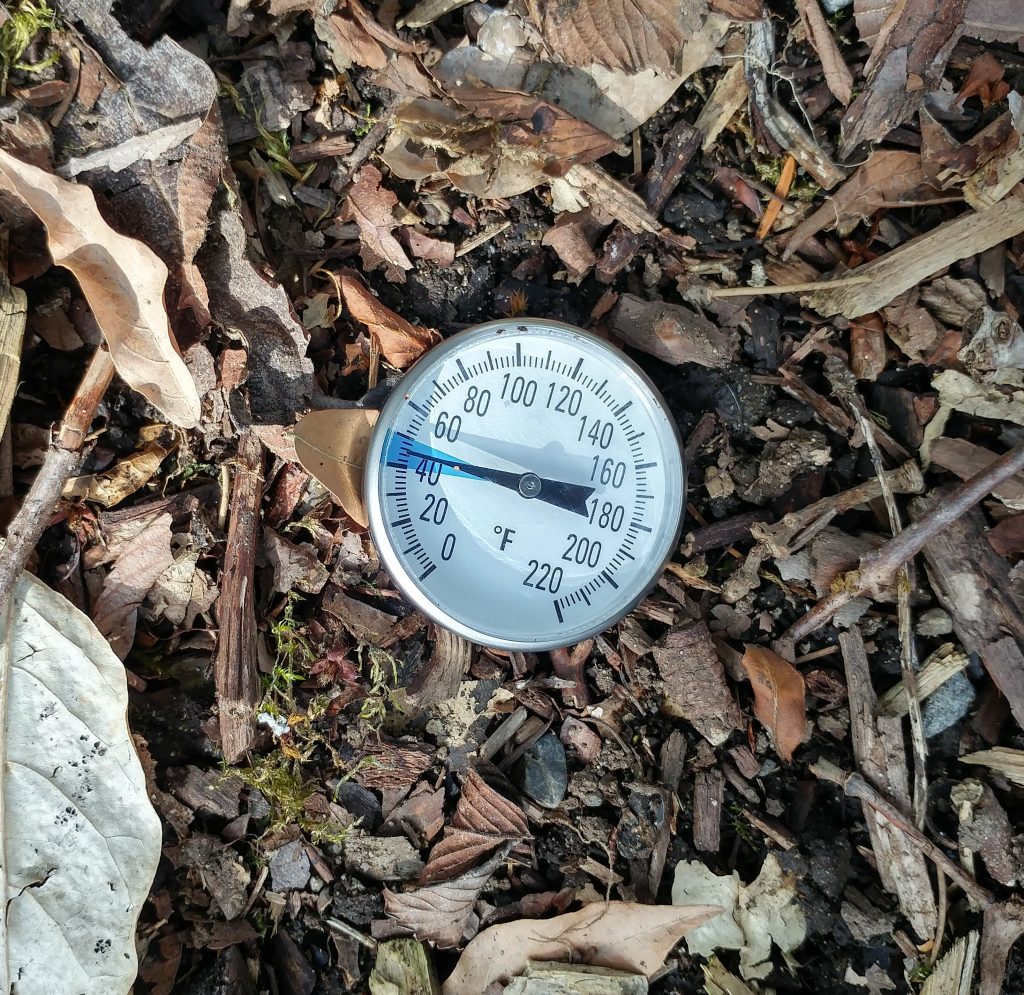
My trusty soil thermometer

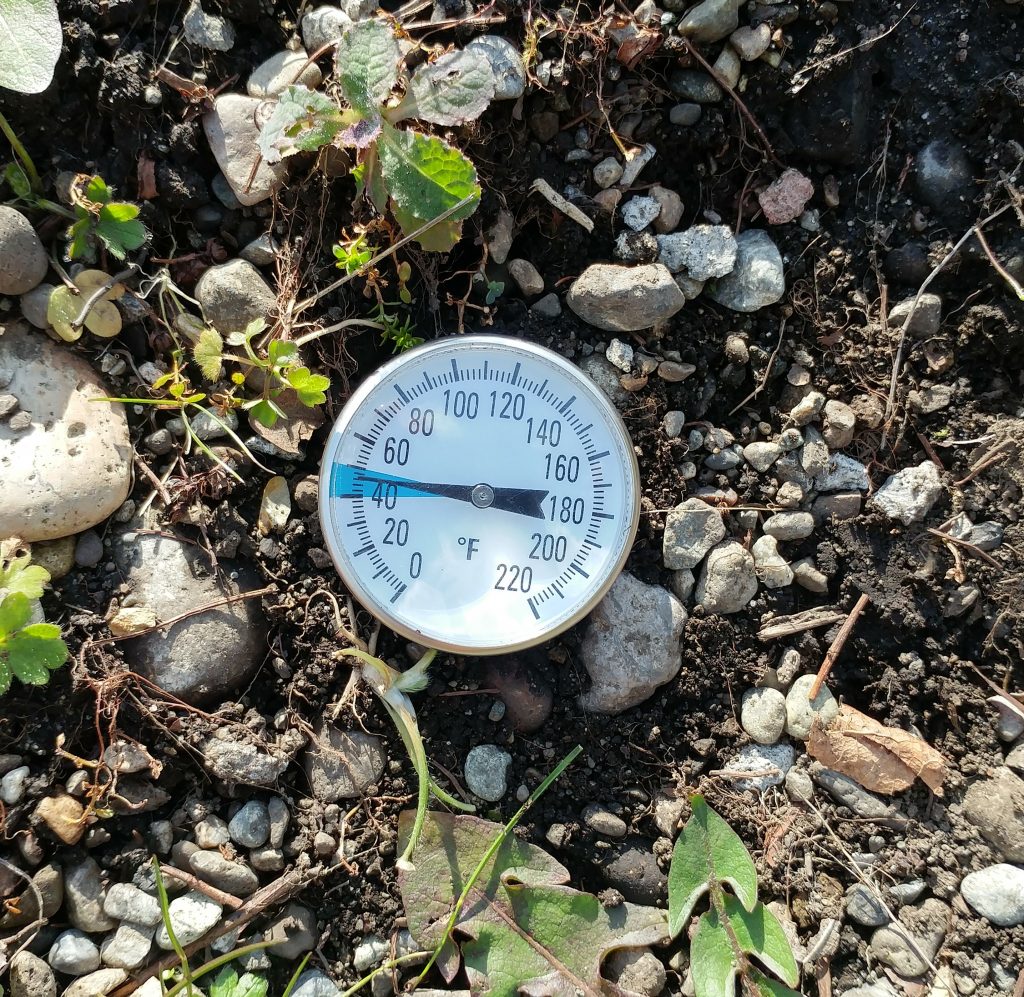
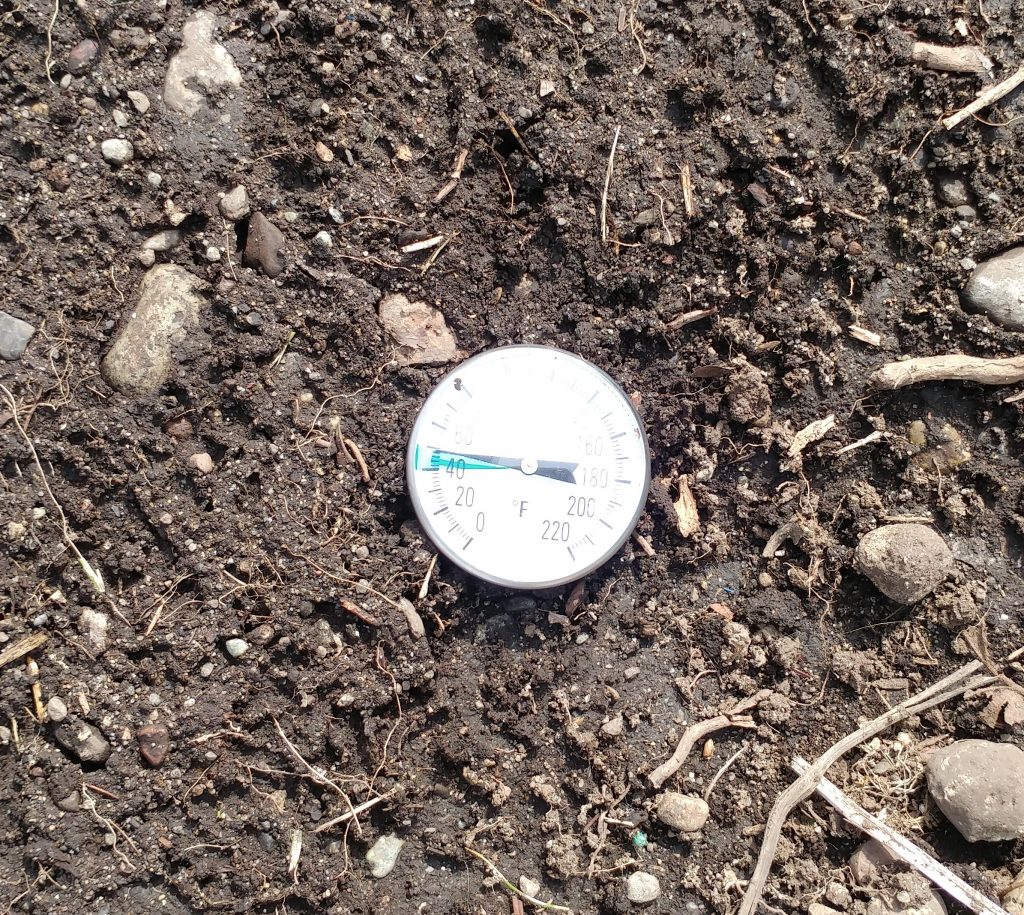
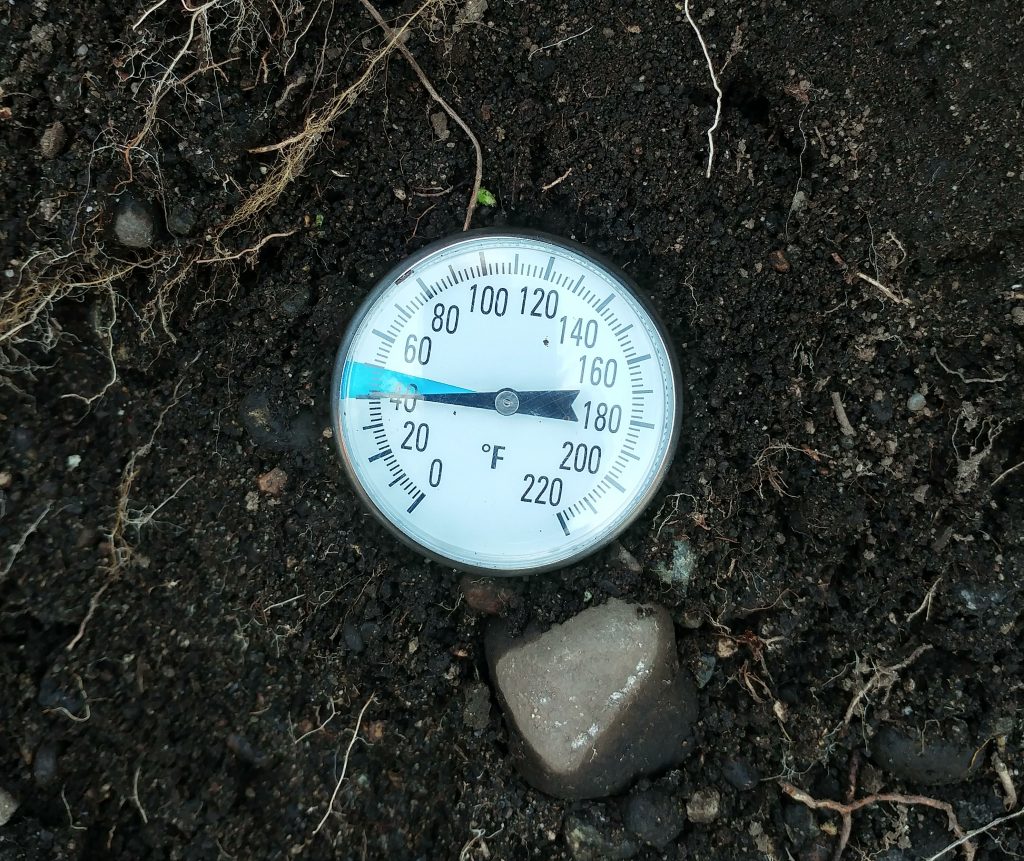
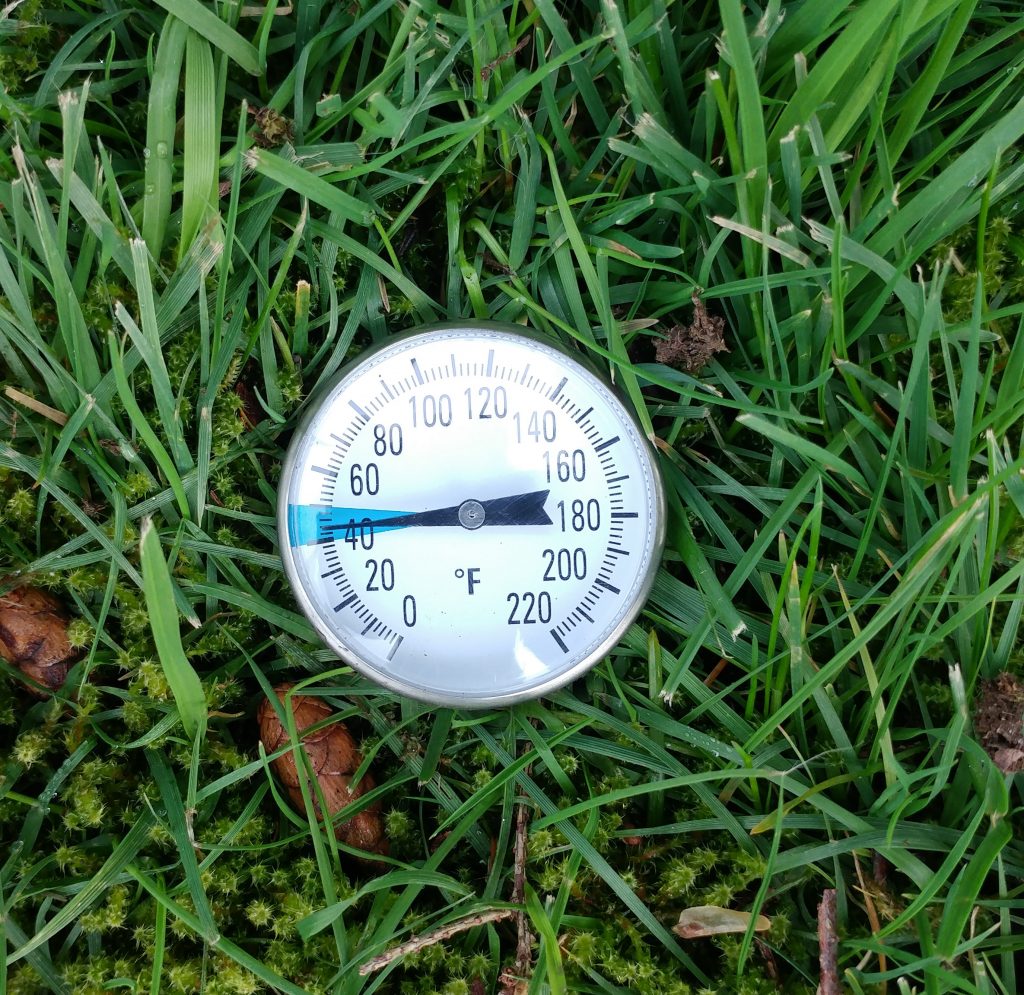
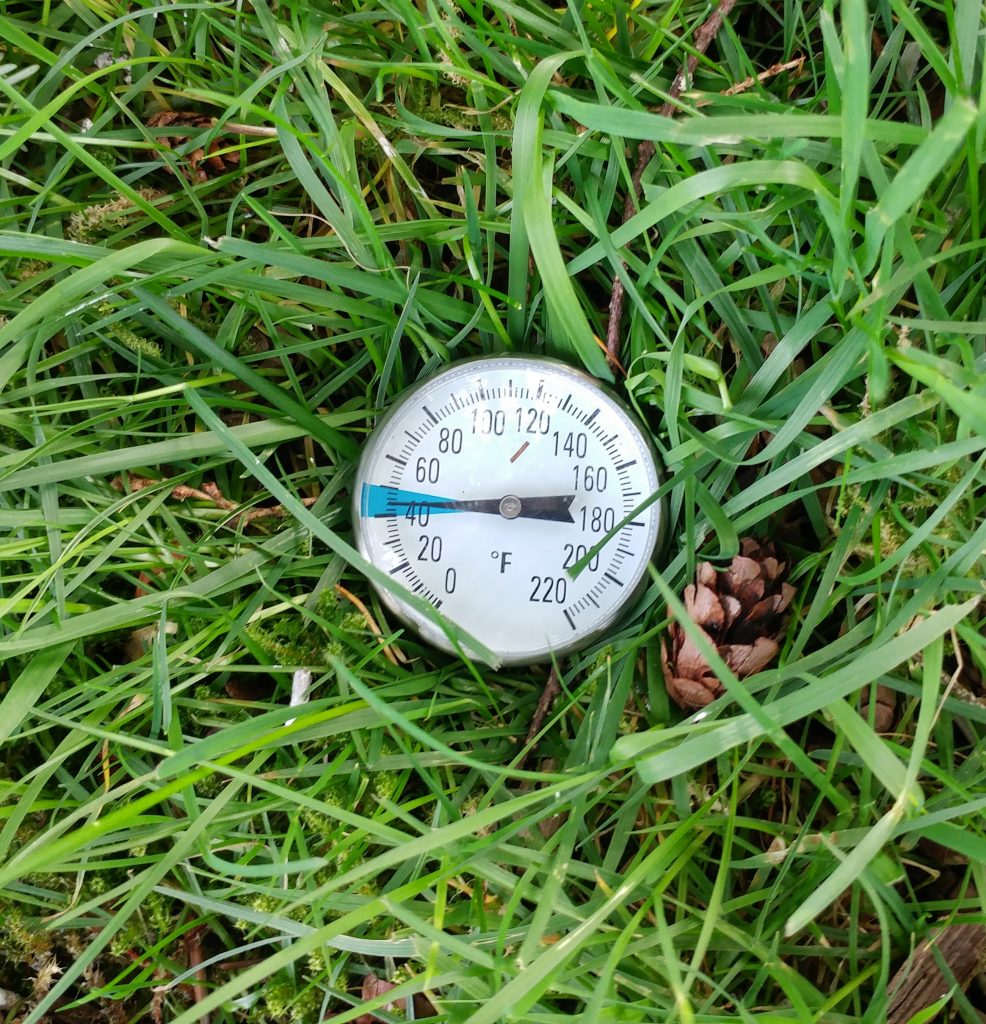
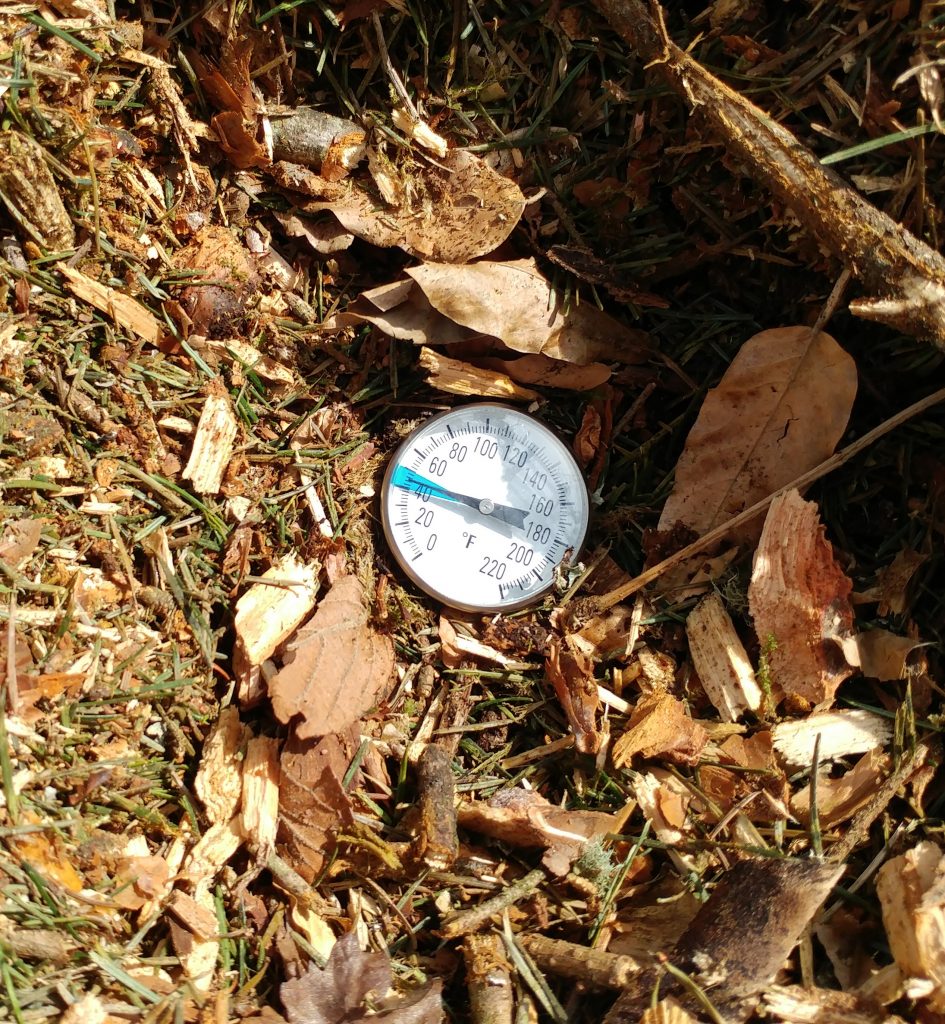
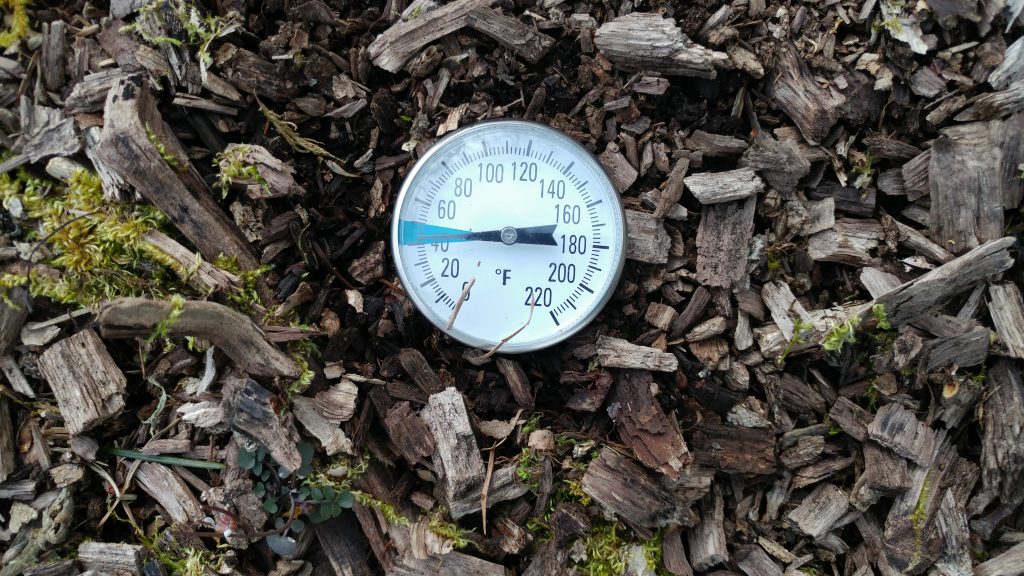
For measurements, I used a soil thermometer placed at the same depth in every soil tested. This required movement of mulch if mulch was present, so that thermometers were inserted completely into the soil. These thermometers read the entire length of the probe, so readings represent the average temperature in the top 5” of soil. I took close-up photos of each of the areas tested. I took 5 measurements for each location.

Our evening temperatures have been near or below freezing, but the past several days have been sunny and the air temperatures are well into the 50F range. On March 17, it was 68F at 2 pm in the sun, though it was 27F that morning. The morning after (March 18), it was 35F.

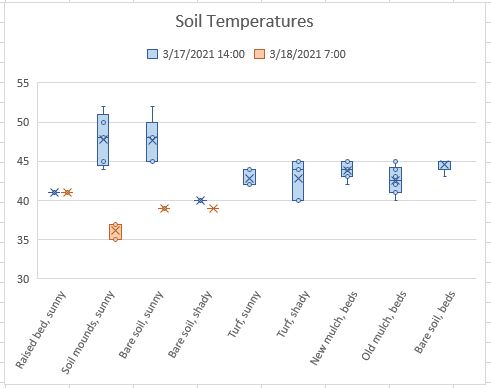
There are several interesting trends to see on the box-and-whisker graph:

The variation of soil temperatures is most extreme in unprotected soils
  • Mulched raised beds have the most consistent temperatures, with no differences seen at any time or in any location measured.
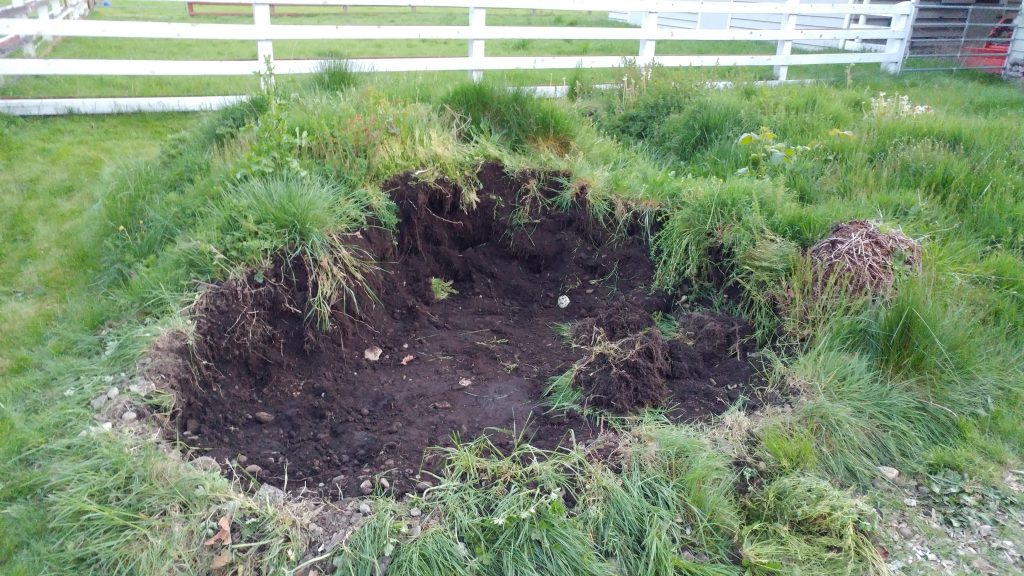
  • Unmulched soil mounds have extreme changes, mirroring air temperatures.
  • Bare soil in beds under sunny conditions have extreme changes mirroring air temperatures, but not as great as that in raised beds. They are warmest during the day and coldest during the night.
  • Bare soil in beds under shaded conditions are the coldest soils during the day and even colder at night.
  • Soil under living mulch (turf) and beds with varying depths of wood chip are cooler during the day than bare soil in sunny conditions, but warmer at night.
  • Bare soil in beds that were newly mulched are much warmer than bare soils not near mulched areas.
  • The soil temperature under turf or in beds at least partially mulched did not change at night (data not shown on graph).

Extreme temperature swings can result in the death of germinating seeds, seedlings, expanding buds, and other tissues that aren’t cold hardy. This is especially true of tissues near the soil surface, where temperature are colder than they are at increased depths. Unprotected soil mounds show huge daily vacillations; comparative raised structures under mulch are cooler during the day but warmer at night. And bare soil in the shade is colder than any mulched soils. Consistency is important for young tissues, as they have few protections against environmental extremes.

What my little experiment demonstrates is what mulch research has consistently shown: appropriate mulch materials will moderate soil temperature extremes due to air temperature fluctuations. Just because a bare soil is 55F in the daytime doesn’t mean it won’t be 35F at night.

Holy Hydroponic Houseplants, Batman!: Can you grow houseplants without soil? Yes!

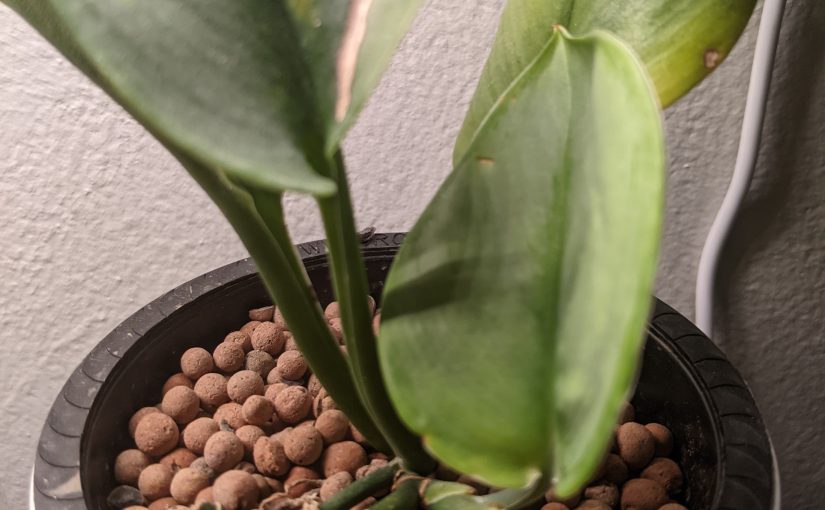
Just when you thought you got the hang of growing houseplants in potting soil (or if you’re a doting plant parent, a special homemade mix someone on the internet told you to use) comes a new trend – hydroponic houseplants!  Or, “semi-hydroponic” to use the more technical term that is used when describing the trend.  How do you grow houseplants semi-hydroponically?  Do they grow this way?  But first, maybe we should ask the question – why? 

Why grow semi-hydroponically? 

I think for most casual houseplant growers, this method is attractive because it is a challenge.  Something new to try after you’ve mastered growing houseplants the old-fashioned way. And quite possibly a pandemic project to provide a distraction after being cooped up in the house for months on end.   But are there benefits to growing houseplants this way?  Turns out, there are some.    

Many articles you find on the subject state that semi-hydroponic houseplant growth can be beneficial for those who struggle with chronic over- or under- watering.  The media used for semi-hydroponics is a big, porous puffed clay stone called hydroton or LECA (Lightweight Expanded Clay Aggregate, of course we have to have an acronym!).  It is used in some hydroponic vegetable (and other plant) production systems.  The large pore spaces it creates and the wicking action it does in the container helps keep a balance of air and water for the roots. The #1 leading cause of death among houseplants is overwatering – it creates a lack of air in the potting media, the roots lack oxygen (called hypoxia), and are either damaged or die.  This can also make it easier for fungal infections to cause root rots.  But how can you stop from overwatering plants if you’re growing them in water?  We’ll talk about that in a bit when we talk about the “how to”. 

There are some houseplants, like epiphytes, that might also benefit from having a media that isn’t like soil.  Plants that are used to growing on tree bark, or in rocky environments in their native habitat that might actually perform better in a media that is a large, rough pebble that does kind of resemble the texture or tree bark or stones.  There are lots of tropical houseplants that also grow in areas with high levels of large particulate organic matter like chunks of wood and bark.  Plants from boggy environments that have high water requirements or grow in a more “mossy” type soil might also benefit. 

One other application of this method is for propagation of cuttings.  Many houseplant growers like to propagate cuttings in water, but this often isn’t the best practice because the water can be depleted of oxygen (causing hypoxia and rot) or become spoiled or soured (and cause infections).  Most horticulturalists will recommend propagation in a light media like seed starting mix, perlite, or sand.  But keeping water consistent without overwatering is difficult in this situation, and media can also be a vector for disease.  The air space and wicking action of the LECA media used for semi-hydroponics can help keep cuttings hydrated without the issues of water propagation.  This method is commonly done in clear class containers, so there’s the added benefit of being able to see root growth to monitor progress. 

How do you grow semi-hydroponically?

Of course, in this short article we won’t be able to cover every detail, so if this is something you’re interested in trying, I’d suggest some self-study.  I’ll be covering some of the basics, but there’s a lot more to learn. 

The Kratky Method - Grow Food The Passive Hydroponic Way (Step by Step  Guide) | Trees.com
Kratky hydroponic method Photo: UpstartFarmers

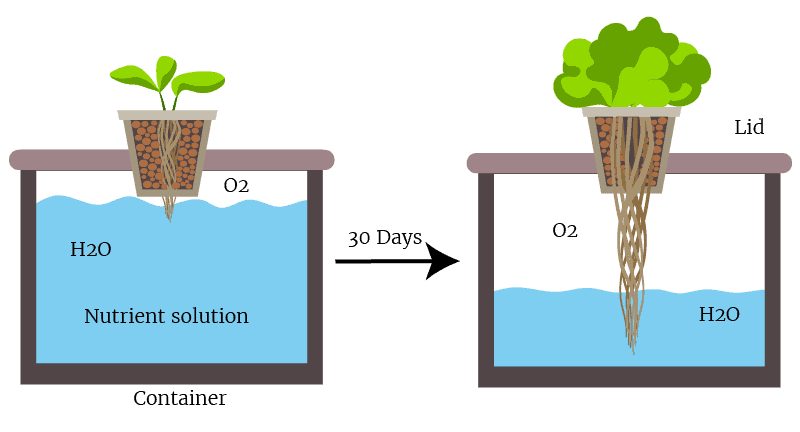
First, this method somewhat resembles one of the simplest forms of hydroponic production that lots of home hydroponic gardeners use, called the Kratky method.  In this passive hydroponic method, a plant is suspended above a water-based nutrient solution.  At first planting, the nutrient solution is right below the plant, close enough for a few inches of the roots to touch the solution.  As the plant grows, the roots elongate and the nutrient solution level is reduced to keep just a few inches of the roots submerged.  This allows the roots to take up solution, but the space between the plant and the solution allows a majority of the roots to be surrounded by air to avoid the issues of hypoxia. 

In semi-hydroponic houseplant growing, a container (usually clear glass, at least for beginners) is filled with the LECA media and the plant’s roots are distributed through the media.  (The media should be washed and soaked in water first, to remove dust and allow it to hydrate.)  It is easier if it is a young plant or recent propagation so you don’t have too many roots to deal with (you may need to root prune larger plants).  Smaller plants will also withstand the shock of going to this system, especially if they’re moving from a potting soil media.  (Note: Clear glass container + nutrient solution + light = algae. Be prepared to clean up the algae from time to time.)

A (dilute) nutrient solution is added to the container.  The roots should not be submerged in the solution, but rather it should be added to a level where it will wick up through the media to surround the roots.  The basic rule of thumb is to fill the container about 1/3 of solution, but if the container is exceptionally large or the roots are very small, you may need to fill it higher to make sure the media around the roots stays hydrated. 

This nutrient solution is one of the trickier parts.  You can use a general all-purpose hydroponic nutrient mix, available in lots of garden centers now or online.  You can also try some of the general houseplant fertilizers or ones specific to whatever houseplant you’re trying to grow.  You’ll want one with micronutrients as well as the macronutrients like N-P-K – since we’re growing without soil or an organic matter based media you’re going to have to supply all of the plant’s nutritional needs.  You’ll want to mix the solution between ¼ – ½ the recommended strength – you’ll need to see what works for you and your plant.  And then you’ll want to pH balance the water to create the right environment for the plant and make sure that nutrients are available for uptake.  The pH range for most plants is between 6.0 and 7.0 (aim for 6.5), unless you have one with specific needs.  For this you’ll either need pH test strips or a meter (which you can now get for less than $20 online) and some acidic and basic solutions to adjust pH (you can use some household items like vinegar to do this, but your best bet would be solutions specifically prepared for adjusting hydroponic or aquarium pH levels commonly referred to as “pH up” and “pH down”).  This pH adjustment is a lot easier (and maybe unnecessary) if you start with distilled or reverse osmosis water (or if you have a really good water filter that removes dissolved solids).  The pH levels and dissolved solids in some tap water makes it hard to adjust (my water here in Nebraska is very basic because it is very heavy due to high calcium levels, which also throws off the nutrient balance). Rainwater or melted snow can also work (though may not be pH balanced). 

You want to keep the solution topped off so that the media stays sufficiently moist. As with hydroponic production, plants pull nutrients out of the solution at different rates, so you can get build-up of some nutrient salts over time that could result in poor growth and even toxicity.  To avoid this, every few weeks (or more often if your plant is a heavy drinker) you might need to perform a flush, where you drain off the nutrient solution, give a quick rinse with tap water, and start over with fresh nutrient solution. 

More experienced growers might graduate to using this method in containers other than clear glass.  This adds a level of challenge, since you can’t automatically assess the level of nutrient solution by visual inspection.  The use of self-watering pots that have net pot or hole-y insert pots are commonly used for this.  Or you can buy net pot or orchid pot plastic inserts to use in any non-porous container you desire.  Growing in net pots can make the flushing process easier, since you can just pop it out of the container and run tap water through it.  Otherwise, you’ll have to find a way to pour the tap water out of the container or

completely remove the plant and wash the media. 

What can I grow semi-hydroponically?

Well, you can try with a lot of different plants.  I don’t know that there’s a list of plants out there for do’s and don’ts, but there are a few good candidates to try. Most tropical houseplants are good candidates. I’ve seen lots of articles on orchids, and I just recently put a rescue phalaenopsis in semi-hydroponics.  Other epiphytes like holiday cacti and bromeliads are also good candidates – think of things that like to grow on trees/treebark. Hoya, which are all the rage in houseplant circles, are also candidates due to their mostly epiphytic habits.  Lots of tropicals like Monstera, Philodendron, and Pothos also do well in this system.

Things that probably won’t do the best in this system are ones that don’t like to have “wet feet” – I’m thinking mostly desert cacti and succulents. But some of the LECA lovers that I talked to said that some succulents, like “string of pearls” and other strings of things (hearts, dolphins, turtles, etc) do grow well. But if we take a look at their natural habitat, where they grow over rocky outcroppings, it makes sense.

There isn’t really an exhaustive list, so you might want to experiment if you’re wanting to try it out. As long as it isn’t an expensive plant (and there are lots of expensive houseplants out there), a little experimentation can help you find the plants that would work best for you and your situation. 

In conclusion…..

Growing houseplants semi-hydroponically isn’t for everyone.  Getting everything just right can have a learning curve, especially if you weren’t great in chemistry class.  But, it can be a fun way to challenge yourself and may also benefit your plants in the right situations.  It is becoming so common that the materials are getting easier to find – many garden centers now carry the LECA and hydroponic supplies, you can always order them online, and you can even find small bags of the LECA/hydroton in the ever expanding houseplant section at IKEA (of all places, if you’re lucky to have one).  So if you’re up for a challenge, give it a try!  You might find a fun new way to grow houseplants….or a new way to kill houseplants!  But the fun will be in the trying. 

Special thanks to:

  • Anni Moira
  • Sydney Tillotson Sehi
  • Suzi Sellner
  • Tiffany Caldwell
  • Shelbi Sorrell
  • Maggie Pope

Sources:

The contrarian rosarian–debunking rose mythology

Roses are perhaps the most frequently cultivated landscape plant across America. Rose gardens are common to parks, landscapes, botanical gardens and for homeowners. Everyone seems to have an opinion about rose culture and there are numerous clubs and societies to support the hobby of rose growing. This week I am in the midst of pruning my rose fertilizer study here in Santa Paula California. I have 240 roses of eight varieties and my thoughts are on roses now, so I offer this blog to dispel some of the myths about rose horticulture.

Myth I–Roses are difficult and require a lot of pesticides

Roses grow well in California soils. A selection of varieties here in Santa Paula CA

Most roses grow easily in most soils in most places. Roses tolerate environmental extremes very well. They grow in many climates and tolerate below freezing temperatures during winter dormancy and high temperatures during summer. Current rose varieties have been developed through breeding of wild rose types. Floribundas, hybrid T roses, grandifloras, shrub or landscape roses, climbing roses and dwarf roses offer the enthusiast a variety of forms and functions in the Rosa genus. In the early 19th century Empress Josephine of France gave rose development a great boost in her own garden at Malmaison. Her patronage of rose research led to the development of thousands of varieties in Europe and later in the United States. The genetics of garden roses is now quite diverse. Because of the diversity of roses some grow better than others, some are highly disease resistant some are very susceptible. Like all plants, roses develop various kinds of diseases and attract pests. Because they are grown commonly in gardens there are many rose pesticides available for use. In my decade of rose research growing hundreds of roses, I have never used pesticides to maintain them. Susceptible varieties could be treated with pesticides or gardeners can chose to avoid varieties that host pests and focus on ones that are not so afflicted. With so many varieties available to gardeners there will be strong varieties and weak ones, pest prone and healthy. The variety you select will determine the necessity for pest control. Many many roses are relatively pest free and grow well without any treatments.

Myth II Roses Require lots of irrigation

The idea that roses need more water than other landscape plants is a horticultural misnomer. In the Central Valley of California roses are grown for production to consumer markets and they typically are furrow irrigated once every eight days in the growing season. Even during triple digit weather, they are held to this schedule without damage.

Can you tell which one got Epsom salts? No. there is no difference between roses grown with applied magnesium sulfate vs those not receiving the treatment.

Myth III Roses require rose specific fertilizers

Roses need the same mineral element as other plants. There is no evidence that increased magnesium (Epsom Salts) benefits roses in any way. Prescriptive fertilization is not appropriate for rose culture or any landscape setting. Fertilizers should be applied on the basis of soils tests that determine the necessity of minerals that may be missing from the soil.

Rose varieties respond widely to field conditions. In the same field some varieties consistently thrive and others grow poorly. Rose varieties have variable vigor, tolerance of soil conditions and pest resistance.

Myth IV Prune rose canes at 45 degrees that is with angled Cuts

There are many pruning strategies for roses. One of the most consistent myths is that roses should be pruned with angled cuts so water is shed away from the cut end. There is no scientific basis for this and therefore it is not recommended. Pruning back to an outward facing bud is a good idea as it maintains a less tangled rose canopy and helps to promote a more organized architecture in the shrub. Various sources recommend more or less severe winter pruning for roses. Our research shows that the less severely you prune major canes the more flowers that will result. Severe pruning did not increase rose flower quality or quantity. The best rose shrubs (most flowers) are pruned to maintain their shape and reduce tangle while maintaining shrub size.  I almost forgot–Don’t seal pruning wounds made to rose canes.  Leave cuts to dry.

Myth V Mounding soil around the base of roses should be done every winter

Some rose experts, especially in places with cold climates have advocated mulching with manure or soil over the crown of the rose before freezing winter temperatures set in. Most rose varieties survive the cold winters without this treatment if snow is present. If temperatures fall rapidly without snow, a covering of leaves or straw may be helpful.

Myth VI Grafted roses are better than non-grafted roses

The recent advent of landscape or shrub roses has proven that this myth is incorrect. Non-grafted roses have the advantage of not producing annoying suckers that need to be removed frequently as on some grafted varieties. Many of the landscape roses growing on their own roots are more disease resistant, more vigorous, and produce more flowers consistently than their grafted counterparts. Not all scions are perfectly compatible with their rootstocks so some grafted roses are less vigorous due to graft incompatibility.

Roses are easy to grow once they are established. In recent years, I have had trouble with roses purchased from garden centers that would not grow when planted out. This may be because the plants were held too long in storage before coming to market. It is also imperative when first planting roses to frequently sprinkle the canes to avoid them drying out. Desiccation is a common killer of freshly harvested roses. Once buds “pop” and shoots emerge, culture can continue as with any garden plant providing appropriate moisture as needed. Fertilization should follow recommendations of your soils analysis.

Reference:

Downer, A.J., A.D. Howell, and J. Karlik. 2015. Effect of pruning on eight landscape rose cultivars grown outdoors. Acta Horticulturae 1064:253-255.