Terrariums are are contained environments that allow culture of plants. They take many sizes, shapes and dimensions and can be sealed or open. At the least terrariums are just plants in a bottle, in their highest form they are cultivated landscapes in miniature. Closed terraria create a unique environment and opportunity for plant growth. The transparent walls of the container allow for both heat and light to enter the terrarium while maintaining high relative humidity and preventing system water loss.… Continue reading this article “Terrariums”
California “Big Trees” under threat

It’s not my week to post on the blog, but this is a PSA for California residents. Having visited the Capitol grounds in Sacramento, I find it important to make others aware of the plans to remove a number of large and historically important trees for the purpose of building a parking garage and expanding the Capitol building space.
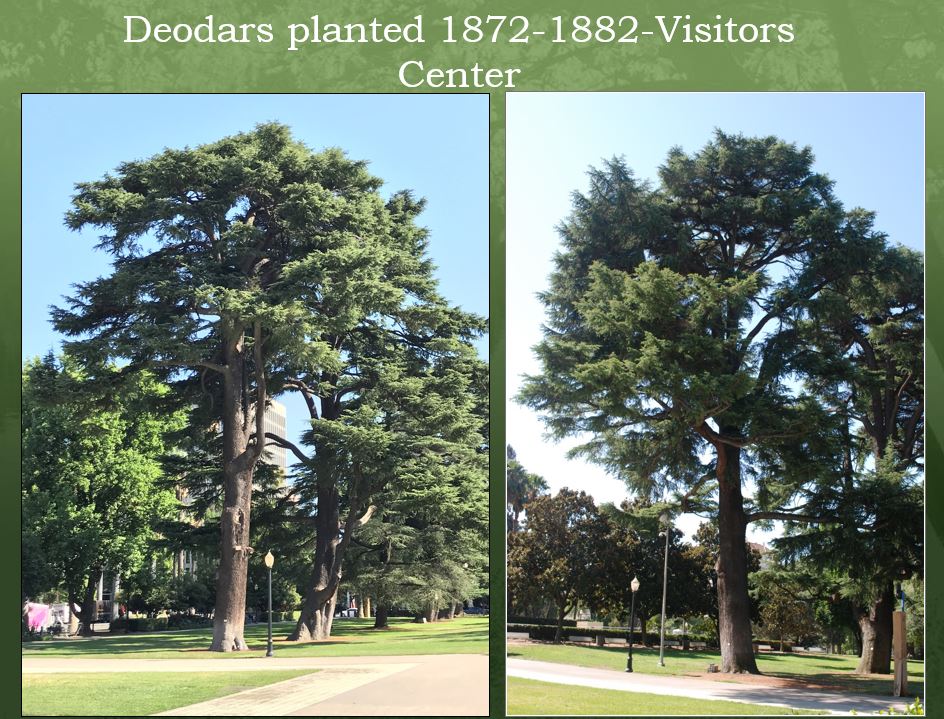
I’m not a California resident, so in a sense it’s none of my business. But I am an urban horticulturist, and an arborist, and committed to preserving trees especially in urban environments.… Continue reading this article “California “Big Trees” under threat”
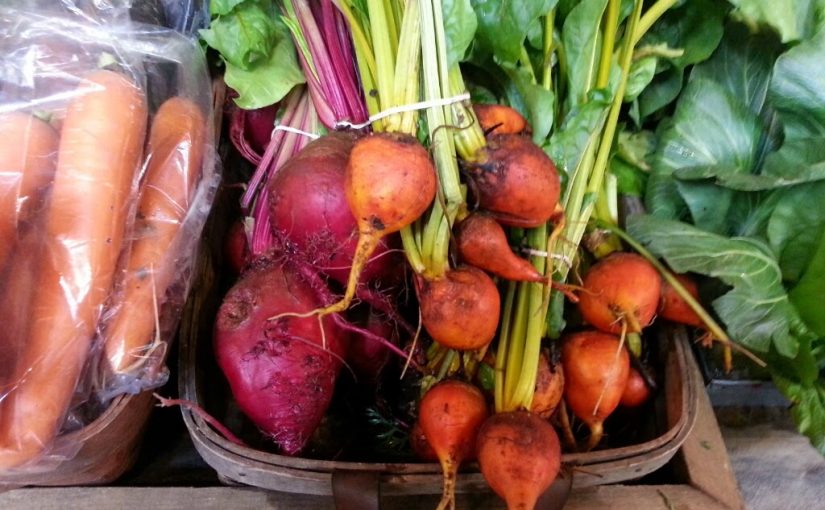
Falling forward: Time to plan and plant the fall veggie garden
While most of the country is in the middle of a heat wave and the mercury is creeping past 100F on many thermometers, lets do a little exercise to help you feel cool as a cucumber (though not straight out of the garden, those cucumbers would likely be hot). I want you to think about a crisp September morning. You’re out walking through your vegetable garden and you stop to appreciate a big, emerald green head of broccoli. … Continue reading this article “Falling forward: Time to plan and plant the fall veggie garden”
Update on our bare-rooted perennial garden
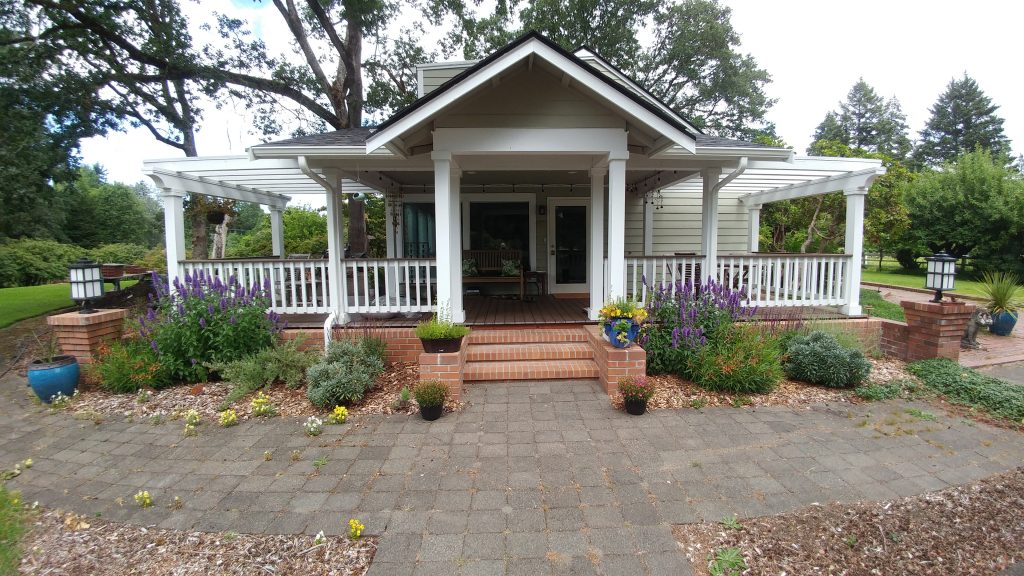
Two years ago I installed a pollinator garden in early July. This goes against my recommendation to install plants in the fall, when roots have longer to get established and less stress is felt on the rest of the plant. But I wanted to see what would happen if I was careful to mulch well and keep it irrigated. Oh, and did I mention I was going to root wash every one of them?… Continue reading this article “Update on our bare-rooted perennial garden”
Summertime pruning
Summer is a time of bounty in the home garden. During June, July and August the majority of small fruits ripen on home orchard trees. Plant health care is important to consider in advance of summer bounty. Careful dormant season pruning, dormant sprays, mulching and care helped to produce a nice harvest. As the fruit comes off the tree, some summertime options are available. This is a time when some limited summer pruning can be done to manage the physiology and growth of many fruit trees.… Continue reading this article “Summertime pruning”
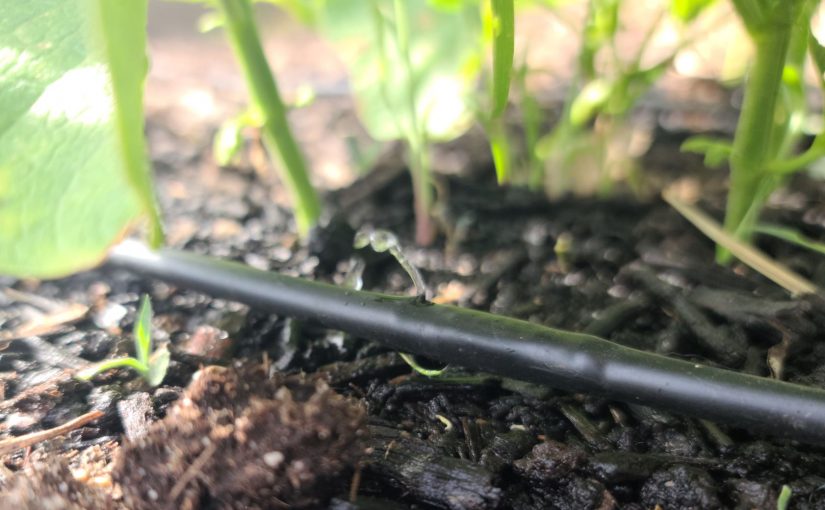
Water Wise Gardening: Conserving and Irrigating Responsibly
While we can’t ever control or even predict the weather, in most places it is important to have a plan on how to deliver water to our home gardens during the hot, dry months of the summer. Aside from reducing water need through some good management practices, delivering water in an efficient and sustainable way is important when planning and planting our home gardens.
When there is scarcity, it is necessary to conserve. Several years I got to see scarcity in person on a sustainable agriculture tour of New Mexico. … Continue reading this article “Water Wise Gardening: Conserving and Irrigating Responsibly”
Tools, tips, and terrible traditions for raised beds – Part 3
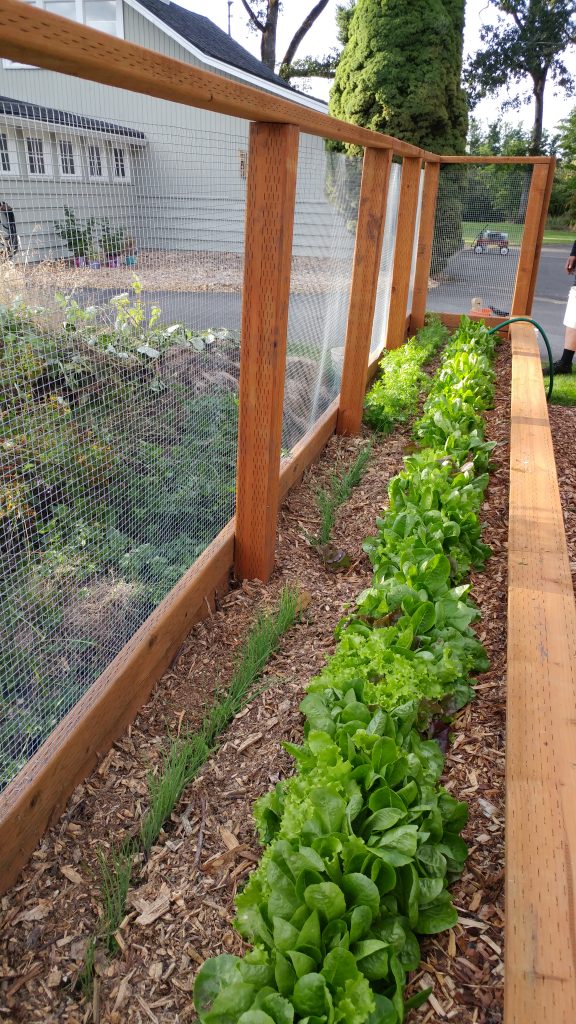
Over the last couple of months I started a series on raised bed gardens, focusing on materials and preparation. In this final installment, I’ll focus on maintenance activities to avoid in your raised bed systems and remind you of three things you should always do.
Terrible traditions
We’ll start with some practices that damage soil structure and function (GP John Porter discussed this in much detail a few years ago).… Continue reading this article “Tools, tips, and terrible traditions for raised beds – Part 3”
The weed apocalypse
I have been hiding from COVID-19 in Arizona, but I had to return to Ojai, Ca because I was “noticed” by the local fire department to abate my weeds. I returned to find the Weed Apocalypse (WA 2020). Late spring rains were spaced nicely in California supporting rampant weed growth. So, why did this happen? What can I do about it now? How could I have better prepared for WA 2021 next year?
In May, the days are getting noticeably longer and moving closer to the longest day of the year (June 20–the summer Solstice).… Continue reading this article “The weed apocalypse”
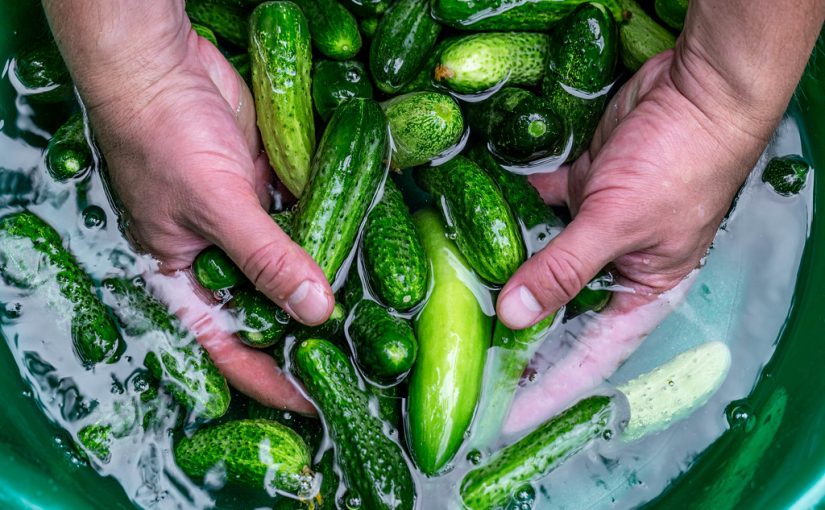
Viral Vegetables? Growing (and Buying) Produce in the age of COVID-19 (and reducing fear with facts)
Now that much of the world’s attention is focused on limiting the spread of pathogens, well one pathogen, it seems like a good time to talk about some of the questions or concerns we’ve seen regarding vegetable gardens, community gardens, and farmers markets. It’s a good time to talk about some of the practices that we should be doing to prevent other human pathogens from handling produce, like E. coli and Salmonella, and how those might fit into preventing the spread of COVID-19. … Continue reading this article “Viral Vegetables? Growing (and Buying) Produce in the age of COVID-19 (and reducing fear with facts)”
A tale of two weeders – lessons in managing aggressive, perennial weeds
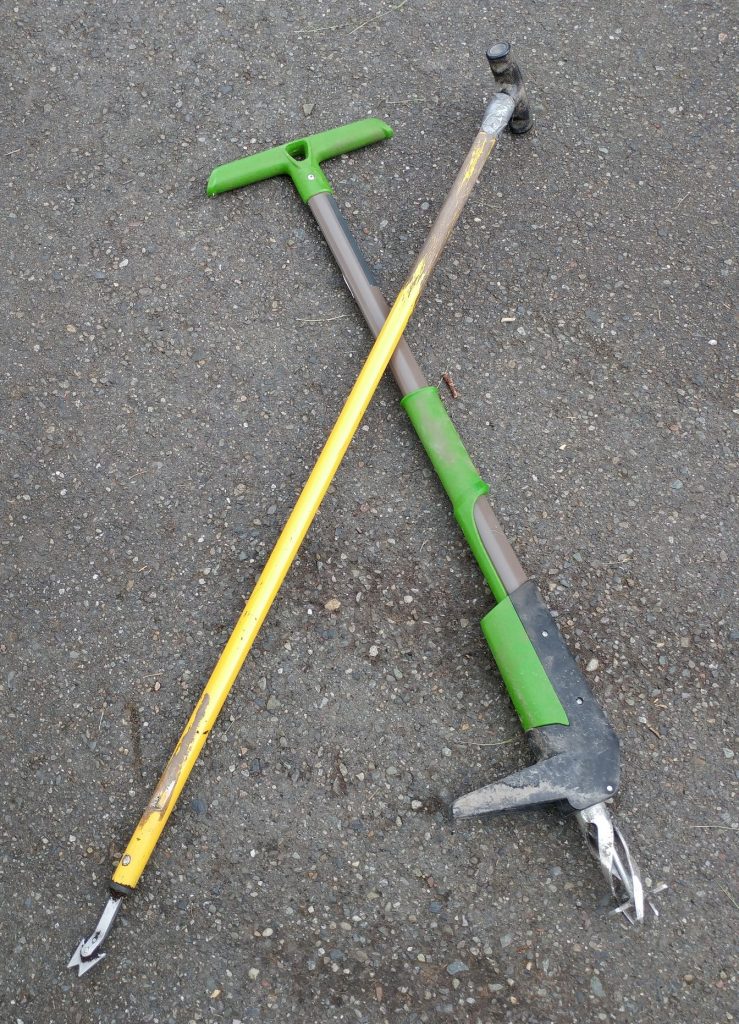
Nearly every afternoon for the last two months, curious drivers have noticed two people meandering through a pasture, following a narrow pathway formed by two lengths of string tied to fenceposts. It’s us! Thanks to COVID 19, we are no longer able to go the gym for a workout so like many other gardeners we have put that unexpended energy into our gardens and landscapes. And in this case, cattle pasture.… Continue reading this article “A tale of two weeders – lessons in managing aggressive, perennial weeds”