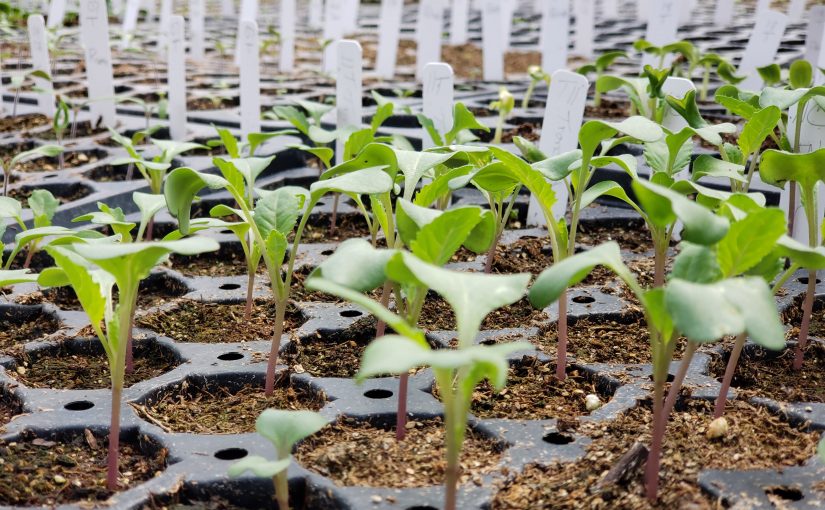
Most experienced gardeners will tell you what should be started indoors (or purchased) as transplants and what should be direct sown into the garden, but this can often be confusing for new gardeners. Add to the confusion the fact that some plants have a gray area when it comes to what is best, sometimes it depends on the time of year, and sometimes it depends on where you are as to whether what is possible. So if you forget to start your favorite tomato or begonia indoors in time to transplant, do you have options? … Continue reading this article “To (direct) sow, or not to sow, that is the question: whether ’tis nobler in the garden to transplant”
My Soil is Crap
My Soil is Crap! Or is it?
Over several years of teaching basic soil science to arborists, master gardeners and students something started to coalesce into a trend. If I ask my students do they have “good” soil, many say no. I have heard Master Gardeners complain their soil is terrible or that a certain soil is bad in some way. People form opinions about soil based on its color, texture, odor, or even how plants grow in it (perhaps the most diagnostic quality).… Continue reading this article “My Soil is Crap”
SUPER Thriving Lettuce?
The Garden Professors have previously written about the ubiquitous garden center product, SUPERthrive, here and here. The manufacturer claims a plethora of beneficial uses for SUPERthrive —everything from Christmas tree care to turf to hydroponics. They claim SUPERthrive will “revive stressed plants and produce abundant yields” and that it “encourages the natural building blocks that plants make for themselves when under the best conditions” thus “fortifying growth from the inside out,” but I know of no body of rigorous, peer-reviewed literature to support any of those claims (1, 2, 3, 4).… Continue reading this article “SUPER Thriving Lettuce?”
Where to find spring frost dates and the mystery of Southeastern frost trends
Most gardeners this time of year are thinking about the last frost dates for their locations and how soon they can get out into their garden plots. Here in the Southeast, many areas have already passed their last frost or will soon, while in other parts of the country, it may be many weeks before the threat of frost is over. In this week’s column, I want to describe a way to get frost dates for your location and discuss the mystery of why the date of the last spring frost is getting later in the Southeast in spite of temperatures that are rising across the country.… Continue reading this article “Where to find spring frost dates and the mystery of Southeastern frost trends”
To mulch or not to mulch? It shouldn’t even be a question.
One of the popular arguments against mulching landscape and garden soils is that mulch delays soil warming and thus retards plant growth. Given that a well-chosen mulch will moderate temperature extremes – both hot and cold – is this an argument supported with evidence? In today’s post, I’m reporting the data I collected in visiting various parts of my home landscape and gardens and measuring soil temperatures.… Continue reading this article “To mulch or not to mulch? It shouldn’t even be a question.”
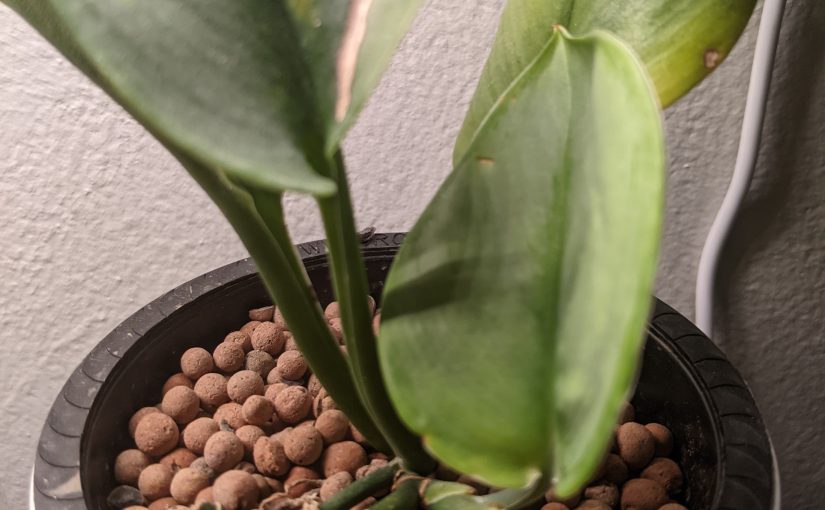
Holy Hydroponic Houseplants, Batman!: Can you grow houseplants without soil? Yes!
Just when you thought you got the hang of growing houseplants in potting soil (or if you’re a doting plant parent, a special homemade mix someone on the internet told you to use) comes a new trend – hydroponic houseplants! Or, “semi-hydroponic” to use the more technical term that is used when describing the trend. How do you grow houseplants semi-hydroponically? Do they grow this way? But first, maybe we should ask the question – why? … Continue reading this article “Holy Hydroponic Houseplants, Batman!: Can you grow houseplants without soil? Yes!”
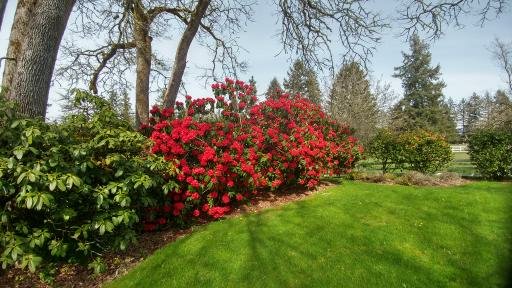
The contrarian rosarian–debunking rose mythology
Roses are perhaps the most frequently cultivated landscape plant across America. Rose gardens are common to parks, landscapes, botanical gardens and for homeowners. Everyone seems to have an opinion about rose culture and there are numerous clubs and societies to support the hobby of rose growing. This week I am in the midst of pruning my rose fertilizer study here in Santa Paula California. I have 240 roses of eight varieties and my thoughts are on roses now, so I offer this blog to dispel some of the myths about rose horticulture.… Continue reading this article “The contrarian rosarian–debunking rose mythology”
Why seasonal climate forecasts aren’t always accurate
Do you use predictions of seasonal climate to plan your garden work? Or are you frustrated because they don’t seem to be very useful? I’ve been getting a lot of complaints this year about how bad the climate forecast for winter was because what we have seen so far has not matched the predictions in many parts of the country. Let me take a few minutes to explain how they are made and what you can learn from them.… Continue reading this article “Why seasonal climate forecasts aren’t always accurate”
The dirt on rock dust
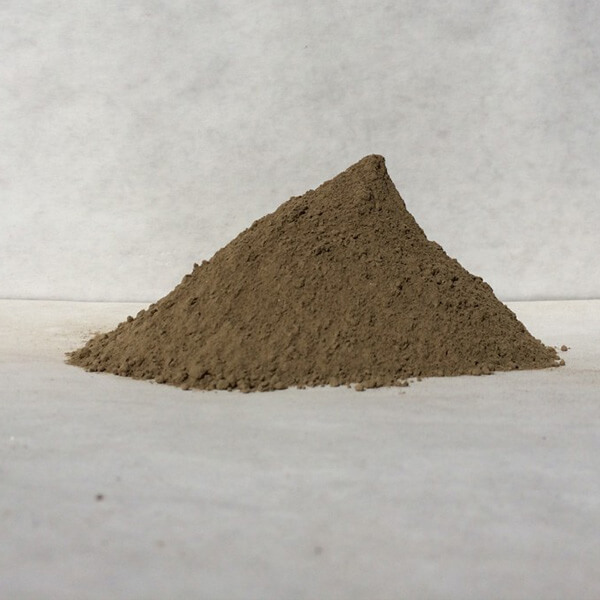
One of the newer “miracle products” targeted to gardeners is rock dust. Rock dust (also called rock flour or rock mineral powder) is exactly what it sounds like. It is a byproduct of quarry work and is generally a finely pulverized material that resembles silt. It’s heavily promoted as a way to provide macro- and micronutrients to your soils and plants. Is it worth adding to your gardens?
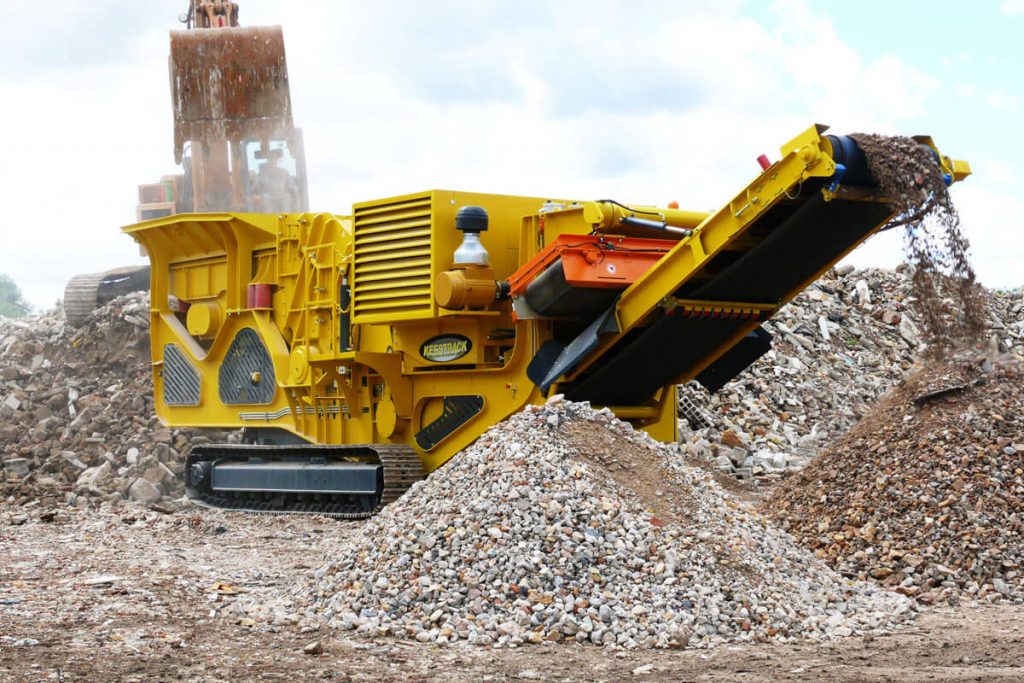
First, it’s worth acknowledging that repurposing an industry byproduct is always preferable to throwing it away.… Continue reading this article “The dirt on rock dust”
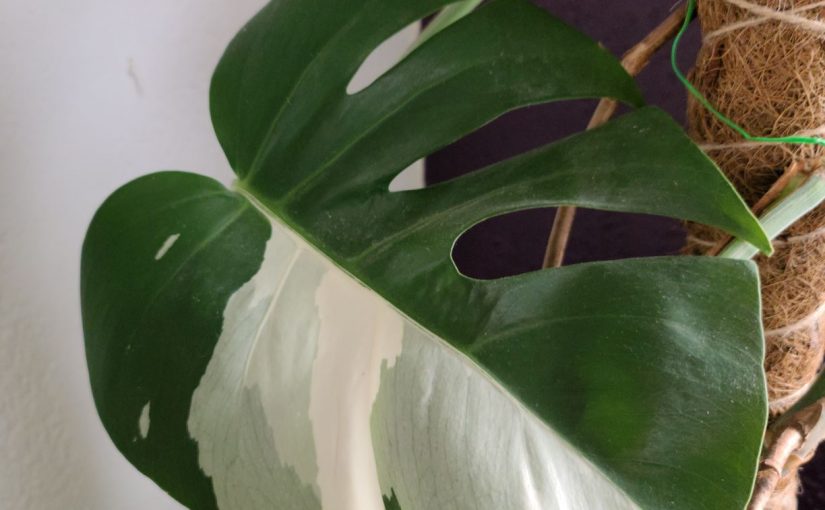
Houseplant Hubub: The rage about variegation
It is no secret that houseplants are hot right now. Interest was growing before the pandemic, especially with millennials and younger folks. Then the pandemic hit. Houseplant interest skyrocketed since people were stuck at home and wanted to bring a little bit of nature indoors to make their spaces a little more cozy for 24/7 habitation.
This has caused the demand, and price, of many houseplants to increase, especially if they are on the rarer side. … Continue reading this article “Houseplant Hubub: The rage about variegation”